Entertain the Possibilities - Home cooking becomes a special occasion; Get recipes, photos, tips and playlists
  • Blog
  • About

The Foodies Take a Bite of Sweet Home Chicago – Part 1

4/29/2016

2 Comments

 
PicturePhoto: Ellyn Rosen
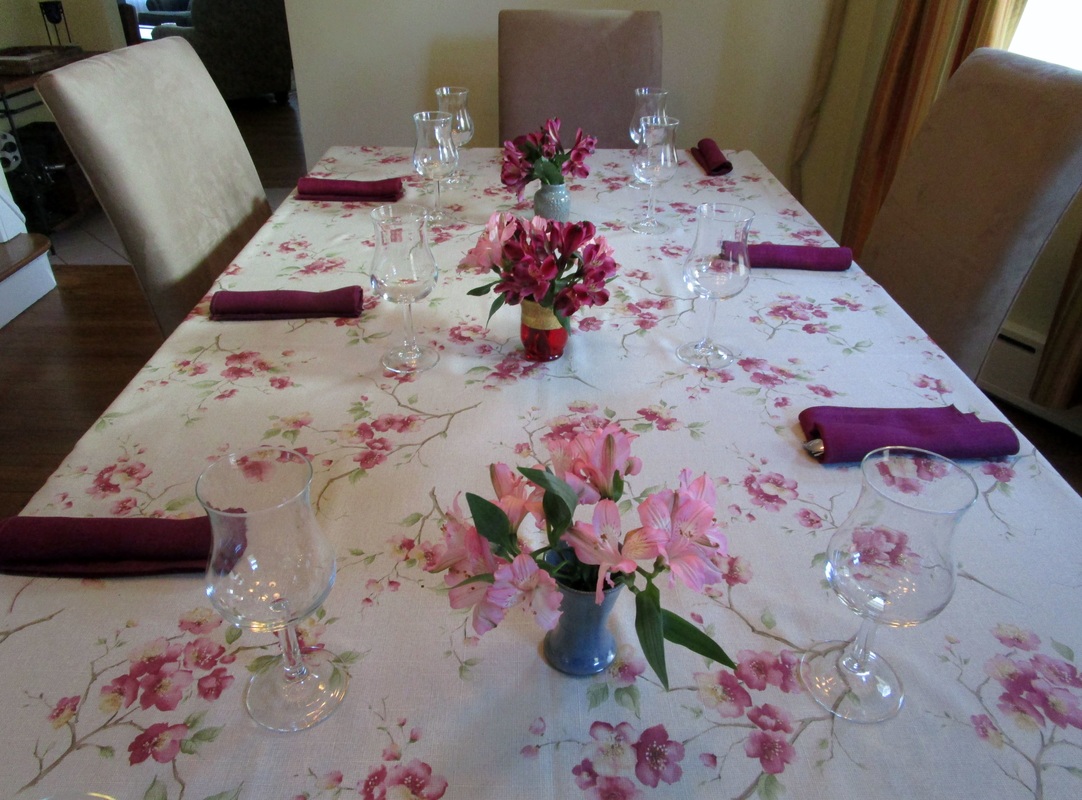
The Foodies (formerly known as the Supper Club) are a group of friends who love to cook, eat, drink, and laugh together – plenty of each occur at our periodic themed dinner parties. Friends and family like to live vicariously around our feasts so we’ll share the stories, pictures and recipes here from time to time. Click here for previous Supper Club posts, and here for the group’s origin story. 
​
​The Theme: 
Ellyn hosted and selected the theme: Sweet Home Chicago. Perhaps feeling homesick after an extended bit of globe-trotting?

​Whatever the reason, this theme resonated with us all, inspiring a menu of tantalizing dishes drawn not only from our cookbooks but the history books as well.

Each course was accompanied by a tidbit of knowledge about the food’s relationship to Chicago. An academic amuse bouche, if you will.

Interestingly, everyone chose to prepare something familiar but not obvious – read: no Chicago-style hot dogs or pizza, no Green River soda. Not that there’s anything wrong with that, I’m a big fan of Chicago’s street food! ​But it was cool to see the group dig a little deeper into Chicago’s rich culinary history as a foodie town long before foodies were a thing. 

Sweet Home Chicago
The Menu:
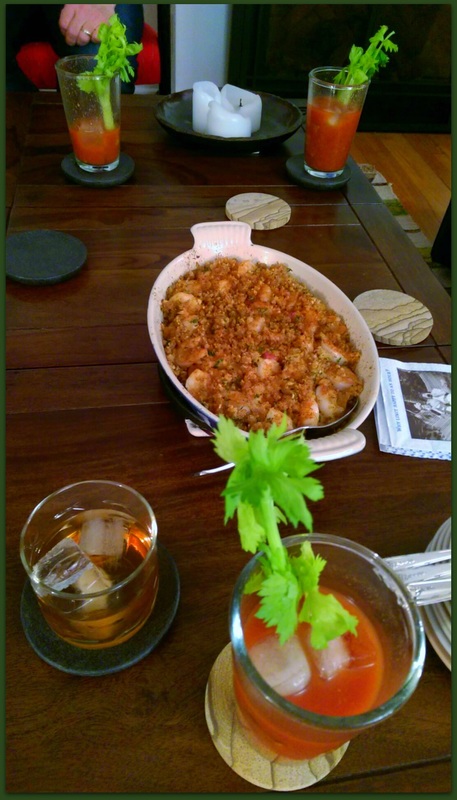
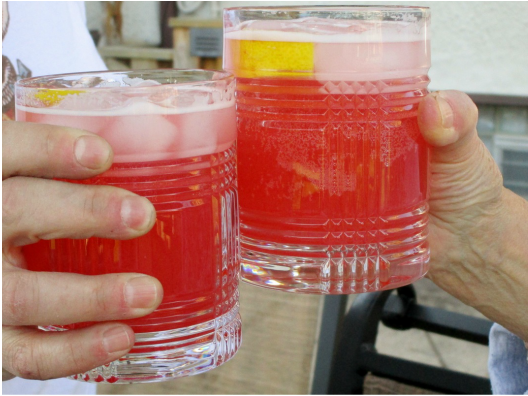
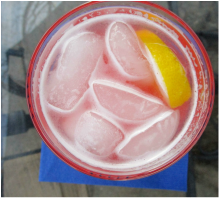
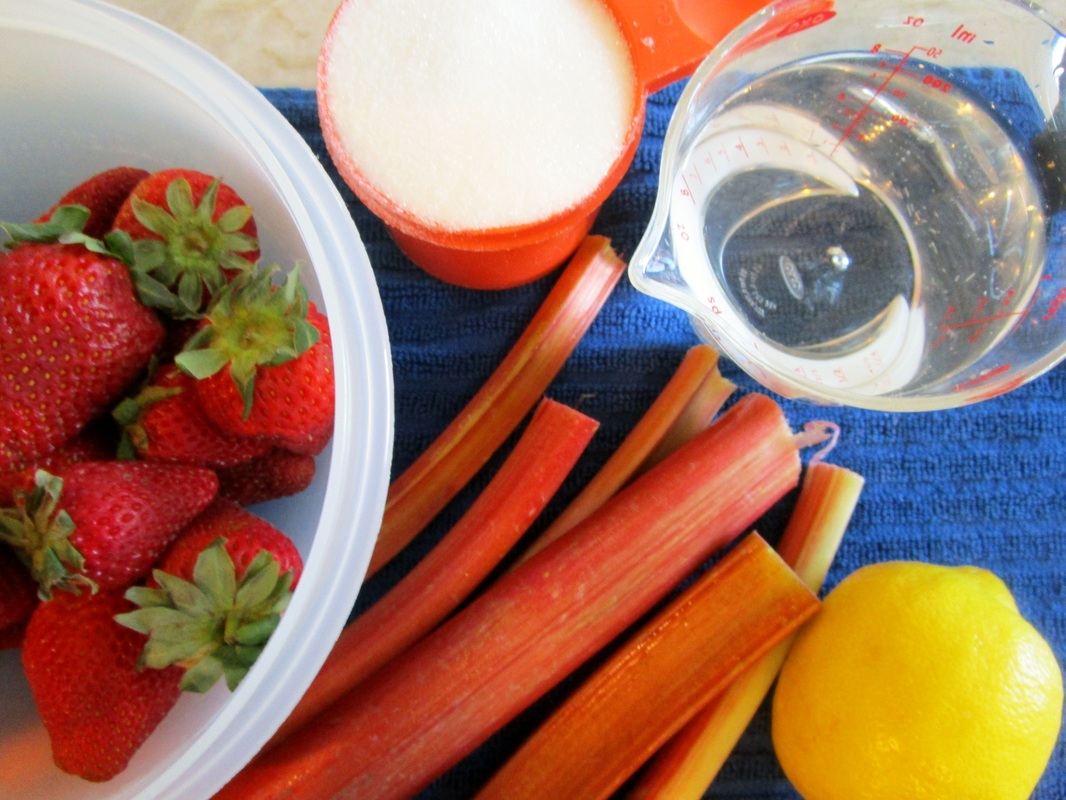
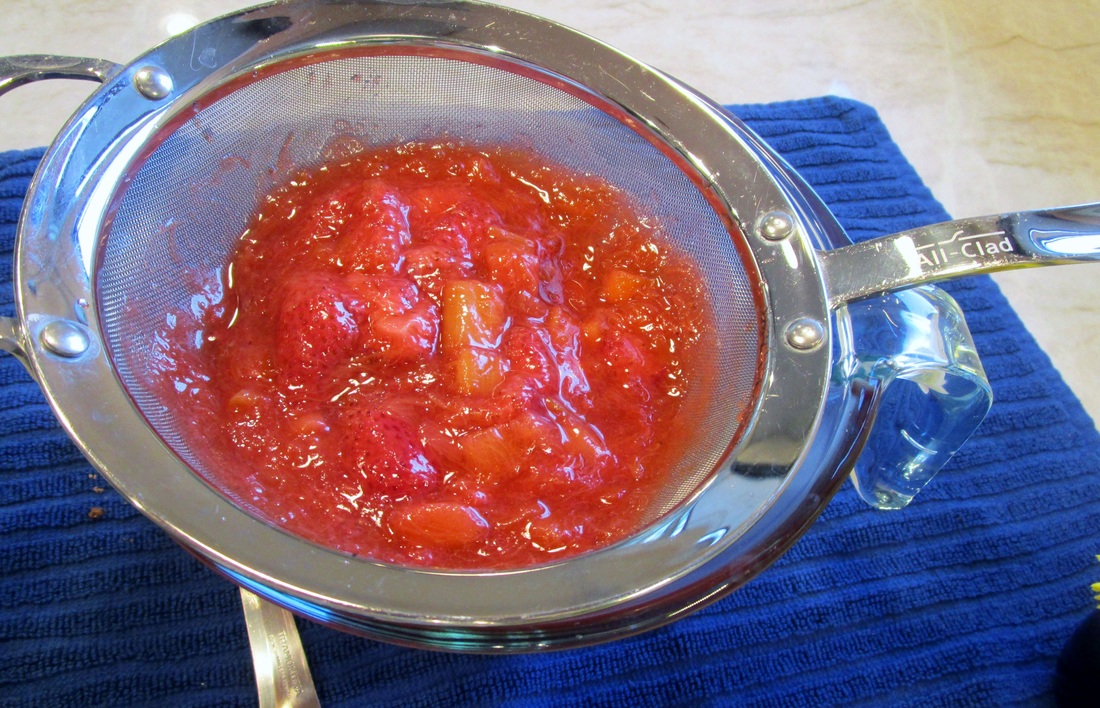
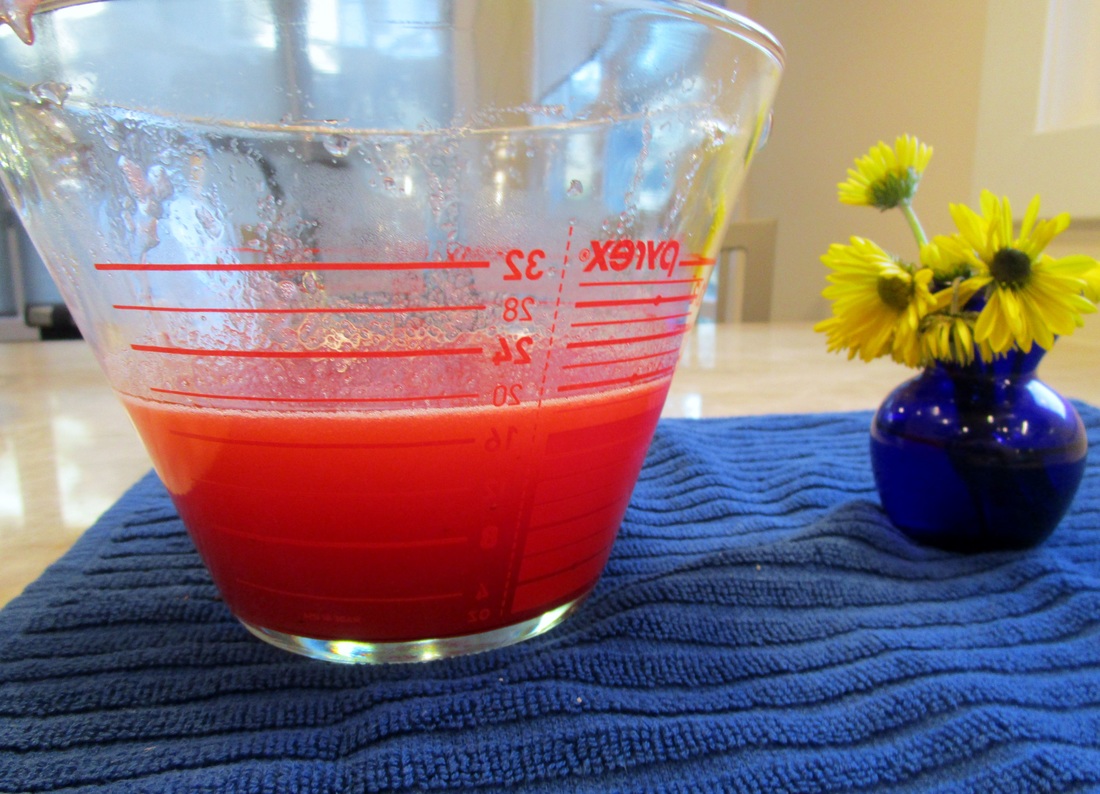
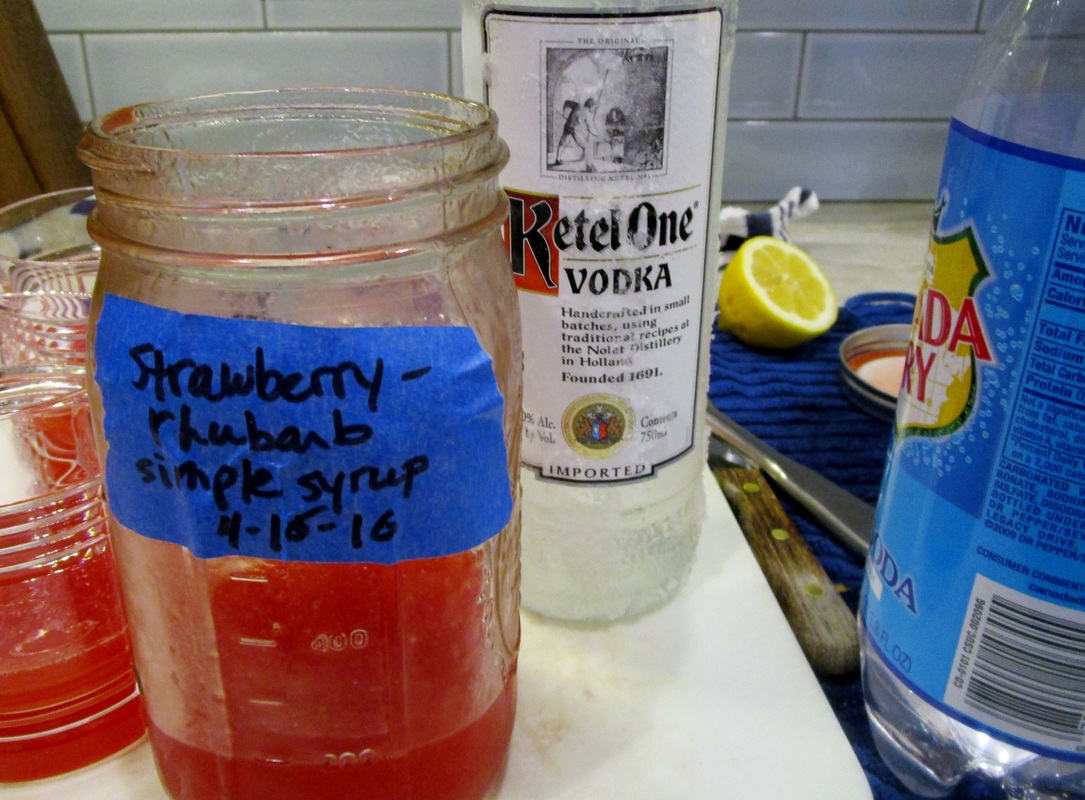
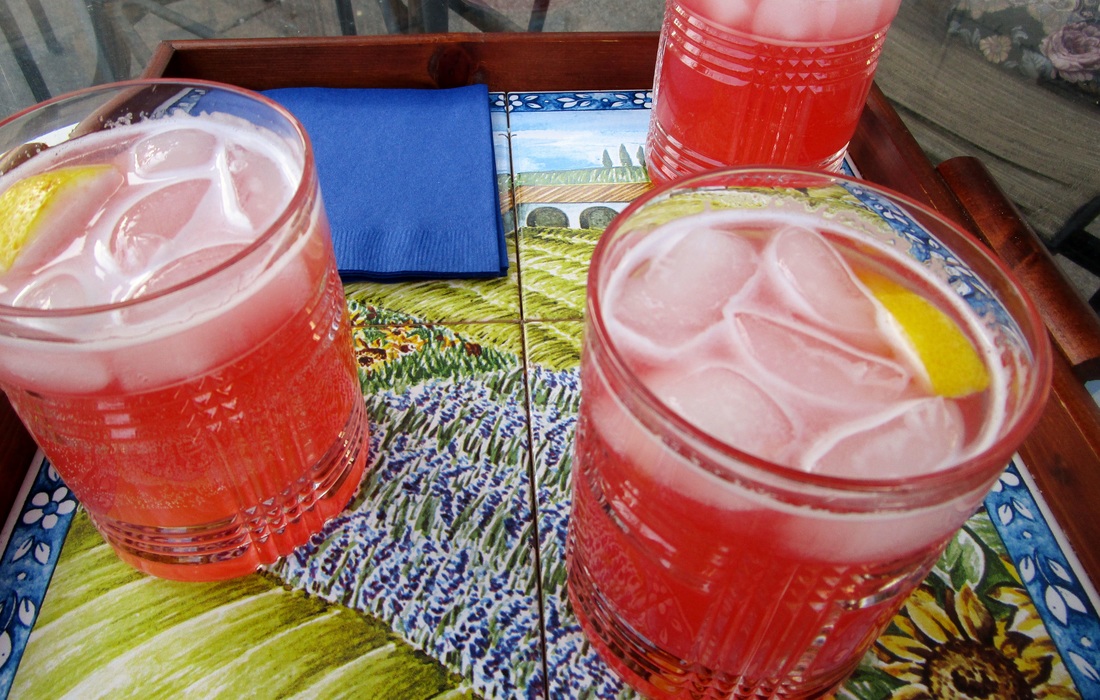
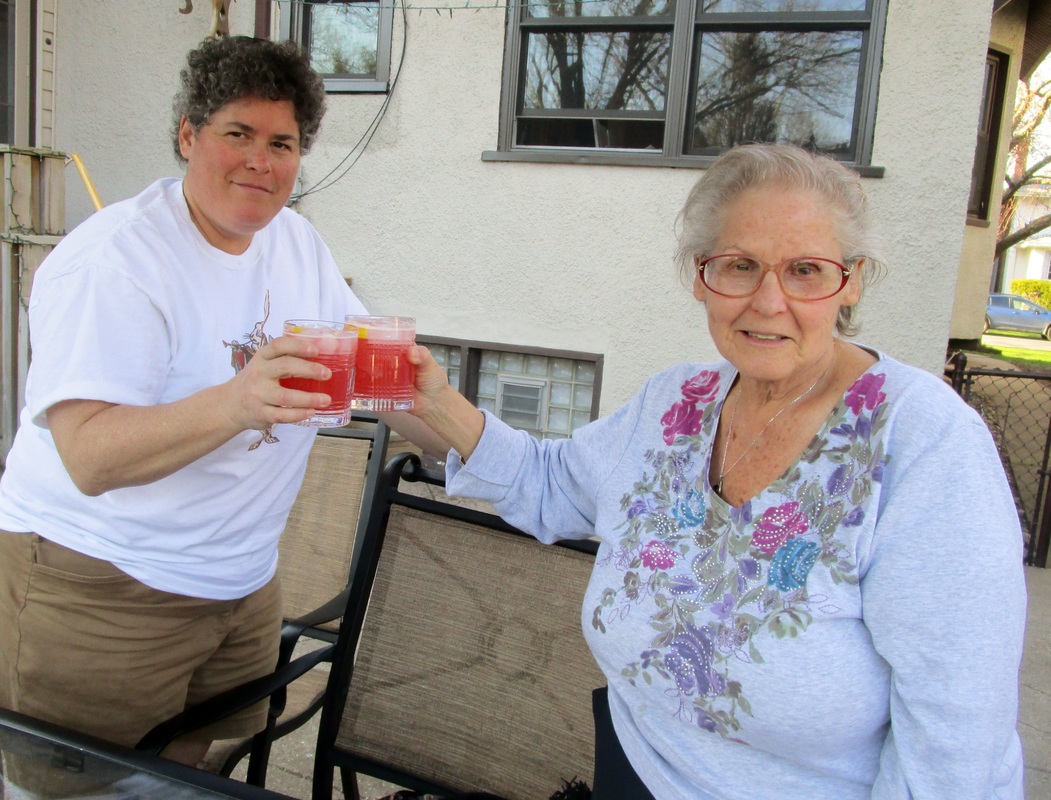
  • Drinks (Karen & Kathleen) – Shikaakwa Bloody Marys; Al Capone cocktails; Assorted Chicagoland craft beer; Various wines including Ditka Cabernet Sauvignon and Monsanto Chianti

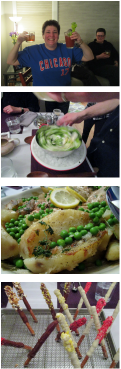
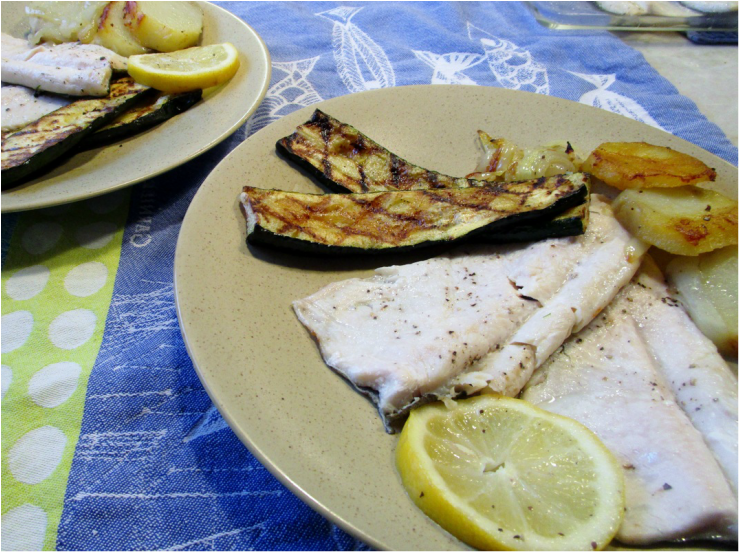
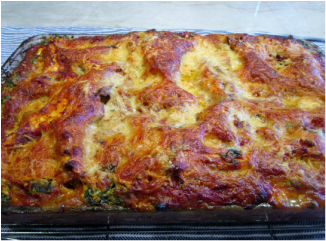
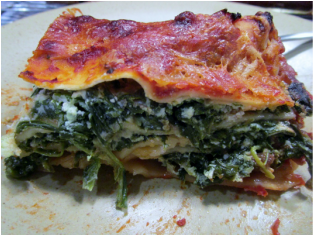
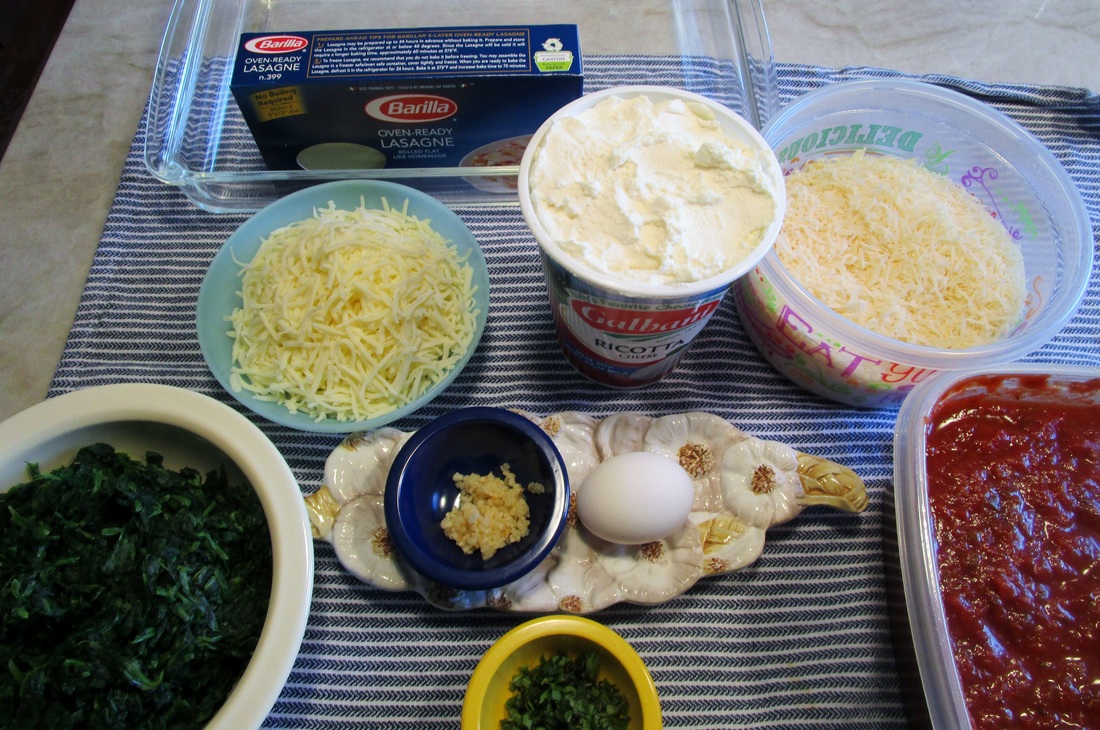
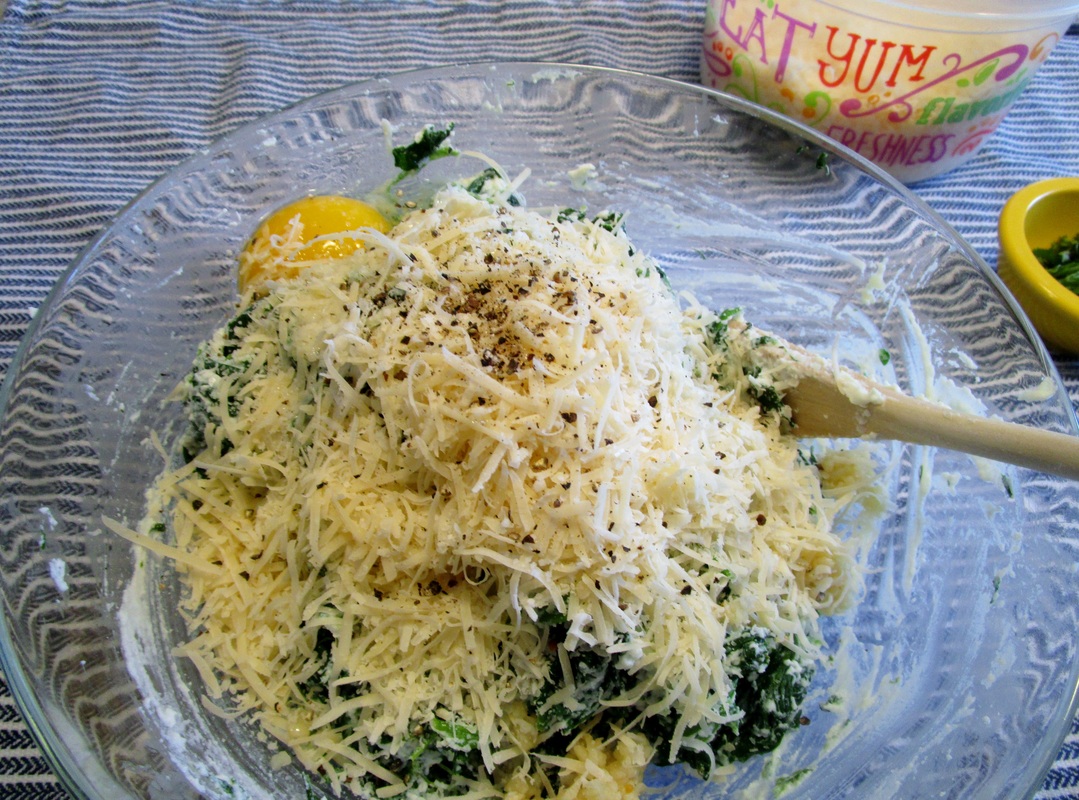
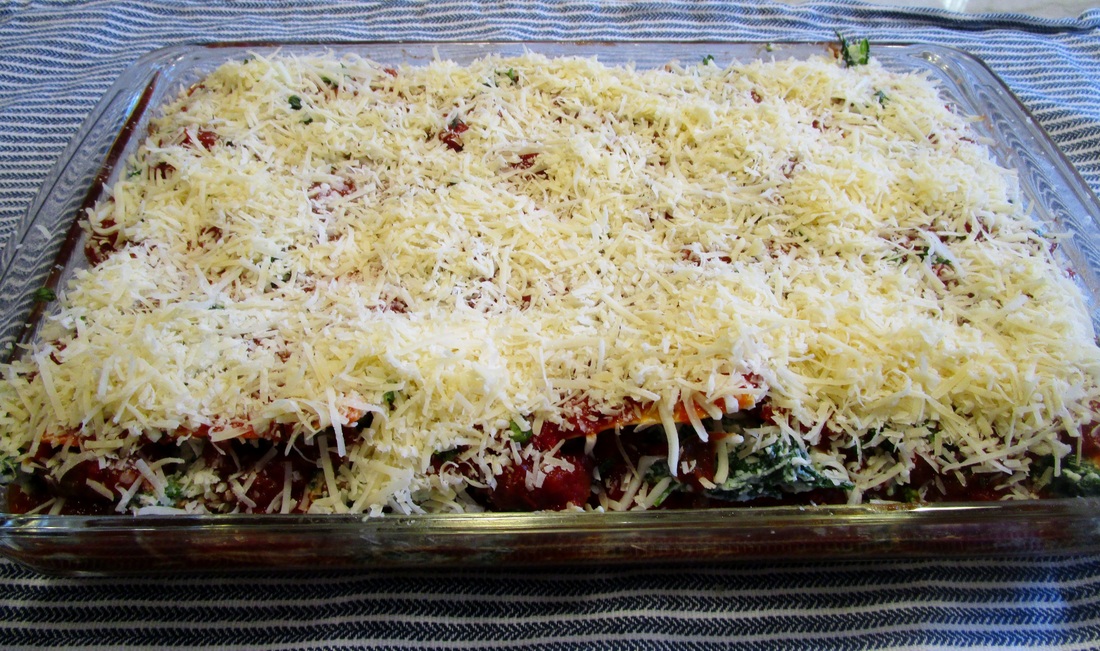
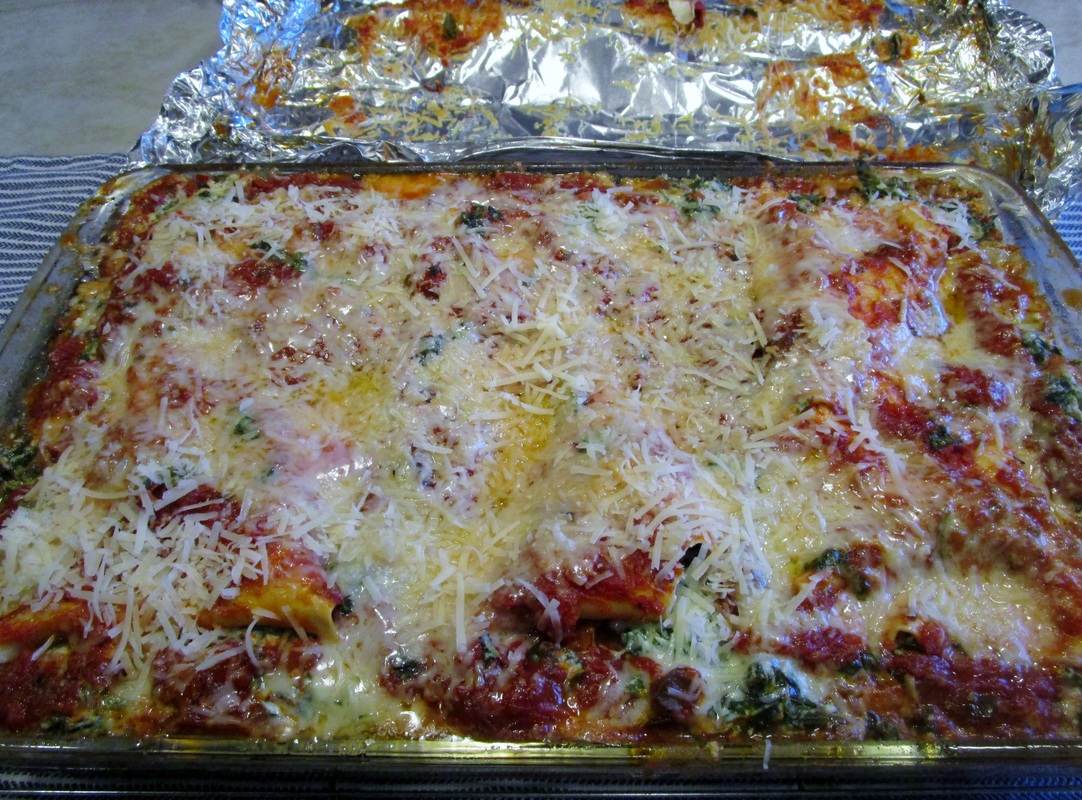
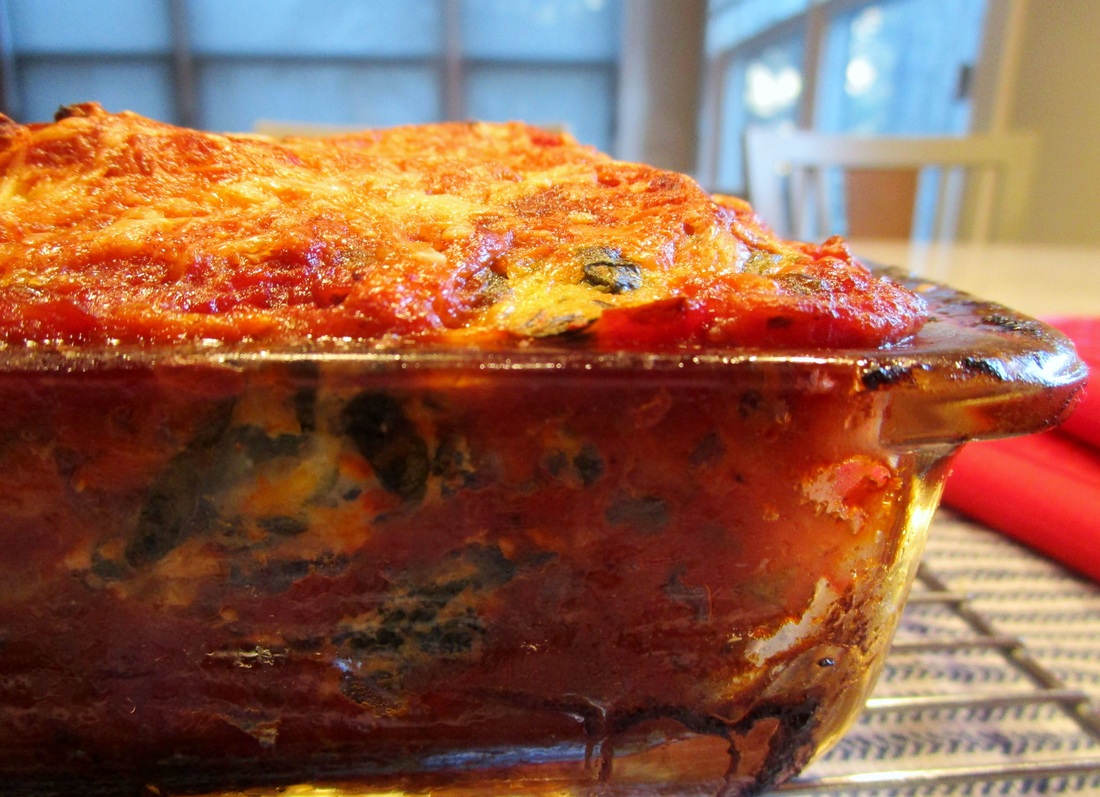
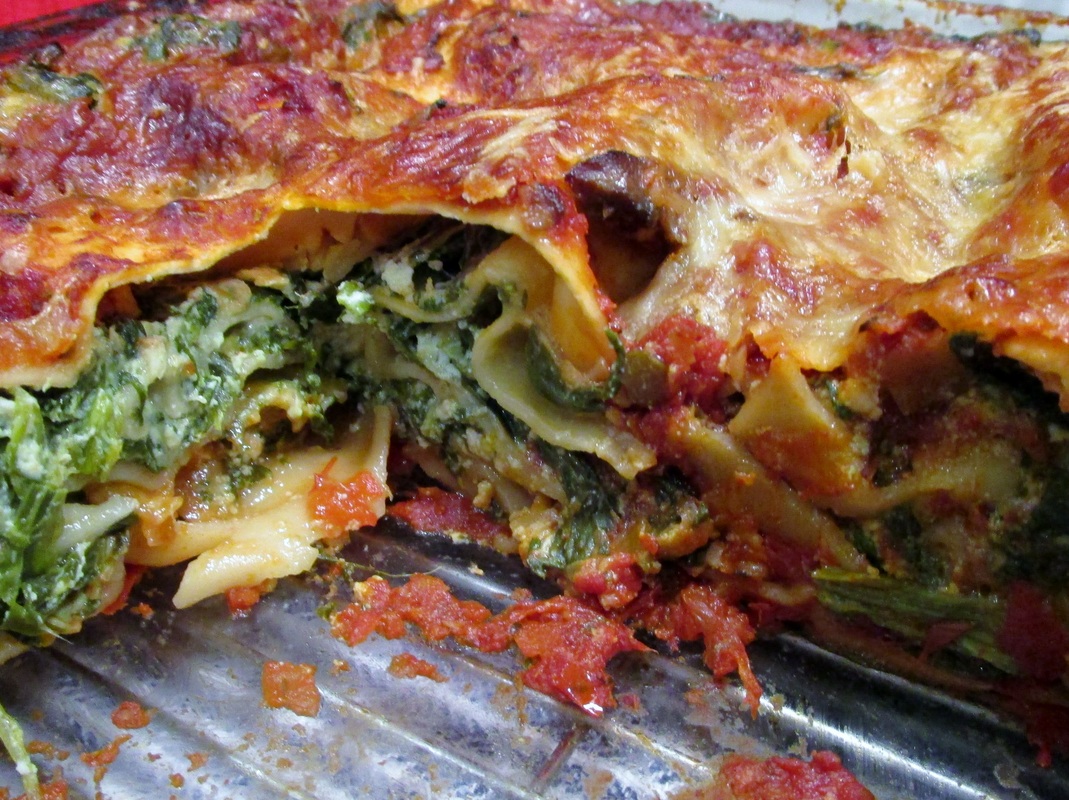
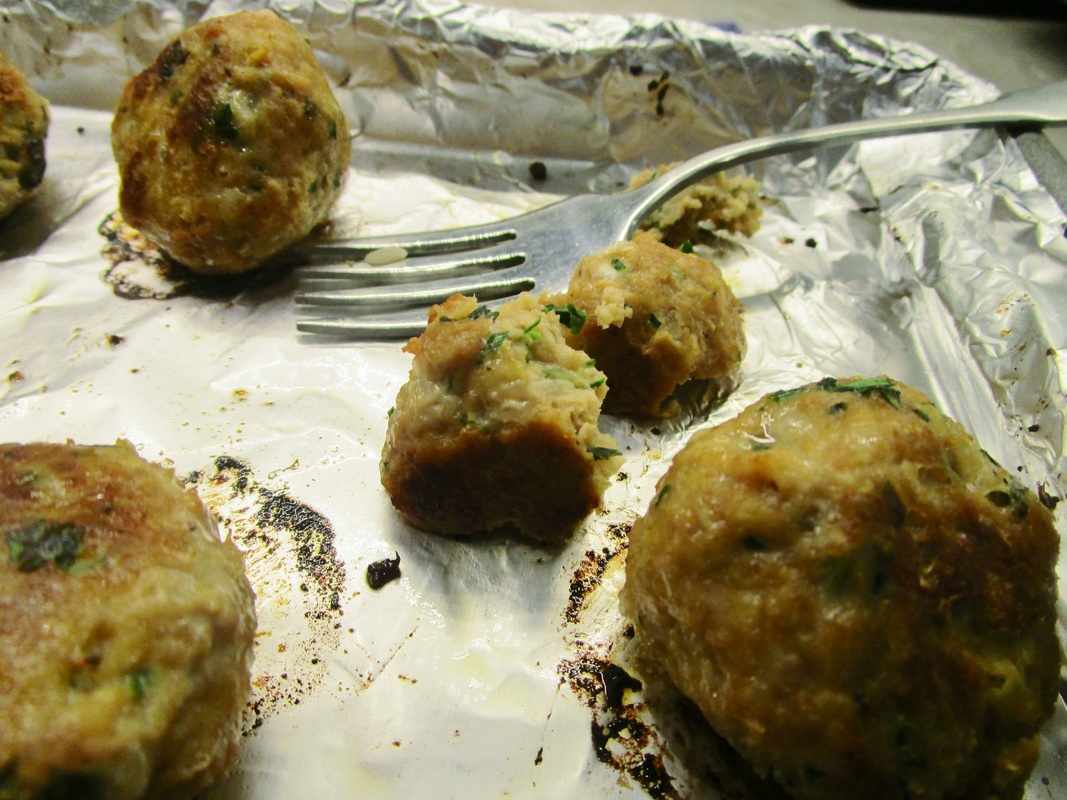
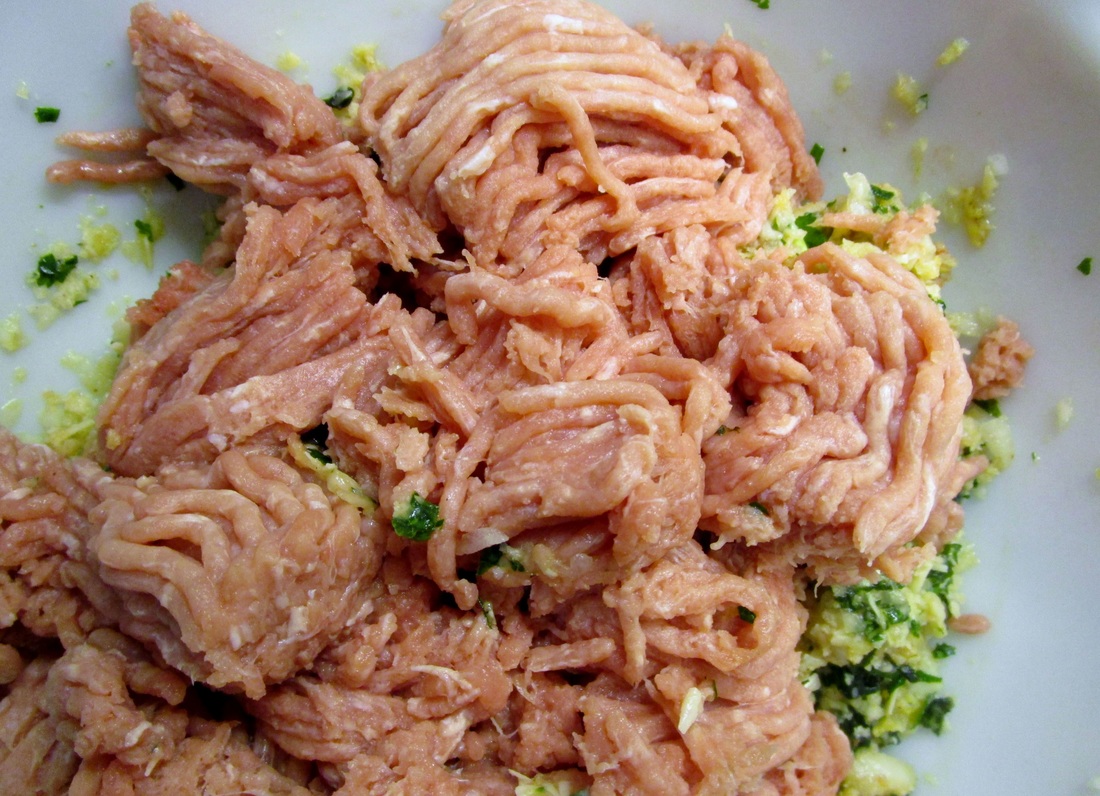
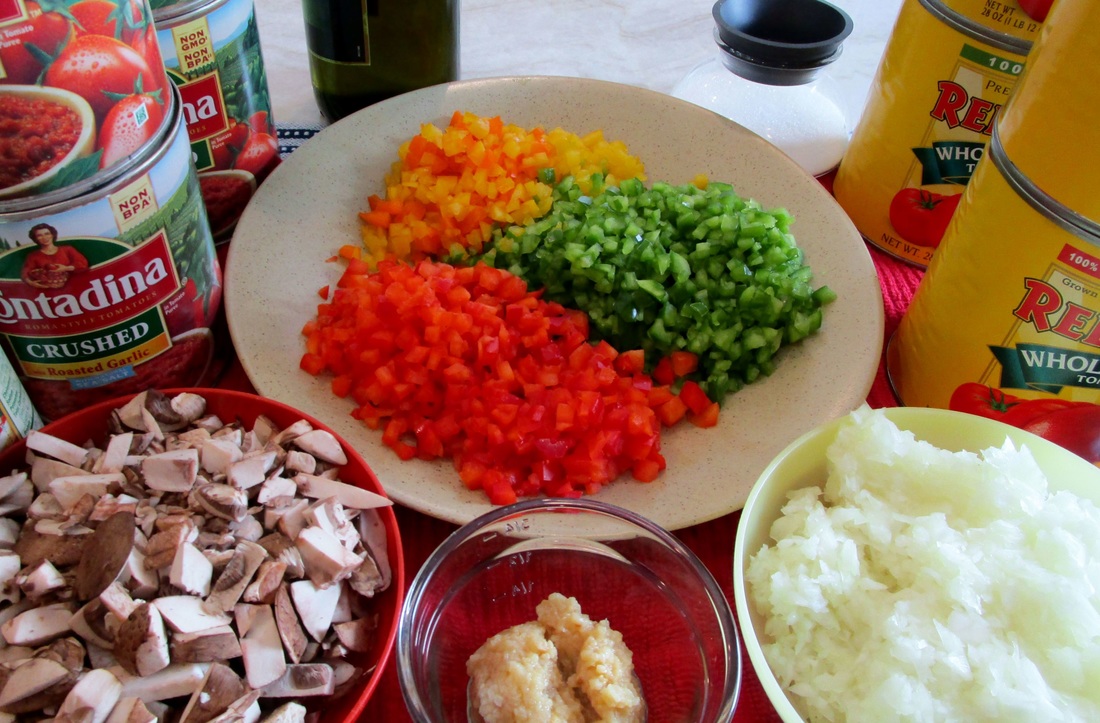
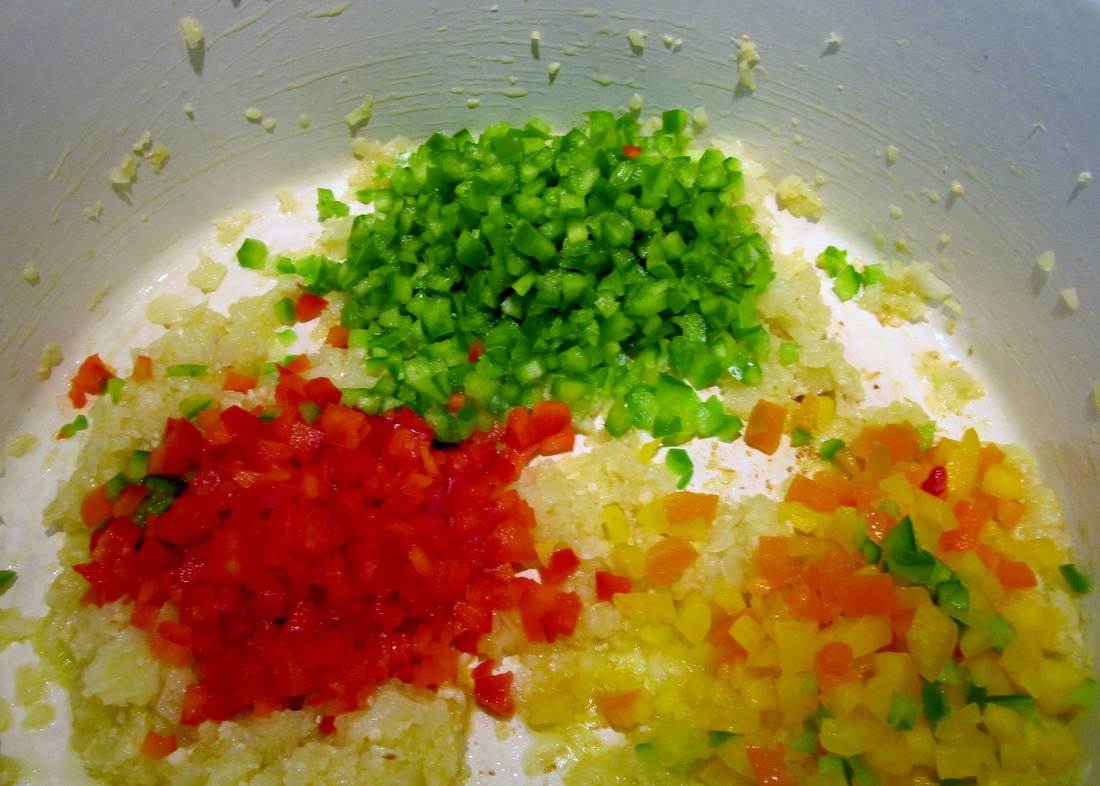
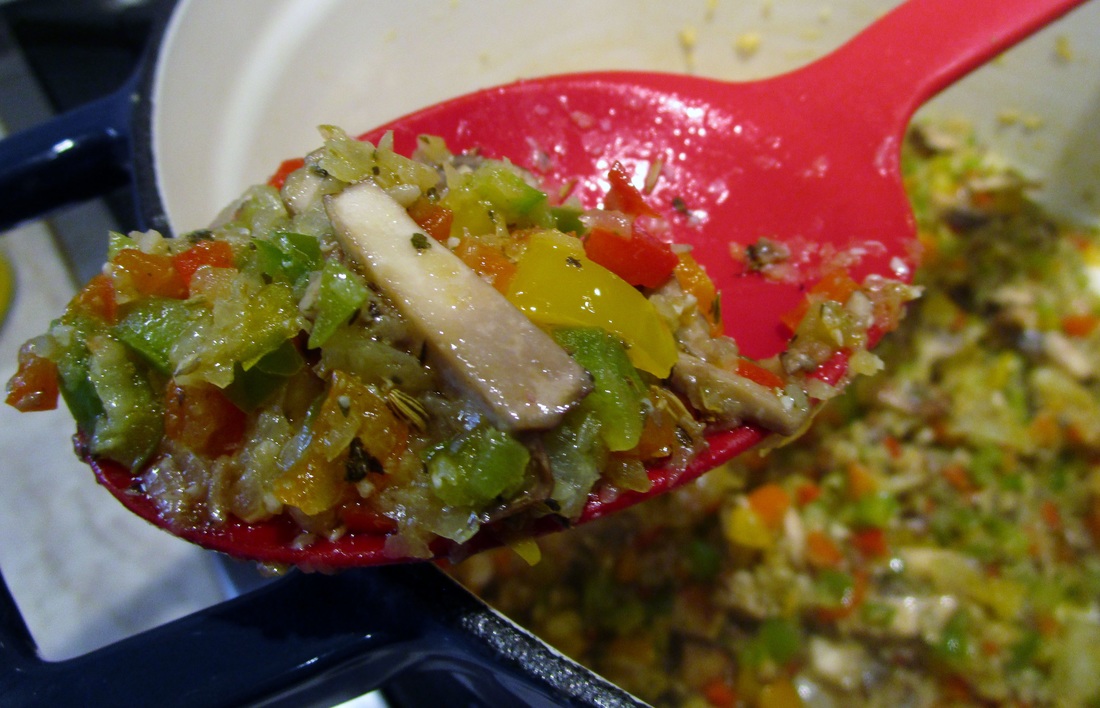
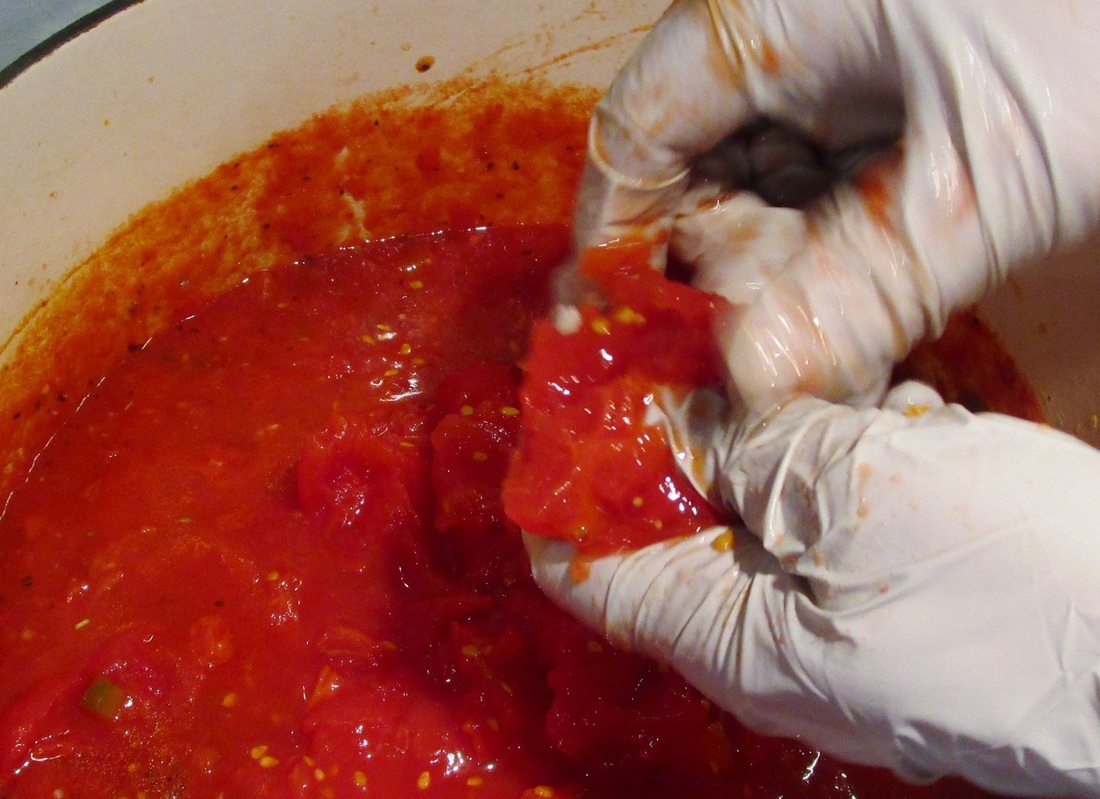
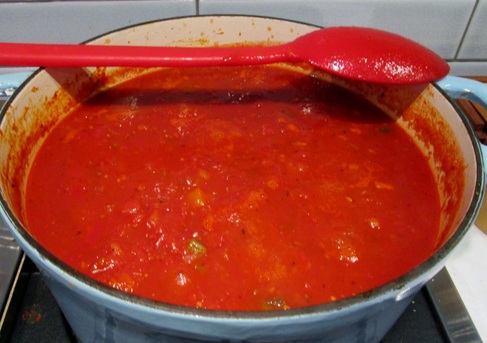
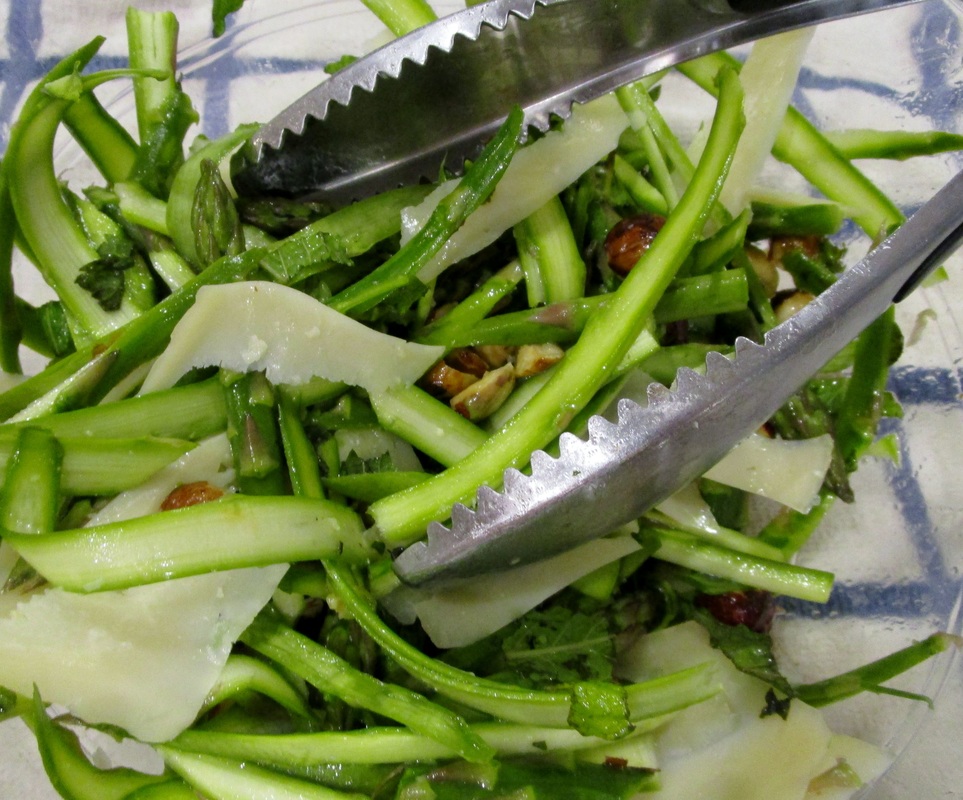
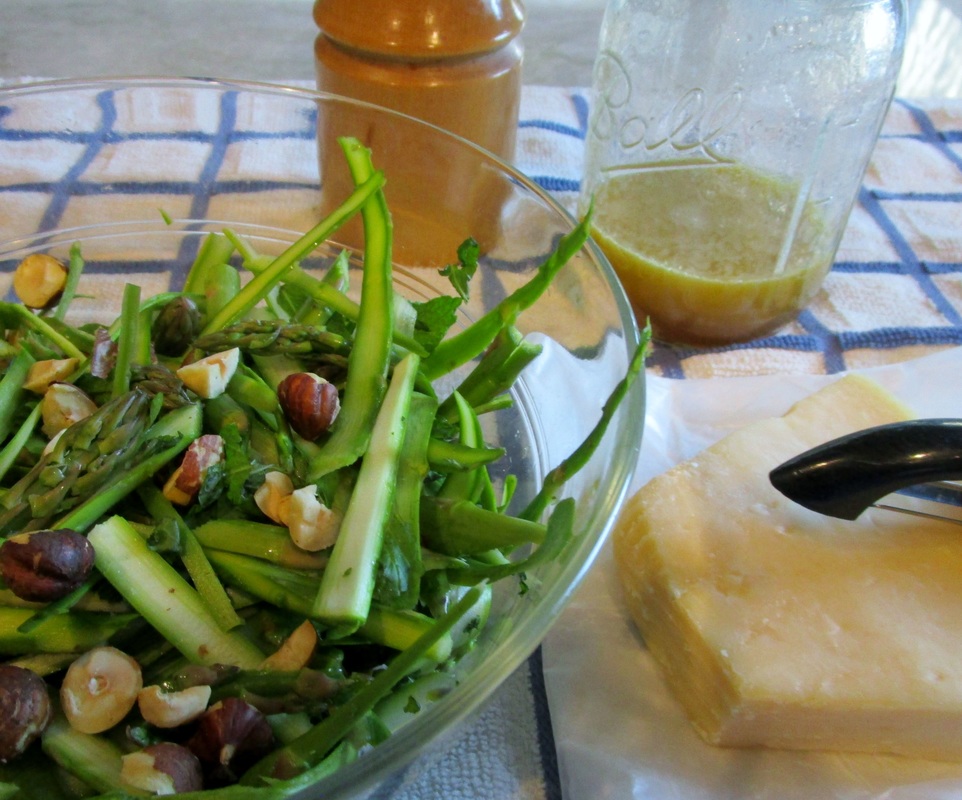
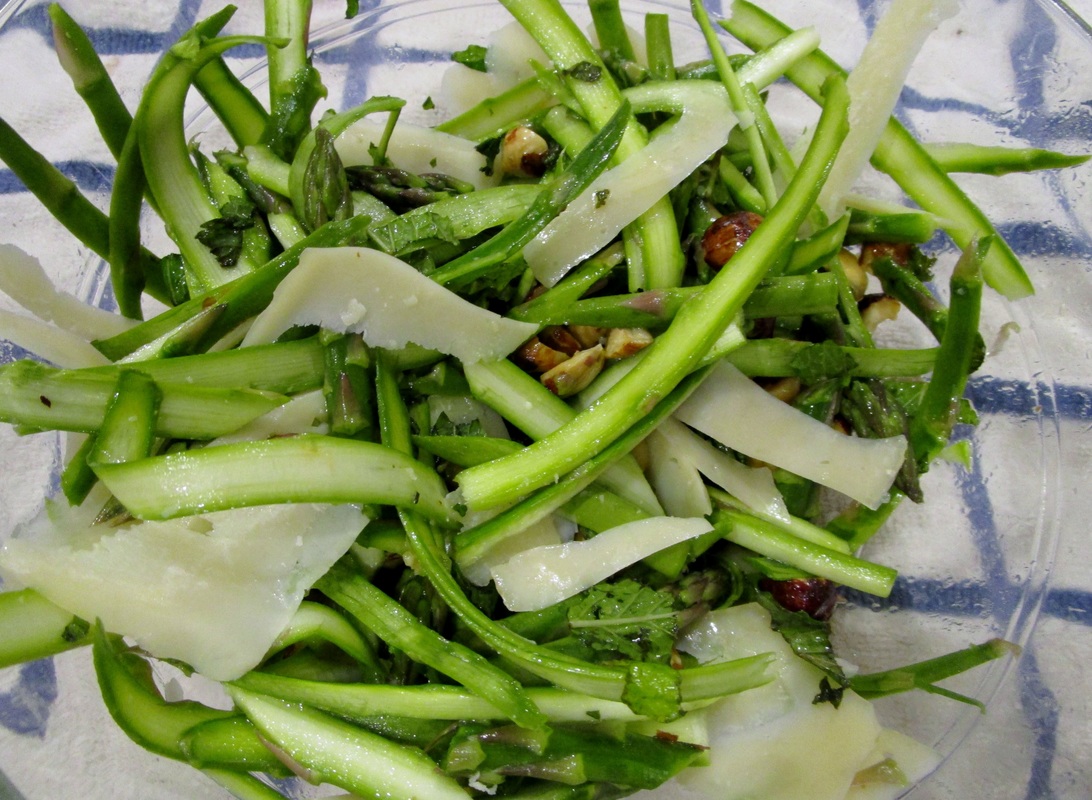
  • Appetizers (Greg & Dan) – Shrimp de Jonghe; Don Roth’s Blackhawk Spinning Salad Bowl

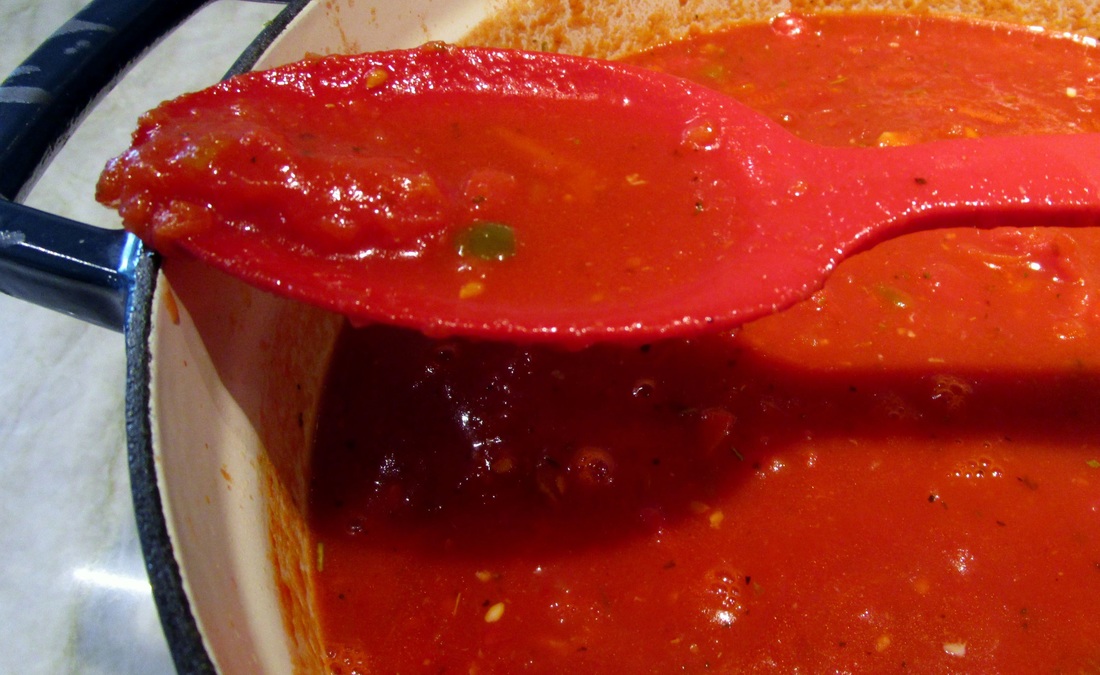
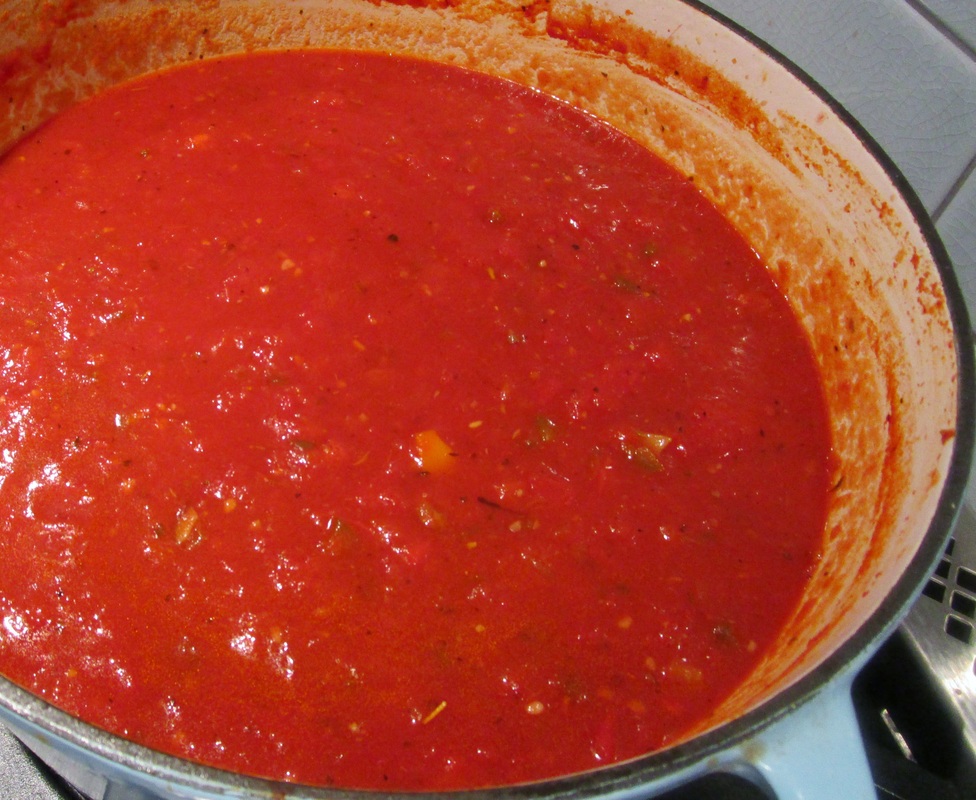
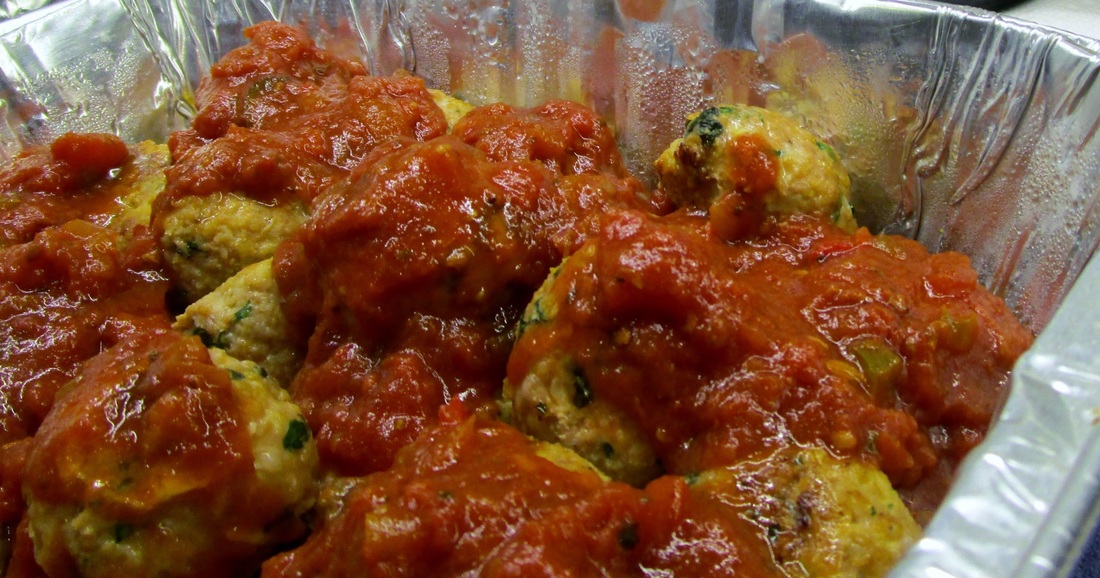
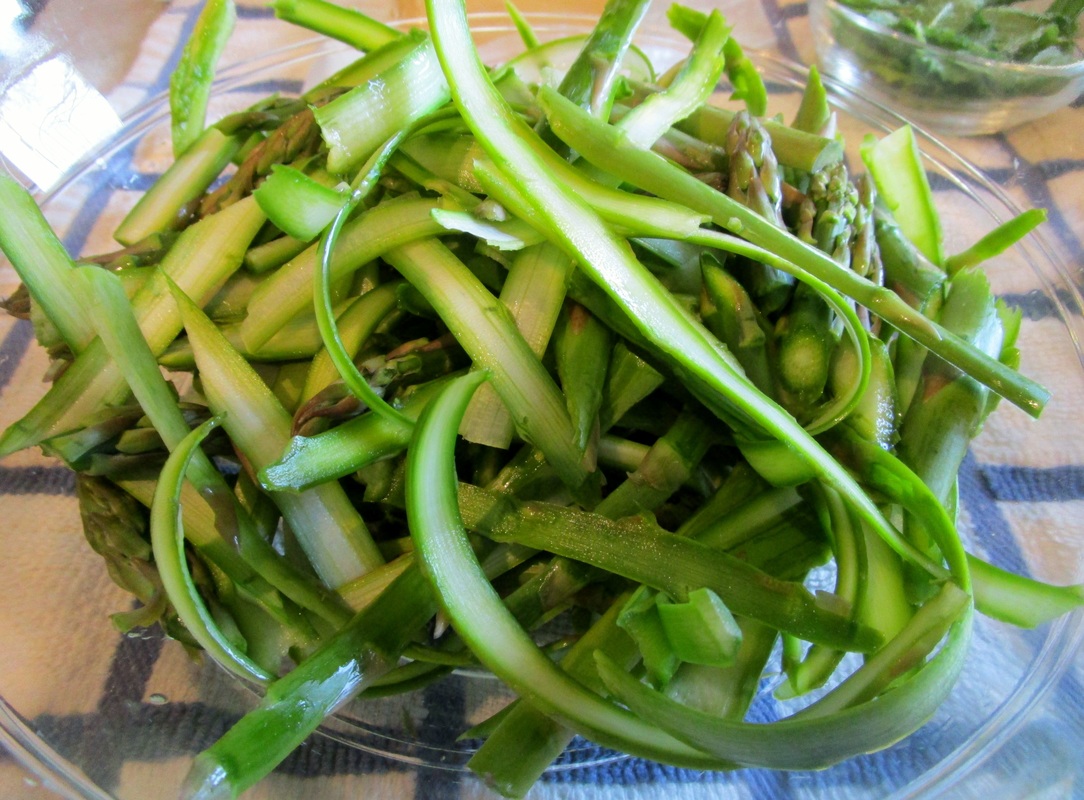
  • Main course (Ellyn) – Chicken Vesuvio a la Harry Caray; Grilled Asparagus with Green Onions; Green Salad with Strawberries and Poppyseed Dressing

  • Desserts (Ilise & Ann) – Milk Dud Cheesecake; Caramel-Dipped Pretzel Rods with Candy Toppings 


​Today’s post will focus on the Drinks and Appetizers. Keep reading for recipes, photos and more.

Read More
2 Comments

Kitchen Tips: Baking with Blueberries

4/26/2016

0 Comments

 
Kitchen Tips: Baking with Blueberries
Alternate title: When Good Muffins Go Bad

A friend was coming over for coffee and conversation one day last week so I made a batch of muffins as a tasty little go-with. Ilise suggested marrying two great muffin flavors together – “I now pronounce you blueberry and banana.” I found a random recipe on the internet (not linked here because, well, did you see that alternate title?) and started mixing.

Partway through I had an aha moment and then it was gone. For half a second I remembered some advice about tossing blueberries in flour before adding them to batter in order to minimize color bleed and avoid having the berries sink to the bottom. I thought, “You know, I should go look that up. Yes indeed, any minute now I’m going to look it up. No, I certainly will NOT proceed to make these blueberry banana muffins without solid guidance in the matter!”

I think you know how this ends. I researched NOTHING and wound up with ugly gray muffins. They didn’t taste terrible but it’s hard to overlook the look of ‘em. 
Kitchen Tips: Baking with Blueberries

​So here’s how to avoid blueberry badness, from no less a source than the 
U.S. Highbush Blueberry Council.

I mean, they oughta know, right?

Have you ever noticed that in muffins and other baked goods, fresh and frozen blueberries can easily sink to the bottom of the pan? This is easy to prevent! Just spread half of the batter in the pan, then add half the blueberries, top them with the remaining batter and top it off with the remaining blueberries. You can also coat blueberries with flour before stirring them into your batter.

One reason blueberries sink is because the batter may be too thin. Another reason might be that too much air has been incorporated into the batter: avoid over blending during the first stage of mixing. Here are a few more tips for baking with blueberries:

Try substituting dried blueberries for fresh or frozen ones. They remain suspended in the batter during baking and maintain a more structured texture than their fresh or frozen counterparts. They’re also less likely to burst when they get hot.

When adding blueberries to your batter, minimize streaking by gently folding them in at the end of the mix cycle.
​
If you’re using frozen blueberries, add them before they have a chance to thaw and bake your dish immediately to prevent color leeching and streaking.

Please share your best muffin-making tips in the Comments. I need all the help I can get!
Kitchen Tips: Baking with Blueberries
Yes, I served them anyway.

​Photos: Ann Johnson
0 Comments

Drinkies: Strawberry Rhubarb Soda (for Grown-ups)

4/22/2016

1 Comment

 
Strawberry Rhubarb Sodas (for Grown-ups)
​This refreshing, fruity beverage is mighty tasty with or without vodka, although if you’ve been paying attention I think you already know my recommendation. 
​In a recent newsletter* I revealed my long-held dislike of rhubarb, brought on by sampling it cooked but unsweetened when I was just a child. Never again, I vowed. Until now. In the spirit of culinary adventure, I promised readers that this month I would overcome my rhubarb resistance and make something yummy with it. I specifically said ‘dessert’ but I think ‘cocktail’ works just as well if not better, don’t you?​
* Have you subscribed to our newsletter yet? If you'd like to receive blog highlights and occasional fun extras once or twice a month please take a moment to do it now – the sign-up is in the sidebar to the right. Thanks for your support!​
Back to the rhubarb. The awesome food blog Smitten Kitchen’s recipe for Strawberry-Rhubarb Soda Syrup showed up in my Facebook feed one day looking so pink and delicious I just had to give it a try.

And try it we did – cocktails on the patio one balmy Sunday afternoon. Heavenly, although a word to the wise: they go down quite easily, so pace yourself.
Strawberry Rhubarb Soda (for Grown-ups)
This is essentially a simple syrup (make ahead; keeps in the fridge for 2-3 weeks) mixed with club soda and a squeeze of lemon. Homemade soda is fun to make, and this unexpected flavor is delicious all by itself.

Or you can kick it up a notch by adding the spirit of your choice to enjoy the perfect springtime cocktail. We went with vodka, a nice neutral pick, while gin or tequila are good options if you want a more liquor-forward cocktail. Ilise thinks bourbon might be interesting. Hmm. Round Two coming up? Cheers!
​
Click the photos to enlarge them and read the captions.

Please visit Smitten Kitchen to view, download and/or print this excellent recipe. 
1 Comment

Fish for Dinner: Grilled Trout with Herbs and Lemon

4/21/2016

0 Comments

 
Grilled Trout with Herbs and Lemon
Fish for Dinner is a feature chronicling my education in the ways of fish-cookery. I grew up avoiding fish other than sticks and was well into adulthood before adding the real deal into my diet, usually at a restaurant. The impetus to cook more fish at home comes from joining a sustainable fish program through Hooked on Fish, like a CSA that delivers boxes of farm-fresh produce but with seafood instead. I’ll tell you what we made and how we liked it, plus a few tips and fishin’ tunes too.

It’s been a few weeks since we’ve posted a Fish for Dinner meal. (One of the great things about the Hooked on Fish subscription is that you can put it on hold when it’s not convenient.) But when rainbow trout showed up on the options list I knew we were back in business. There are very few fish I enjoy more than trout, and now that the weather is finally cooperating (I hope I didn’t jinx it!) we look for every opportunity to fire up the grill.

Like so many fish recipes, this one is quick and easy. Open the pre-cleaned fish like a book and stuff herbs, lemon and butter inside. Close it up and pop it on the grill for about 8 minutes. Then prepare to dine like royalty – it’s that good.
​
Continue reading for the rest of the story, the recipe, photos, and a fishing ditty for your listening pleasure.

Read More
0 Comments

Happy Birthday Tim Curry

4/19/2016

0 Comments

 
PicturePhoto: Alan Light
I was first turned on to the The Rocky Horror Picture Show during my freshman year of college. (Thanks, Paul!) This was not long after it became a smash hit cult film and there was still a counter-culture vibe to it (so a million years ago). If you were cool enough to dress up in wacky clothes and face paint, stand in line for a midnight show, and throw toilet paper at the screen week after week, boy oh boy, you were Arctic in the best possible way.

Tim Curry starred as Dr. Frank-N-Furter and forever after secured his fame as the “sweet transvestite from transssssssexual Transylvaniaaaaaaaaah.”
He went on to play many other roles onstage and in the movies – including Mozart in Amadeus and King Arthur in Spamalot on Broadway, and the butler Wadsworth onscreen in Clue. He also had a brief career in pop music, recording such hits as I Do the Rock and Paradise Garage in the early 1980s, both of which were in high rotation at my house.

But to me Tim will always be first and foremost the lascivious, lip-licking, eyebrow-cocking, corset-wearing, high heel-strutting s/hero of Rocky Horror. Please join me in celebrating today’s birthday boy – 70 years old on April 19 – with a video clip of the iconic song “Don’t Dream It, Be It.” Words to live by, Tim – and Happy Birthday to you!

0 Comments

So-Easy Spinach Lasagna

4/18/2016

0 Comments

 
Easy Spinach Lasagna
The Occasion: Gotta use up a LOT of leftover tomato sauce. What to do? Make lasagna and alert friends and family that to-go-packs of dinner are coming their way.

I am a big fan of classic Italian-American red sauce joints and the iconic dishes they serve. Chicken parm – yes. Baked ziti – more, please. Pasta fazool – you know it. The king of them all, usually the pride of the kitchen and somebody’s Nonna’s treasured recipe, is lasagna. The mile-high, layered construction of tender pasta, creamy ricotta, lively tomato sauce, and more cheese baked to golden-brown, bubbly perfection – be still my heart.

I’ve made many lasagnas in my ‘career’ as a home cook, sometimes with meat but more often as a vegetarian affair. This particular recipe is new to me and while it's definitely not a "classic" lasagna (no béchamel sauce) it is still a winner thanks to a simple set of instructions and time-saving ingredients like no-boil lasagna noodles, frozen spinach, and store-bought or previously homemade sauce.  

Easy Spinach Lasagna
The Verdict: Very good, and with a little recipe-tweaking next time it could be excellent. For starters, I would double the amount of ricotta to not only add a little ‘loft’ between the layers but also balance out the extreme spinach-osity. I like spinach just fine but this is bordering on Popeye territory.

If you use canned or jarred tomato sauce (as per the recipe) I recommend doctoring it up with herbs and spices, onions and garlic before using it in the lasagna. Yes, it adds a little extra time but the results will be well worth the effort.

Final recommendation: More cheese! In all things! Truer words were never spoken.

Click on the photos to enlarge them and read the captions.

Printable Recipe- Easy Spinach Lasagna
File Size: 587 kb
File Type: pdf
Download File

Easy Spinach Lasagna
Recipe source: Chowhound
 
INGREDIENTS:
  • 1 (15- to 16-ounce) container whole-milk ricotta cheese
  • 2 (10-ounce) boxes frozen spinach, thawed and excess liquid squeezed out
  • 1 cup finely grated Parmesan cheese (about 3 ounces)
  • 2 medium garlic cloves, finely chopped
  • 1 large egg, lightly beaten
  • Kosher salt
  • Freshly ground black pepper
  • 2 (14.5-ounce) cans tomato sauce or jarred marinara sauce OR homemade sauce
  • 1 (8- to 9-ounce) box no-boil lasagna noodles (12 noodles)
  • 1 pound whole-milk mozzarella cheese, sliced 1/4 inch thick OR shredded mozzarella
  • Vegetable or olive oil
 
DIRECTIONS:
  • Heat the oven to 350°F and arrange a rack in the middle.
  • Place the ricotta, spinach, half of the Parmesan, the garlic, and the egg in a large bowl and season with salt and pepper. Mix until combined.
  • Spread 3/4 cup of the tomato sauce in a thin layer over the bottom of a 13-by-9-inch baking dish.
  • Construct the lasagna by layering 3 of the noodles over the sauce. Top with another 3/4 cup of the tomato sauce and spread it evenly to the edges of the dish. Using a small spoon, dollop a third of the ricotta mixture (about 1 cup) evenly over the sauce and flatten the dollops with the back of the spoon (the ricotta mixture will spread out more when it heats up). Evenly lay a quarter of the mozzarella slices over the ricotta.
  • Make 2 more layers of noodles, sauce, ricotta mixture, and mozzarella. Top with the remaining noodles, sauce, and mozzarella. Evenly sprinkle with the remaining Parmesan.
  • Coat 1 side of a large piece of aluminum foil with vegetable or olive oil and cover the dish tightly with the foil, oil-side down.
  • Bake until the sauce is starting to bubble around the edges, about 40 minutes. Remove the foil and continue baking until the top is browned, about 20 minutes more.
  • Remove the pan to a wire rack and let cool for 15 minutes before slicing.
0 Comments

Tantalizing Turkey Meatballs

4/15/2016

0 Comments

 
Turkey Meatballs
Turkey Balls. Meaty Balls. Meaty Turkey Balls. Turkey Meatballs. Ding ding ding. That’s the one we’re talking about today. I recently wrote about cooking up a mess o’ spaghetti and meatballs for Game Night, giving away treasured family secrets about my sauce. (Haha, not really, but I know that some folks get seriously hardcore and protective about that stuff!) Well now it’s time to talk turkey. Meatballs. I think that's been established already.

I use a recipe from Giada De Laurentiis with just a few variations in ingredients and process. I’ve made this many times and can vouch that it’s an A-#1-Primo dish. Let’s get started, shall we?

Click the photos to enlarge them and read the captions.
Printable Recipe- Not-So-Classic Italian Turkey Meatballs
File Size: 526 kb
File Type: pdf
Download File

Not-So-Classic Italian Turkey Meatballs
Recipe slightly adapted from one by Giada De Laurentiis for Food Network

INGREDIENTS:
  • 1 cup plain breadcrumbs (or panko)
  • 1/2 cup finely grated Parmesan, plus more for serving
  • 1/4 cup chopped fresh basil
  • 1/4 cup chopped fresh Italian parsley
  • 1/4 cup whole milk, at room temperature
  • 1 tablespoon ketchup, optional
  • 1 tablespoon tomato paste
  • 3/4 teaspoon kosher salt
  • 1/2 teaspoon freshly ground black pepper
  • 2 large eggs, at room temperature
  • 2 cloves garlic, minced
  • 1 small onion, finely chopped
  • 2 pounds ground turkey meat
  • Cooking spray, or extra-virgin olive oil, for drizzling

DIRECTIONS:
  • Preheat the oven to 400 degrees F.
  • Line two heavy baking sheets with aluminum foil. Spray the foil lightly with cooking spray.
  • In a large bowl, combine the breadcrumbs, Parmesan, basil, parsley, milk, ketchup if using, tomato paste, salt, pepper, eggs, garlic and onions.
  • Using a wooden spoon, stir to blend. Add the ground turkey. Using fingers, gently mix all the ingredients until thoroughly combined.
  • Using a 1-ounce cookie scoop or a small ice cream scoop or your gloved hands, form the meat mixture into balls roughly 1 1/2-inches in diameter. Note: The original recipe says you’ll get 22-24 meatballs, but I made them a bit smaller to yield 32.
  • Place the meatballs on the baking sheets covered with foil, spacing apart.
  • Place the baking sheets in the refrigerator to chill for about 15 minutes and firm up a bit.
  • When it’s time to bake the meatballs, spray them lightly with cooking spray. Alternately you can drizzle them with olive oil, but I find it makes the balls a little too loose and more likely to disintegrate.
  • Bake for 8 minutes. Remove the pans and carefully turn the meatballs; they might stick a little bit so be gentle. Return the pans to the oven and continue cooking another 8 minutes.
  • Test for doneness by piercing a meatball with a knife; if pink juices flow cook the meatballs for another few minutes. If the juices run clear, the meatballs are done.
  • Remove meatballs from the foil so that they won’t stick – either to a rack if cooling to use later, or directly into the pan with your cooked tomato sauce.
Turkey Meatballs in Marinara Sauce

Photos: Ann Johnson
0 Comments

Let’s Stay Together

4/13/2016

0 Comments

 
Al Green on Mike Douglas Show 1973Al Green on the Mike Douglas Show 1973
Today’s post tells the story of old friends, great music, and the kismet of right place/right time.

I want to tell you about two dear friends with whom I’ve had a lasting bond for over 30 years – Linn Vercheski and John Morrison, each celebrating a birthday today.

Boston University’s theatre program has never been the same since John and I paired up to sing The Bare Necessities from The Jungle Book as a class assignment. To clarify – John sang one helluva Baloo; I was a mediocre Mowgli, piping up with a “Yeah, man!” every so often. He’s a working actor today and in fact is opening a production of 1776 in the Philadelphia metro area even as we speak. So proud of this guy for living a rich creative life filled with theatre, music, and writing when so many of us (raises hand) have left for other, in many ways easier, pursuits.

Linn and I became friends and then housemates while working at the McCarter Theatre in Princeton, New Jersey, my first job after college. Although she was an amazingly talented costume designer, a series of circumstances eventually steered her into a business career back in her home state of Florida. She continues to radiate style and creativity from every pore, even if she doesn’t always realize it herself. There’s a lot of talk these days about “curation” – whether an event, experience, design or collection. Linn has been curating beautiful things and meaningful experiences for those around her since forever, and will soon begin an exciting new chapter in her creative journey.

I am amazed to realize my good fortune, calling these two fine people my friends for so many years when I surely don’t deserve them. I often wonder – what is the glue that has bonded these friendships when others have run their course? I think we were all our creative best selves when we met, full of energy, passion for the arts, and an abiding love of music. And while our present-day realities may have diverged a bit from the big dreams of yesteryear, I think that’s where we go and who we become again whenever these longtime friendships are reengaged. Plus John and Linn are good friend-tenders, taking care to maintain the important relationships. I’ve learned a lot from them (and need to practice more).

“So where does Al Green come into all of this?” you may be asking yourself. Well, he’s got a birthday today too. 70 years young. His easy, sexy, sultry soul music from the 70s is as comfortable and familiar as an old friend. There’s no doubt that we all wore out the grooves on our Al Green LPs back in the day and let’s be honest, we’re still singing along when his just-as-sweet-today hits play on the oldies station.
​
Let’s wrap up this ode to longtime friendship with heartfelt birthday wishes for Linn, John and Al. Hit Play and sing along if you remember the good old days.

0 Comments

Spaghetti & Meatballs, Fun & Games

4/12/2016

0 Comments

 
Pasta with Ann's Jersey-Style Tomato Sauce and Turkey Meatballs
We had so much fun hosting Game Night a couple months ago that we did it again. Different guests, different games, different menu. Similar levels of ruckus, raucous laughter, and hilarity were achieved. Another successful party in the record books!

So much fun was had in the moment we forgot to take pictures. (I’m actually not sorry about that.) This explains why the photo above is NOT spaghetti [we ate it all] but an alterna-pasta I made the next day to go with the extra sauce.

My ‘feed a crowd’ strategy was similar to last time: simple, hearty comfort food with plenty of options to suit individual taste buds, all served buffet style from the kitchen counter. At Game Night #1 we served soup and chili, salad, and jalapeno-cornbread. This time we chowed down on spaghetti with a meat-free tomato sauce and a choice of turkey meatballs, Italian sausage, or giant broccoli spears on the side. A big green salad with mix-ins and garlic bread rounded out the meal.

I am originally from New Jersey which for a small state has an awful lot of residents, many of them Italian-American. Drive down any thoroughfare with the window open and your nose will be (delightfully) assaulted by aromas of garlic, tomatoes, and oregano bubbling away on somebody’s Nonna’s stove. I say this to indicate that I know from spaghetti sauce aka red sauce aka ragu aka gravy.

I love to make sauce but rarely do it anymore as it’s an all-day endeavor. It’s also an improvisational activity, not especially recipe-friendly. Taste, add a little more of this or that, taste again, and keep tweaking until your hungry soul says “Yes!”

So below you’ll find the skeleton of my recipe for tomato sauce along with suggestions to make it your own. The rest will have to come from you -- and Nonna.

This makes a very large batch. Freeze some or cut down the quantities, as you please. 

Click the photos to enlarge them and read the captions.
Ann’s Jersey-Style Tomato Sauce with Veggies

Note: The quantities shown will make a very large batch of sauce. It freezes well, or if you’re knowledgeable about canning/preserving foods that’s another option. Or just cut down the recipe by about half – you’ll still have a big batch, just slightly more manageable.

Feel free to vary the veggies and herbs. Use more or less garlic, as you wish. This is a highly flexible recipe. Taste frequently as you cook, making adjustments as you go – especially salt and pepper throughout, not just at the end. Remember that a wonderful depth of flavor will develop as the sauce simmers over several hours so just be sure it’s a flavor that you like.


INGREDIENTS:
  • 4 tablespoons olive oil, separated (3 tbsps. + 1 tbsp.)
  • 2 medium onions, finely chopped
  • 3 bell peppers, cut into very small dice – I used one each green, red, and yellow, but use what you like
  • 6 cloves garlic, minced
  • 8 oz. mushrooms, chopped – I used regular button mushrooms but you can use wild ‘shrooms if preferred, or a mix
  • 4 large cans (28 oz. each) whole tomatoes
  • 4 large cans (28 oz. each) crushed tomatoes
  • 1 small can tomato paste
  • 1-2 cups red wine
  • Herbs – fresh or dried: Your choice but in my opinion basil and oregano are a must; thyme and rosemary are nice options; and crushed fennel seeds will make the sauce sing!
  • Sugar – To taste, between 2 tablespoons and ½ cup, depending on the acidity of the tomatoes and your total quantity of sauce
  • Salt and pepper, to taste
 
DIRECTIONS:
  • Heat 3 tablespoons of olive oil in a very large heavy saucepan or two medium/large heavy saucepans over medium-high heat.
Note: You can see in the photos above that I made this extra-large batch of sauce using two pans, and divided up the ingredients proportionally. The rest of this recipe is written as if it were all going into one pot. Please adjust accordingly for yourself.
  • Add the onions, stir, then cook until softened, about 4 minutes.
  • Add bell peppers and a pinch of salt. Stir once or twice, cook until softened, about 3 minutes.
  • Add garlic, stir and cook for 30 seconds.
  • Add mushrooms and remaining 1 tablespoon olive oil. Stir together, reduce heat to low, and partially cover pan. Cook until mushrooms have softened, about 5 minutes.
  • If using fennel seeds (optional) or other non-leafy herbs and spices, add them to the pan now. Give a stir and cook for 2 minutes.
  • Add canned crushed tomatoes to the pan and give it a stir to mix everything together. Increase heat to medium-high.
  • Add canned tomatoes to the pan, including the liquid. Break the whole tomatoes apart with your fingers. (I use gloves but well-washed bare hands are okay too.)
  • Add 1 teaspoon salt and several grinds of pepper. Add 1 teaspoon of sugar. Stir to mix.
  • Bring sauce to a near-boil, then reduce heat to low, cover and simmer.
  • Check the sauce every 30 minutes or so – taste for flavor and adjust accordingly. My routine usually goes like this:
  • 1st check-in: Probably a little more sugar (to combat the acidity from the tomatoes), salt and pepper.
  • 2nd check-in: Add leafy herbs such as basil and oregano. Probably add a cup or so of wine. It doesn’t need to be your best wine, but it should definitely be good enough to drink.
  • 3rd check-in: Turn off the heat, keep the sauce covered and let it rest for a little while, 30-60 minutes or so.
  • 4th check-in: Turn the heat back on low, give everything a stir and a taste. What does it need? Probably more sugar, salt and pepper. (Don’t worry – it’s still less than you’ll find in a jar of sauce at the grocery.) More wine? A dollop of tomato paste to thicken it up and intensify the tomato flavor? You’re the boss.
  • 5th check-in: You’re probably extremely close to done by now. Have a taste and adjust as needed. My secret weapon (if I’m not worried about keeping the dish vegetarian) is a few dashes of Worcestershire sauce or a squirt of anchovy paste. That’ll really bring the umami! If you’ve added anything, let the sauce cook for at least 15 minutes more, then turn off the heat, keep the pan covered, and let the sauce rest again for at least 15 minutes. I think this helps to “settle” the flavors and let them meld together.
Use the sauce with any pasta dish, adding a handful of fresh, chopped herbs if you like. Or serve the sauce with proteins such as chicken and pork. 
​
Ann's Jersey-Style Tomato Sauce with Veggies
Stay tuned for a post about the delicious turkey meatballs, coming soon.

Photos: Ann Johnson
0 Comments

A Fresh Take on Asparagus

4/7/2016

1 Comment

 
Shaved Asparagus & Mint Salad
Picture
A quick scan of my recipes from the past few months reveals an asparagus lust I did not know I had. So many! Well, here’s another one, a little different from the rest. This salad features raw asparagus shaved into ribbons adorned with mint leaves, toasted hazelnuts and shaved parmesan. So far so good, right? Right!

The Occasion: First dinner on the patio of the season. It probably wasn’t quite warm enough but we fired up the grill, dragged the chairs out of storage and did it anyway, tempted by an unseasonably balmy day.

What We Served:
  • Shaved Asparagus and Mint Salad – from Meatballs&Milkshakes via Food 52
  • Grilled Ribeye Steak
  • Freshly-baked country bread from Hewn, an awesome bakery in Evanston


Click on the photos to enlarge them and read the captions. All photos by Ann Johnson or Ilise Goldberg.
Printable Recipe- Shaved Asparagus and Mint Salad
File Size: 496 kb
File Type: pdf
Download File

Shaved Asparagus and Mint Salad
Recipe source: Meatballs&Milkshakes via Food52
 
INGREDIENTS:
  • 1 bunch asparagus, tough ends removed
Note: Choose a bunch with thick-ish stems
  • 1 handful toasted, crushed hazelnuts
  • 1 tablespoon chopped mint
  • 3 tablespoons freshly squeezed lemon juice
  • 2 tablespoons Sherry vinegar
  • 1 teaspoon honey
  • 3 tablespoons extra virgin olive oil
  • Parmesan or pecorino cheese shavings
 
DIRECTIONS:

  • Using a vegetable peeler, shave the asparagus lengthwise to create strips.
  • Toss with the toasted hazelnuts and mint.
  • Whisk together lemon juice, vinegar, honey, and olive oil.
  • Pour a couple of tablespoons over asparagus and toss to mix. Add salt and pepper, additional dressing to taste.
  • Shave cheese on top.
Serves 4

The Verdict: The unusual treatment of the asparagus – raw and in ribbons – makes this dish stand out in the best possible ways. The fresh, crisp, greenness of the asparagus and the mint plus the toasty crunch of the hazelnuts and the savory slivers of parmesan cheese – wow! One little caveat: It is much better on Day One than as leftovers.

This would be a great side dish for a medium-fancy dinner party or a ladies lunch. Probably not so much for kids or a busy weeknight. 
Shaved Asparagus and Mint Salad with Grilled Steak
1 Comment

Roasted Carrot Soup, So Creamy (yet dairy-free)

4/5/2016

0 Comments

 
Roasted Carrot Soup
The Occasion: Perfect for a light meal or even a dinner party first course.

I am a person who enjoys a nice bowl of soup all year round. Yes, even in summer – hello gazpacho! But it’s not summer yet, so the timing is right for a soup that features the bright flavors of springtime.  
Ilise thinks of soups as fall and wintertime fare and she’s got a point, there are many good hearty bowlfuls to be had during those times of year.

On the weekend we made this tasty roasted carrot soup the weather was so wacky we both had our way. Snowy and cold one day, 70 degrees the next. The soup worked equally well in both climate zones.

Simple as can be, the oven-roasted carrots, vegetable broth, and precious few other ingredients are pureed together using a blender. Seems too easy to result in such a rich and flavorful soup but believe it and try it for yourself. The chopped thyme sprinkled on top really makes a difference!
​
Click on the photos to enlarge them and read the captions.
Printable Recipe- Roasted Carrot Soup
File Size: 585 kb
File Type: pdf
Download File

Roasted Carrot Soup
Recipe source: Reeve @ Food52
 
INGREDIENTS:
  • 6 to 8 large carrots (about 1 3/4 pounds)
  • ¼ cup olive oil
  • Salt
  • 6 cups vegetable stock (good quality, not too high in sodium)
  • 1 piece ginger, an inch long, peeled
  • 1 sprig thyme, plus more for garnish
  • ½ large sweet onion, chopped
  • 2 large garlic cloves, chopped
  • Freshly ground black pepper
 
DIRECTIONS:
  • Peel and cut the carrots into 1/2-inch rounds. On a rimmed baking sheet, toss the carrots with 2 tablespoons of the olive oil and sprinkle generously with salt.
  • Set an oven rack 6 to 8 inches from the heat source and turn on the broiler.
Cook's Note: I roasted the carrots at 450 degrees instead of using the broiler. As noted below, it took @ 15 minutes and frequent turning.
  • Broil the carrots until they brown and soften, turning them over with a spatula every 5 minutes or so; this should take 15 to 20 minutes.
  • Meanwhile, bring the stock to a boil, add the ginger and the sprig of thyme and simmer gently for 15 minutes.
  • Put the onion in a medium stock pot with the remaining olive oil. Brown the onion over medium heat, stirring frequently. Add the garlic, and then add the carrots.
  • Remove the ginger and thyme from the stock and add the stock to the pot with the onions and carrots. Bring to boil and simmer for 5 to 10 minutes, until the carrots are soft enough to puree.
  • Use an immersion or a standard blender to pureé the mixture until smooth. If the soup seems too thick, add more stock or water and reheat gently. Add salt and pepper to taste.
  • To serve, garnish with chopped fresh thyme.

Roasted Carrot Soup
0 Comments

A Toast to Birthday Girl Rachel Maddow

4/1/2016

0 Comments

 
PictureRachel Maddow in Seattle (2008) Image: Paul Schultz
Rachel Maddow is not only an author, political commentator, and host of The Rachel Maddow Show on MSNBC but also a classic cocktail enthusiast and amateur bartender.

Cocktail Moments are an occasional feature on her TV show wherein Rachel drops a little mixology knowledge on the viewers, mixing drinks and telling stories. Highly entertaining! You can find some of them here.
​
For your viewing pleasure today, please enjoy this fun clip of Rachel making a Donald Trump-inspired cocktail for Jimmy Fallon. “It’s really a terrible drink.” 


Happy birthday, Rachel, and Happy Friday to us all – cheers!
0 Comments
    When home cooking becomes a special occasion - Recipes, playlists, table tips and more
    Picture

    ​
    Entertaining Vintage

    Vintage treasures for the kitchen, home, collectibles, and gifts

    Categories

    All
    Afternoon Dance Break
    Birthday Greetings
    Cookbook Road Test
    Cool Tunes
    Drinks
    Entertaining Vintage
    Fish
    Kitchen Reno
    Kitchen Tips
    National Days
    Party Planning
    Pop Culture
    Recipe
    Savory Bites
    Supper Club
    Sweet Bites
    The Arts
    Travel
    TV
    Video

    Archives

    May 2020
    April 2020
    March 2020
    August 2019
    June 2019
    May 2019
    April 2019
    March 2019
    February 2019
    January 2019
    December 2018
    November 2018
    October 2018
    September 2018
    August 2018
    July 2018
    June 2018
    May 2018
    April 2018
    March 2018
    February 2018
    January 2018
    December 2017
    November 2017
    October 2017
    September 2017
    August 2017
    July 2017
    June 2017
    May 2017
    April 2017
    March 2017
    February 2017
    January 2017
    December 2016
    November 2016
    October 2016
    September 2016
    August 2016
    July 2016
    June 2016
    May 2016
    April 2016
    March 2016
    February 2016
    January 2016
    December 2015
    November 2015
    October 2015
    September 2015
    August 2015
    July 2015
    June 2015
    May 2015
    April 2015

    RSS Feed

    Subscribe to our mailing list

    * indicates required
Proudly powered by Weebly