
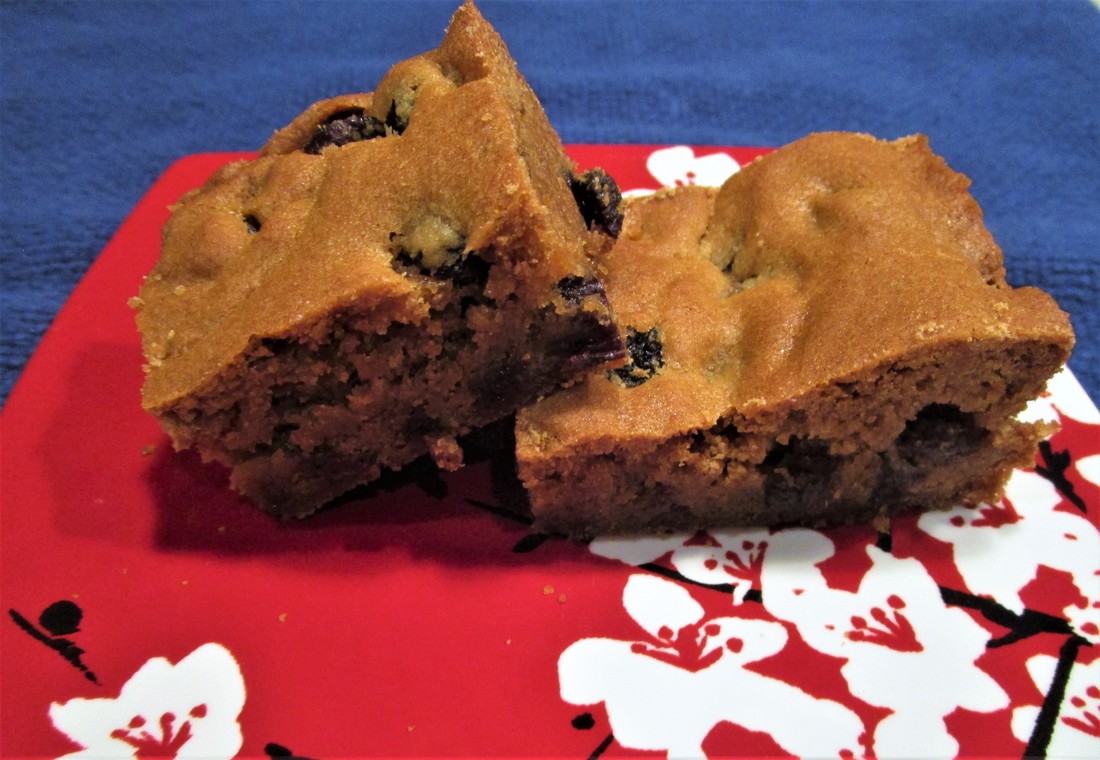
Rum Raisin Blondies
The Occasion: The next meeting of your book club or community volunteers group. The flavors in these sweet bites are decidedly adult-oriented (although you can make a rum-free version if desired).
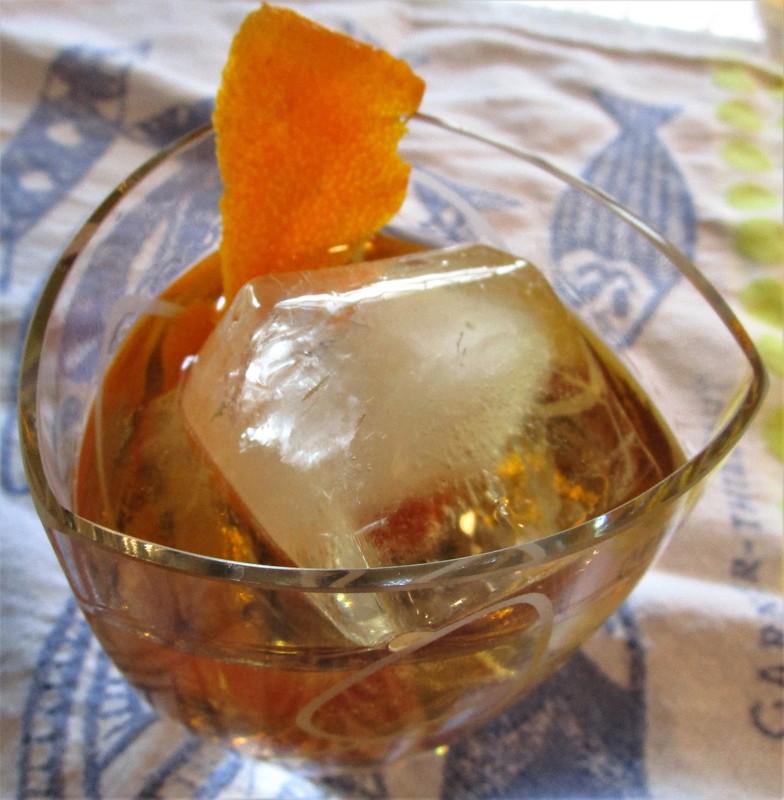
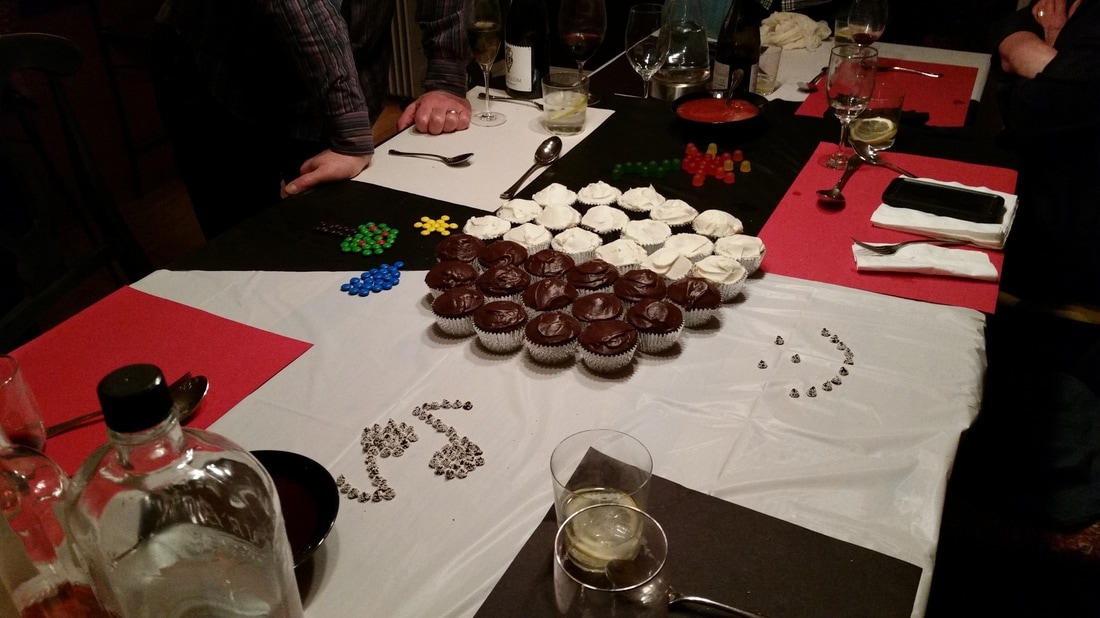
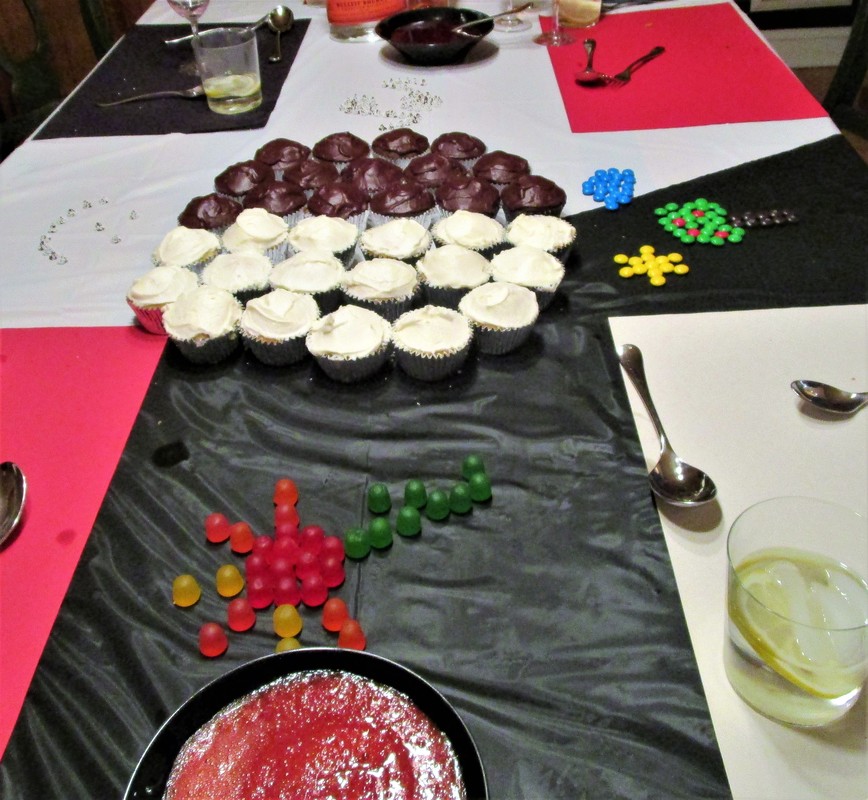
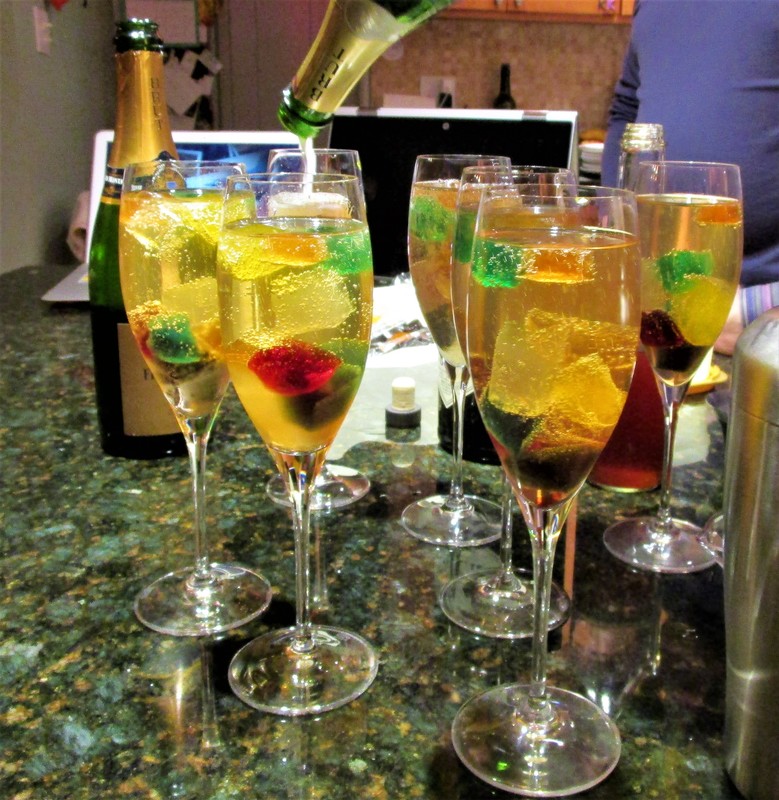
Why? These treats are portable and potable (meaning fit to drink). Frequent readers of this blog know that we like to cook with booze, so here’s another round.
Why? These treats are portable and potable (meaning fit to drink). Frequent readers of this blog know that we like to cook with booze, so here’s another round.
|
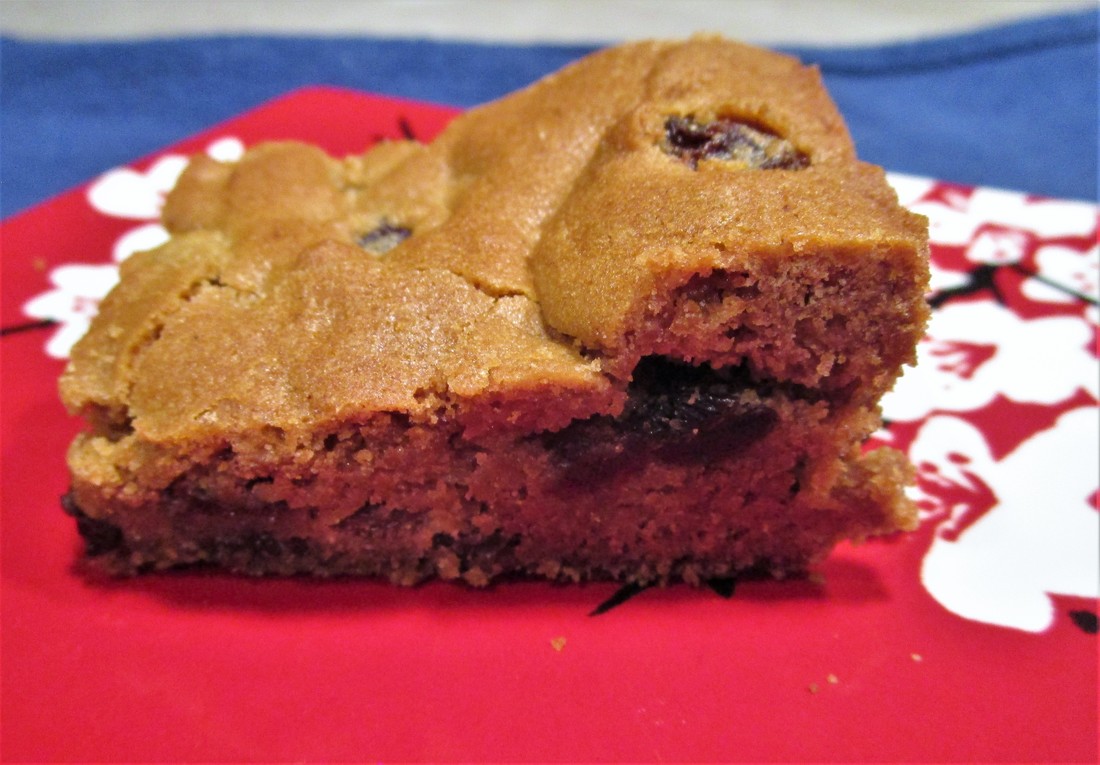
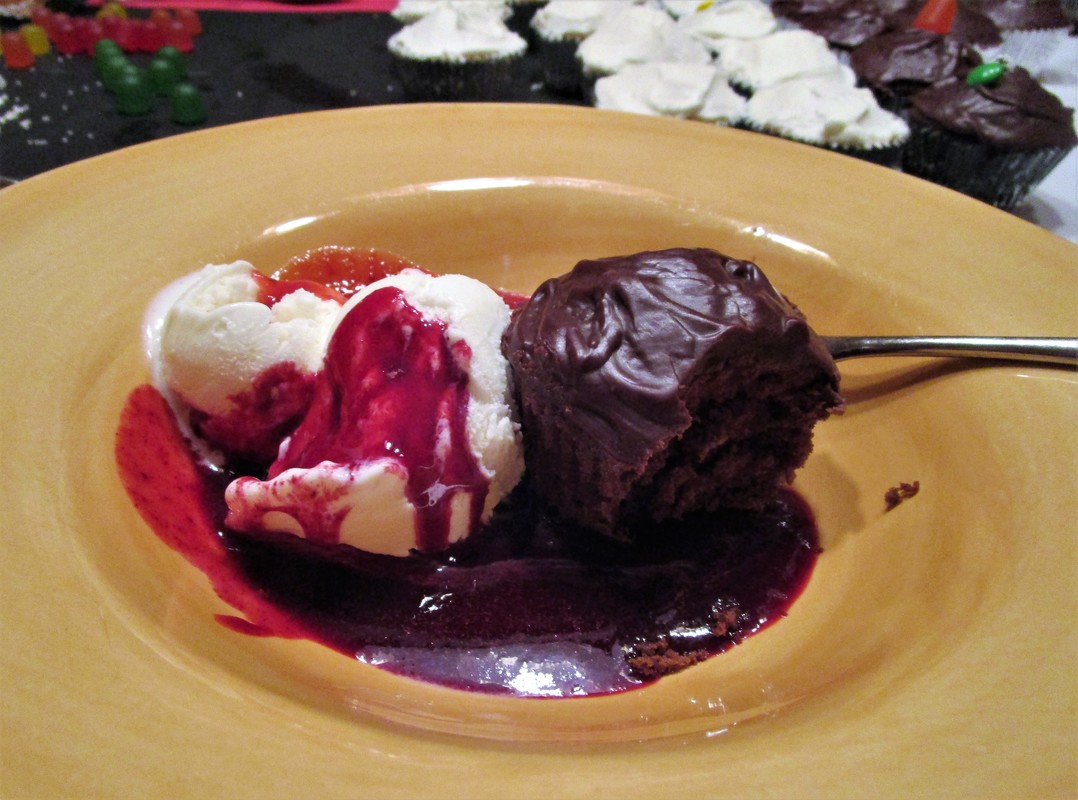
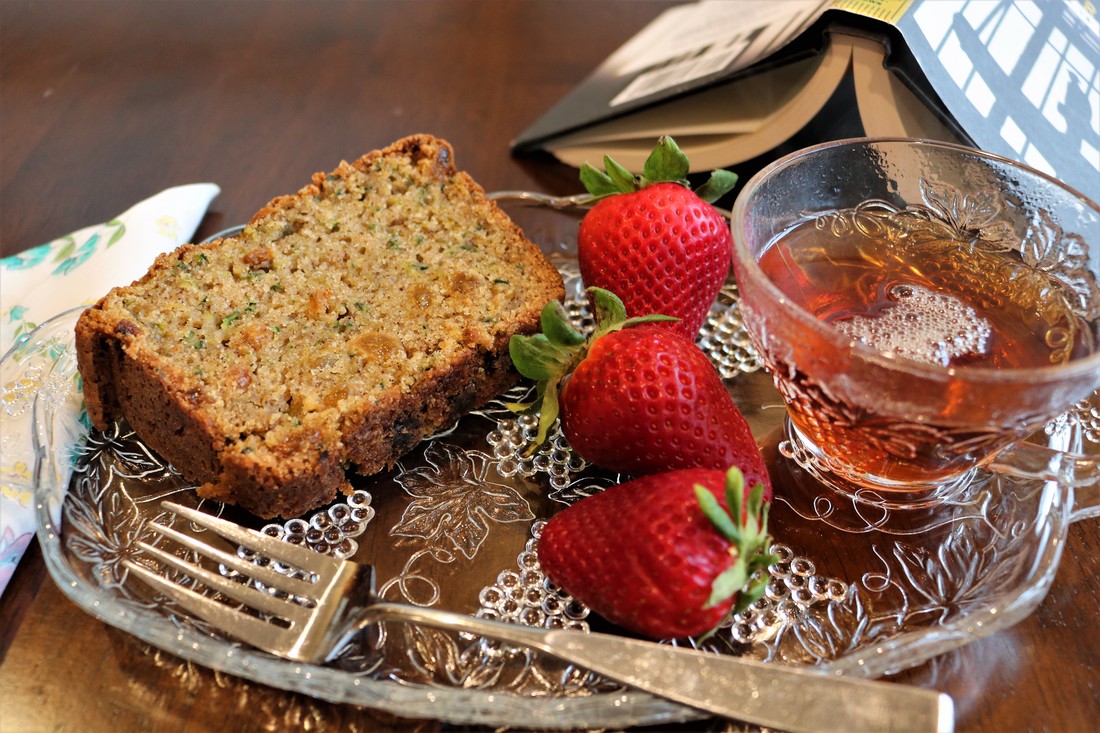
Serve With: I enjoy this moist, rich dessert with a cup of strong coffee. Or pair a bar with a scoop of vanilla ice cream for a twist on the old favorite, rum raisin ice cream.
|
|
The Verdict: Even though the alcohol is ‘burned off’ through cooking (not the scientific term, I know) a strong rum flavor remains. If you like this – and I do – you’ll be a fan of this delectable dessert. Your book group will love it too – my bet is on 30 minutes or less to devour the whole pan.
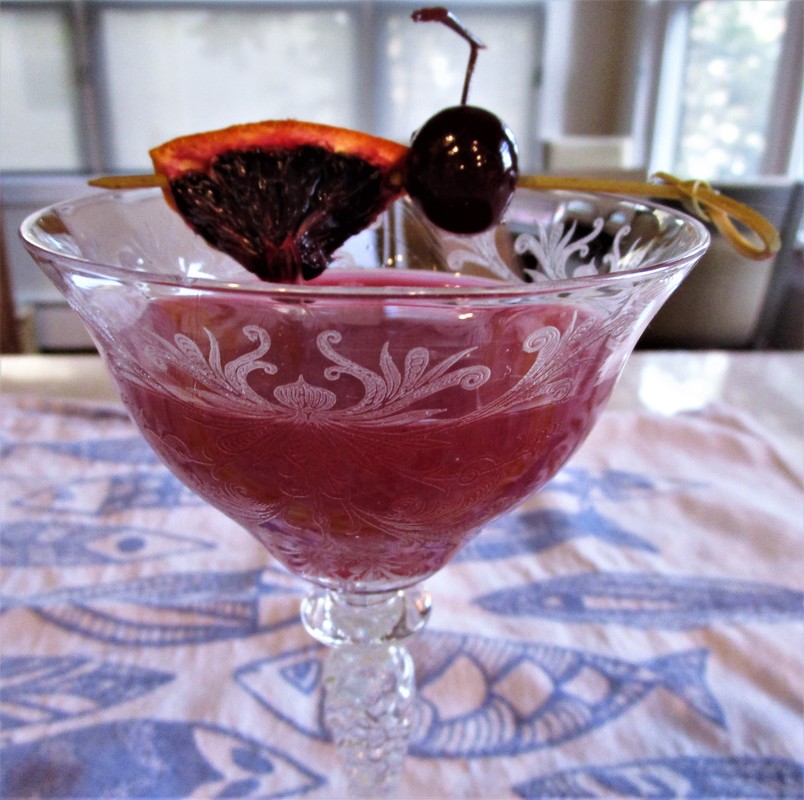
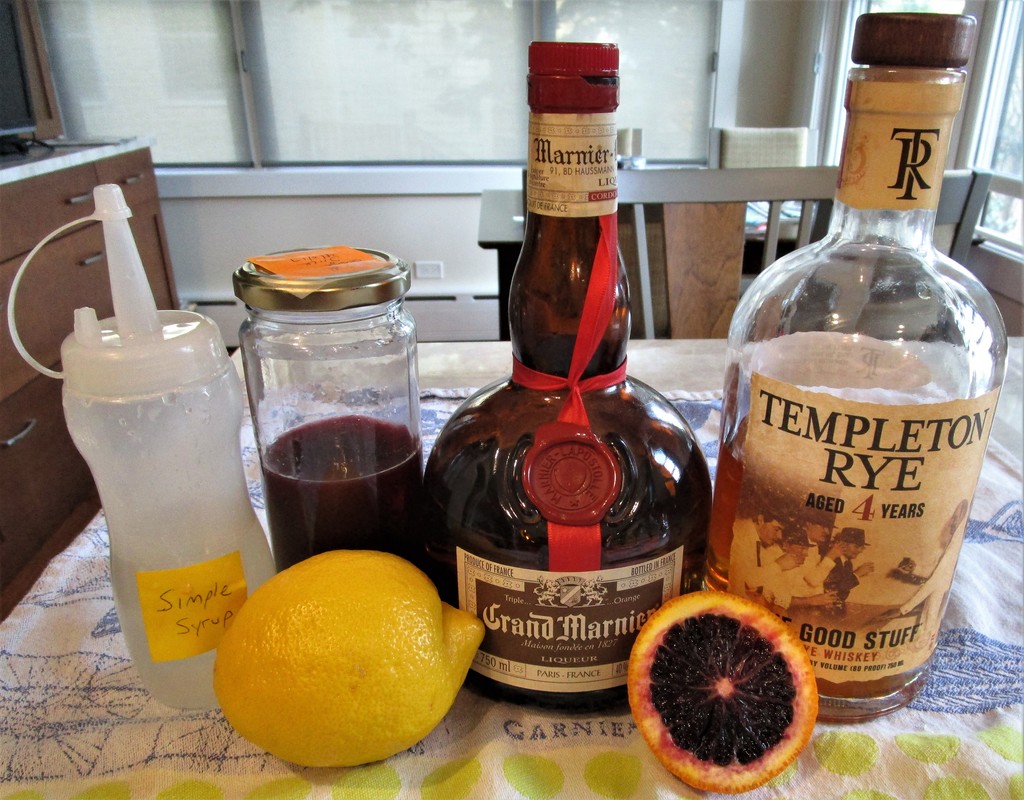
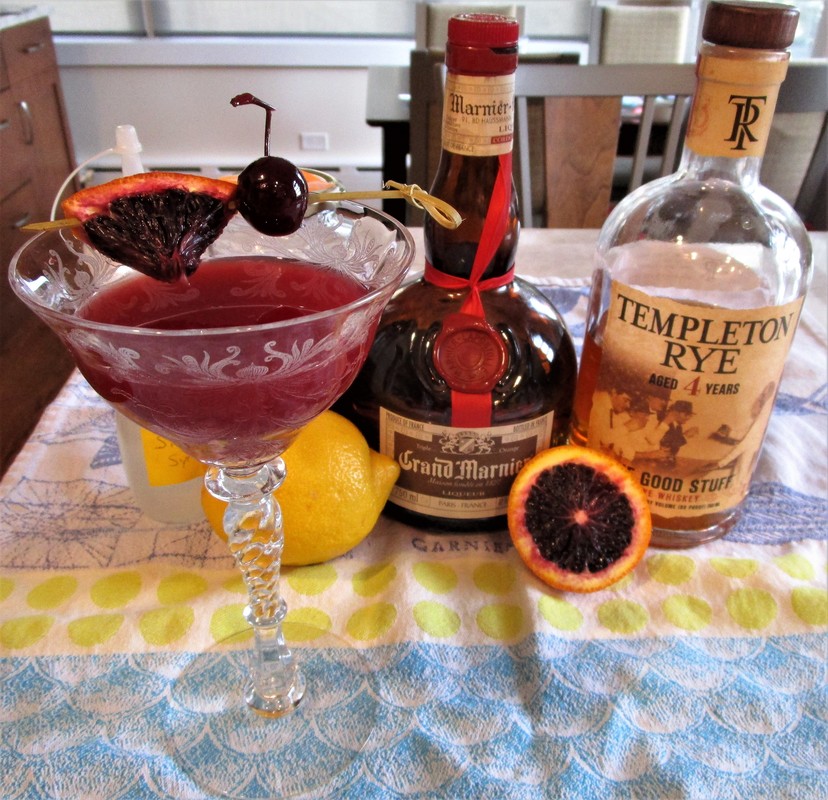
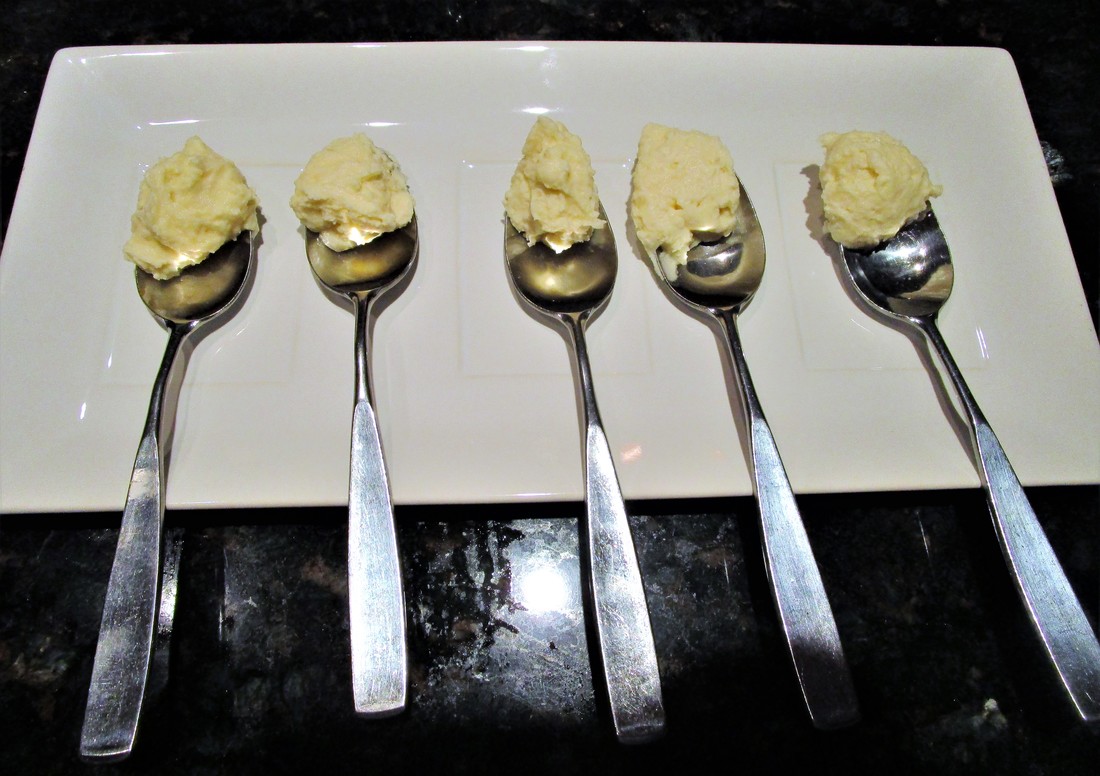
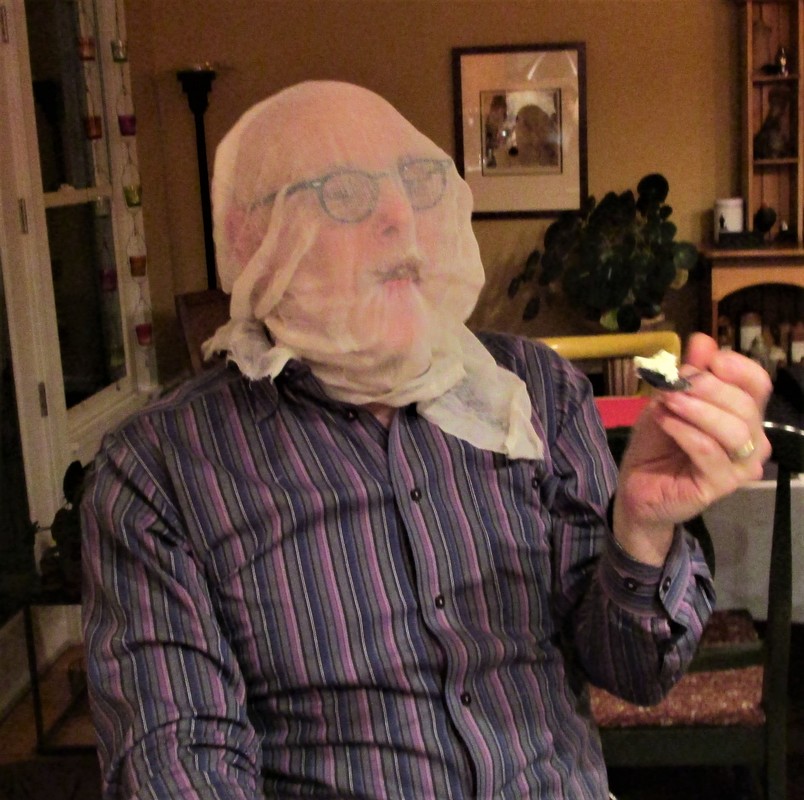
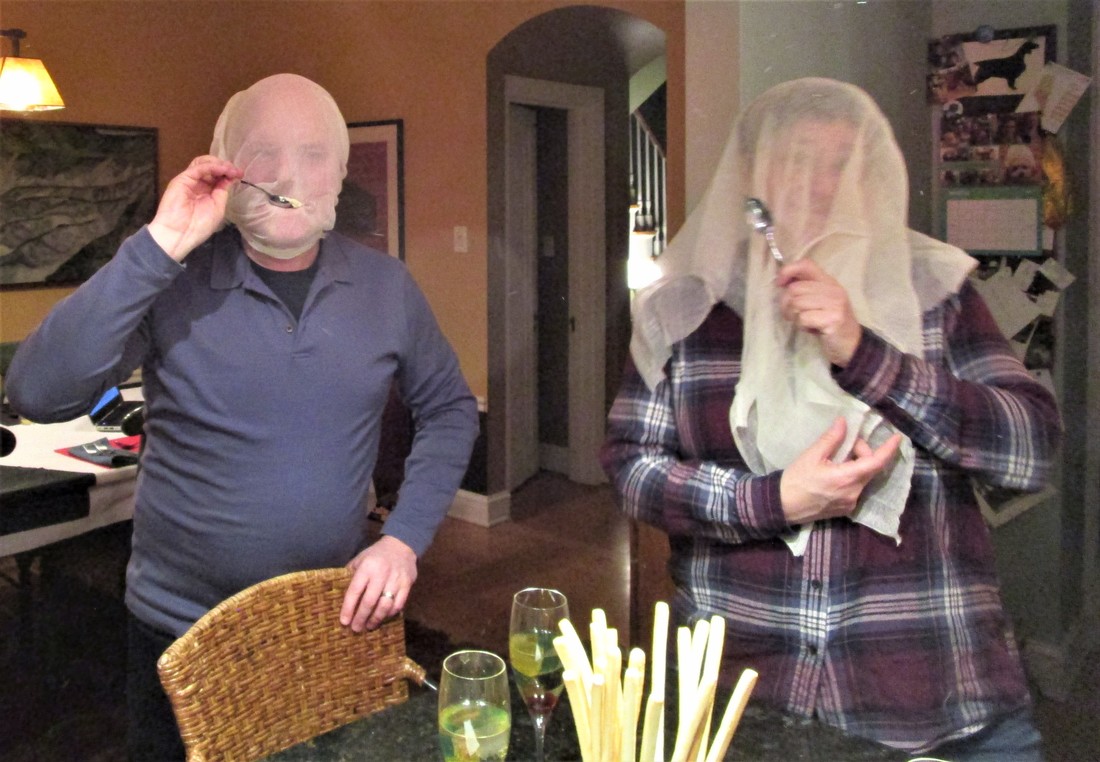
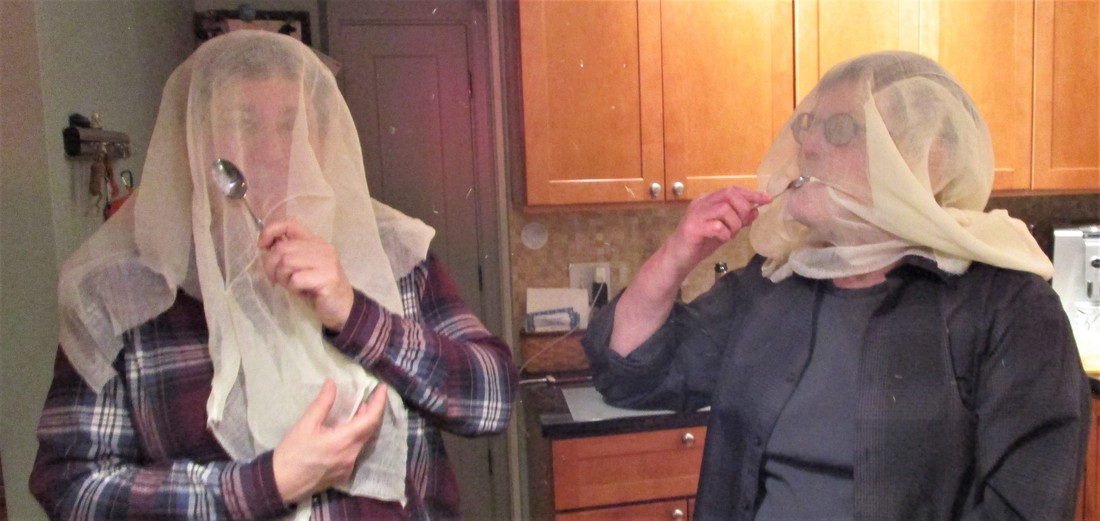
Click on the photos to enlarge them and read the captions.
Click on the photos to enlarge them and read the captions.


| Printable Recipe- Rum Raisin Blondies |
Rum-Raisin Blondies
Recipe source: Fine Cooking
INGREDIENTS:
DIRECTIONS:
Recipe source: Fine Cooking
INGREDIENTS:
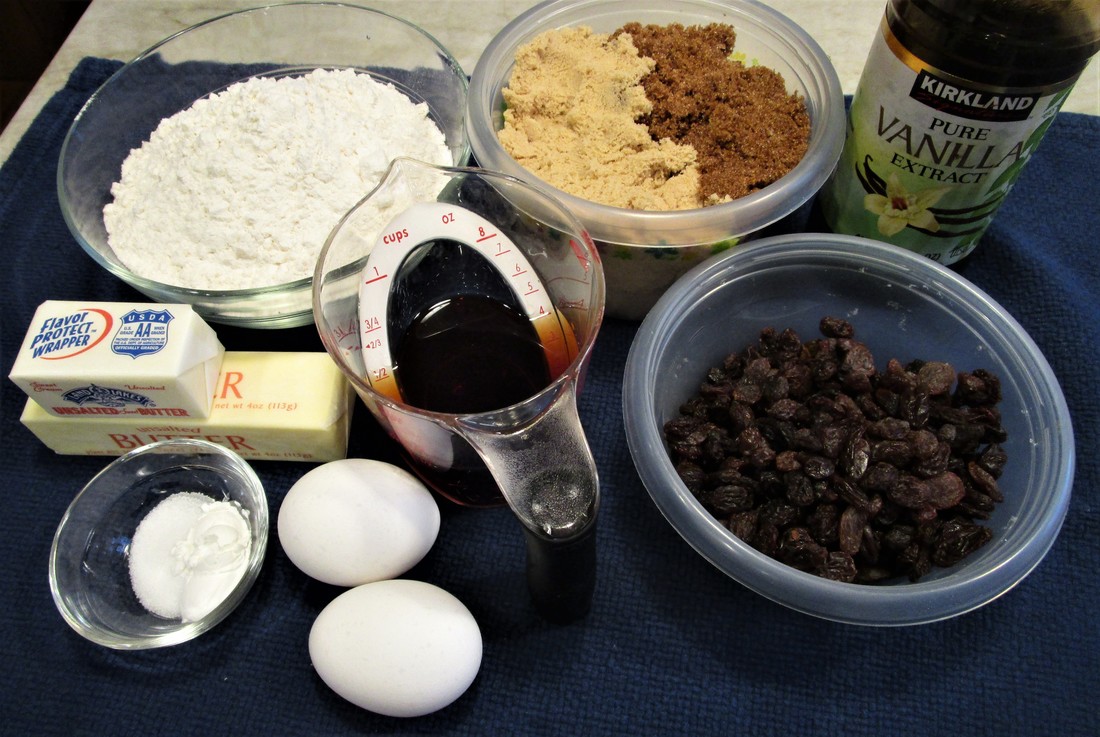
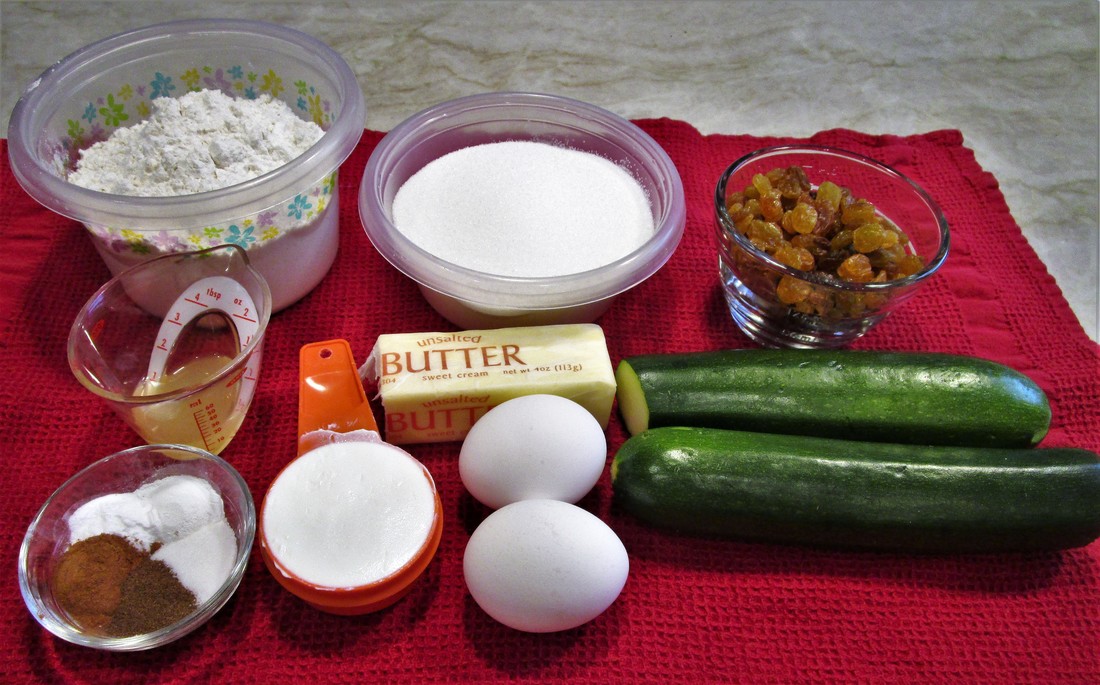
- 9 ounces raisins (2 cups)
- 1/2 cup dark rum, such as Myers’s
- 6 ounces (3/4 cup) unsalted butter; more, softened, for the pan
- 11-1/4 ounces (2-1/2 cups) unbleached all-purpose flour
- 3/4 teaspoon baking powder
- 1/2 teaspoon. baking soda
- 1/2 teaspoon table salt
- 2 cups packed brown sugar (light or dark)
- 2 large eggs, beaten
- 1 teaspoon pure vanilla extract
DIRECTIONS:
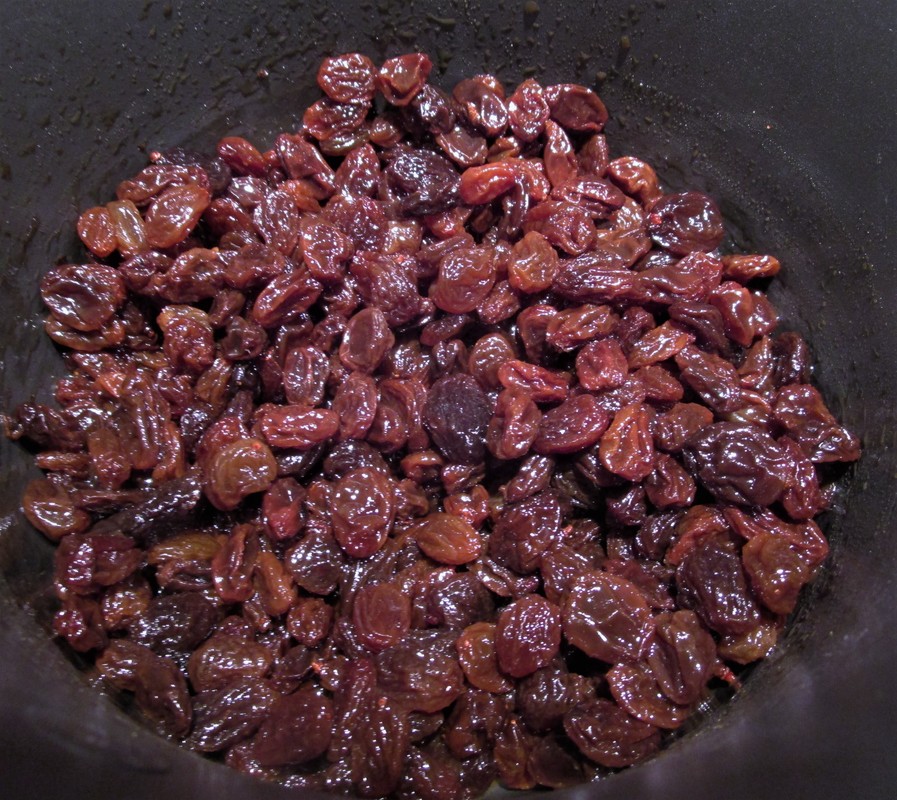
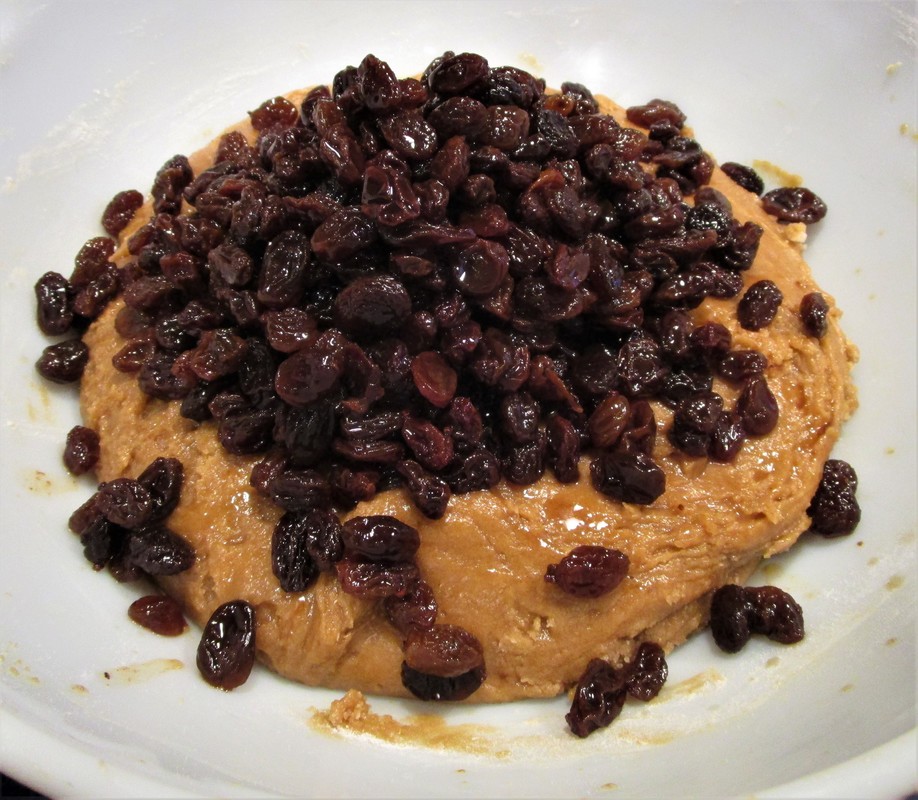
- In a 1-quart saucepan, bring the raisins and rum to a simmer over low heat and cook, stirring occasionally, for 2 minutes; remove from the heat. Let the raisins cool to room temperature in the rum, about 30 minutes. NOTE: Water can be used to soak the raisins instead of rum if preferred.
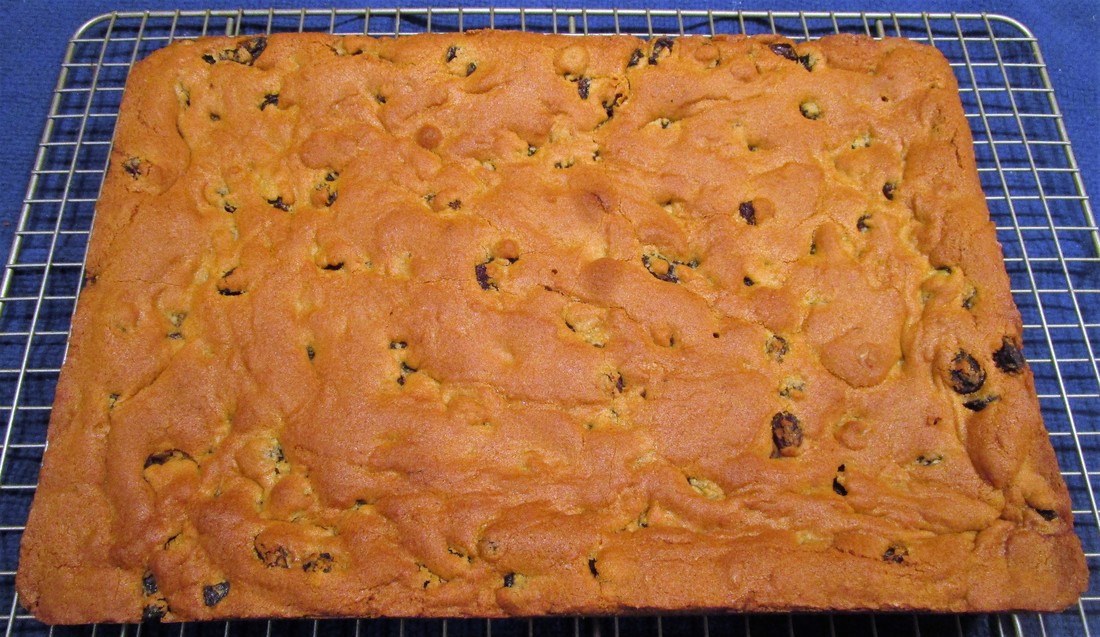
- Meanwhile, position a rack in the center of the oven and heat the oven to 350°F. Butter the bottom and sides of a 9x13-inch baking pan, line the bottom with parchment, and then butter the parchment.
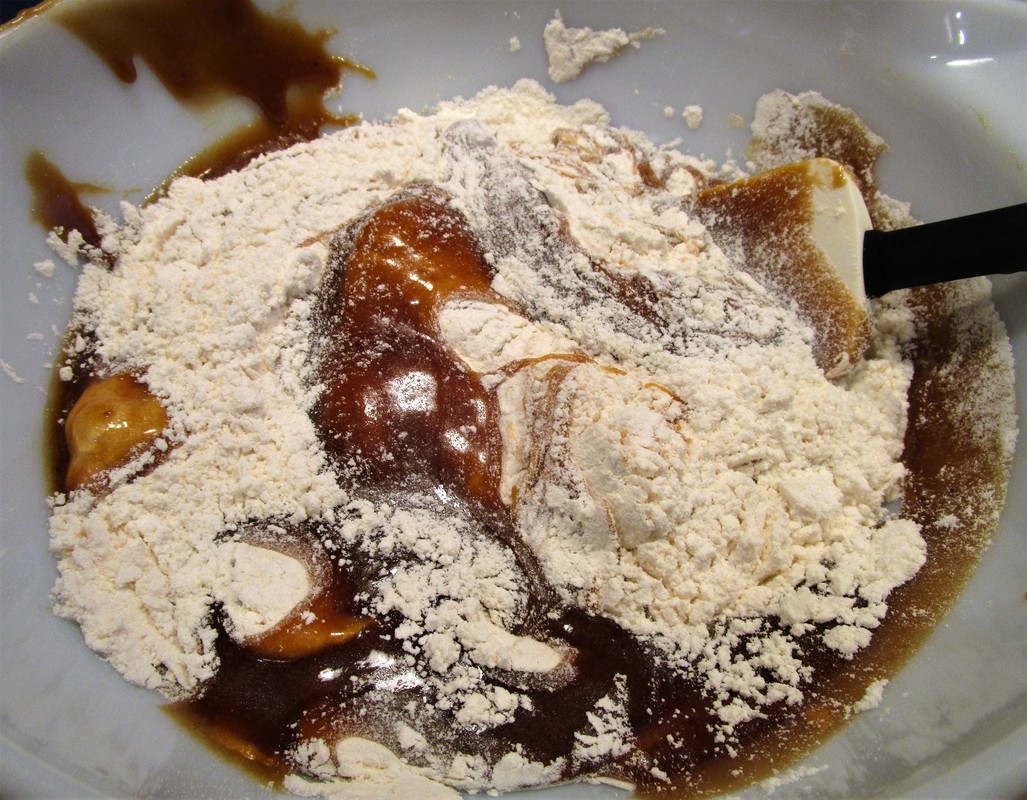
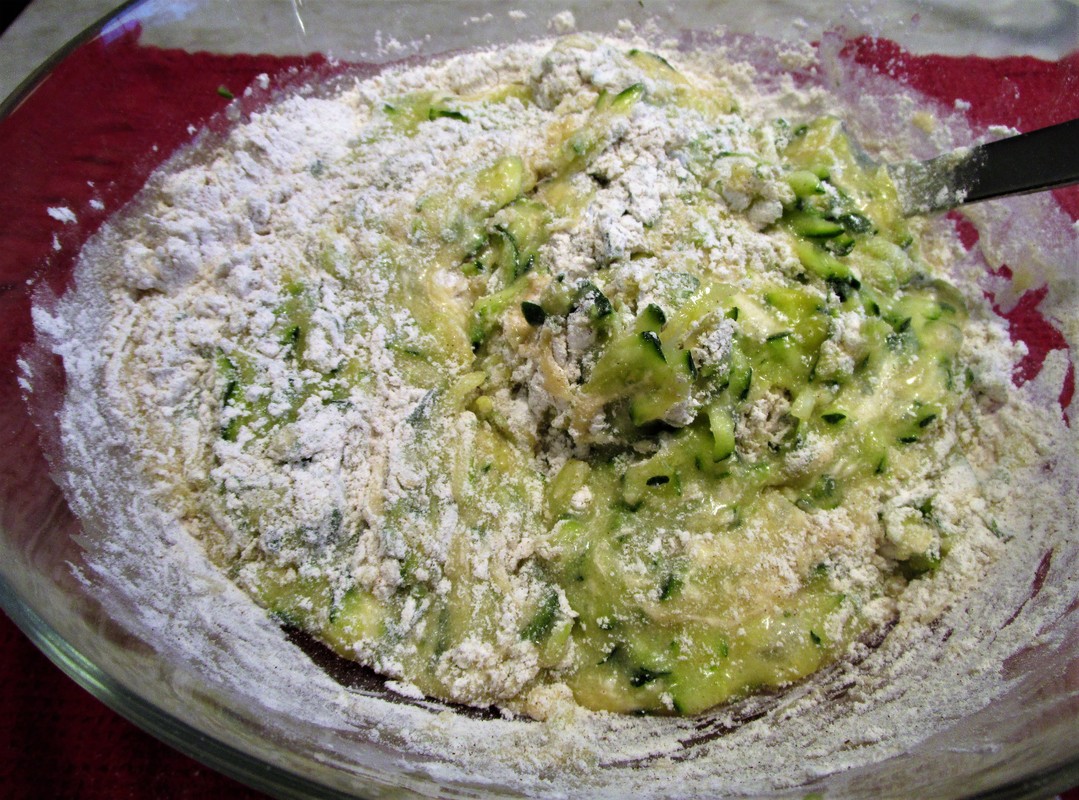
- In a large bowl, whisk the flour, baking powder, baking soda, and salt.
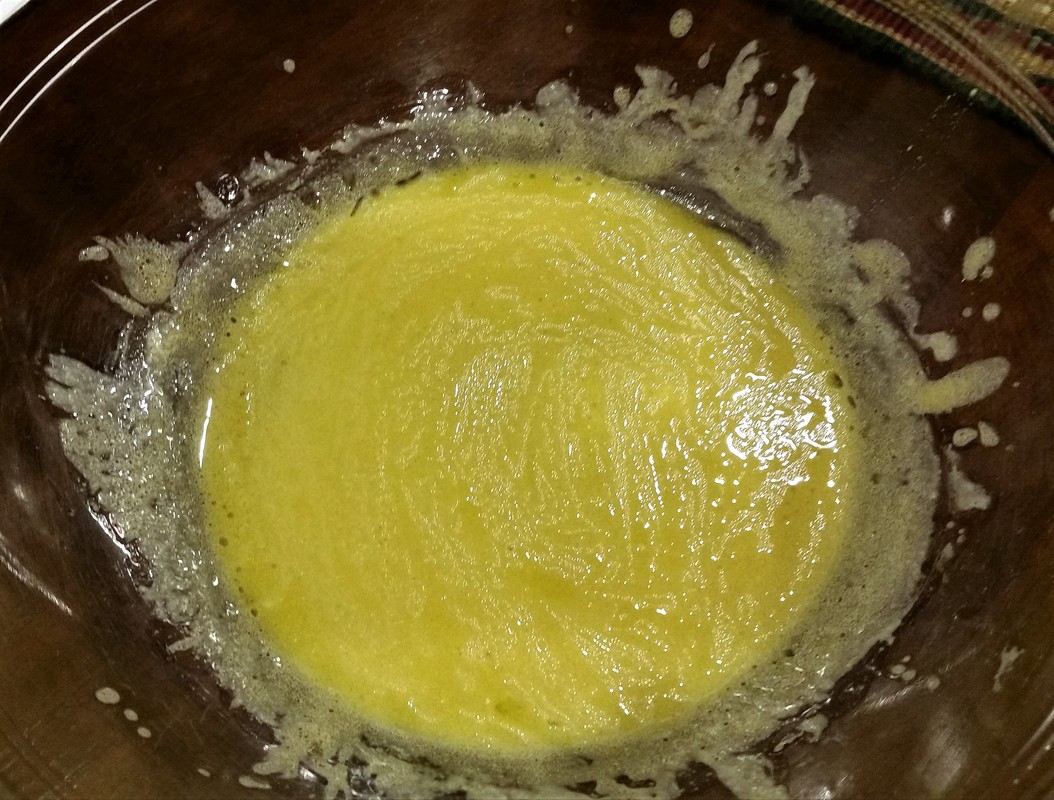
- In a 2-quart saucepan, melt the butter over medium-low heat; remove from the heat and let cool briefly. Add the brown sugar to the pan and mix with a silicone spatula until thoroughly combined. Add the eggs and vanilla and stir until combined.
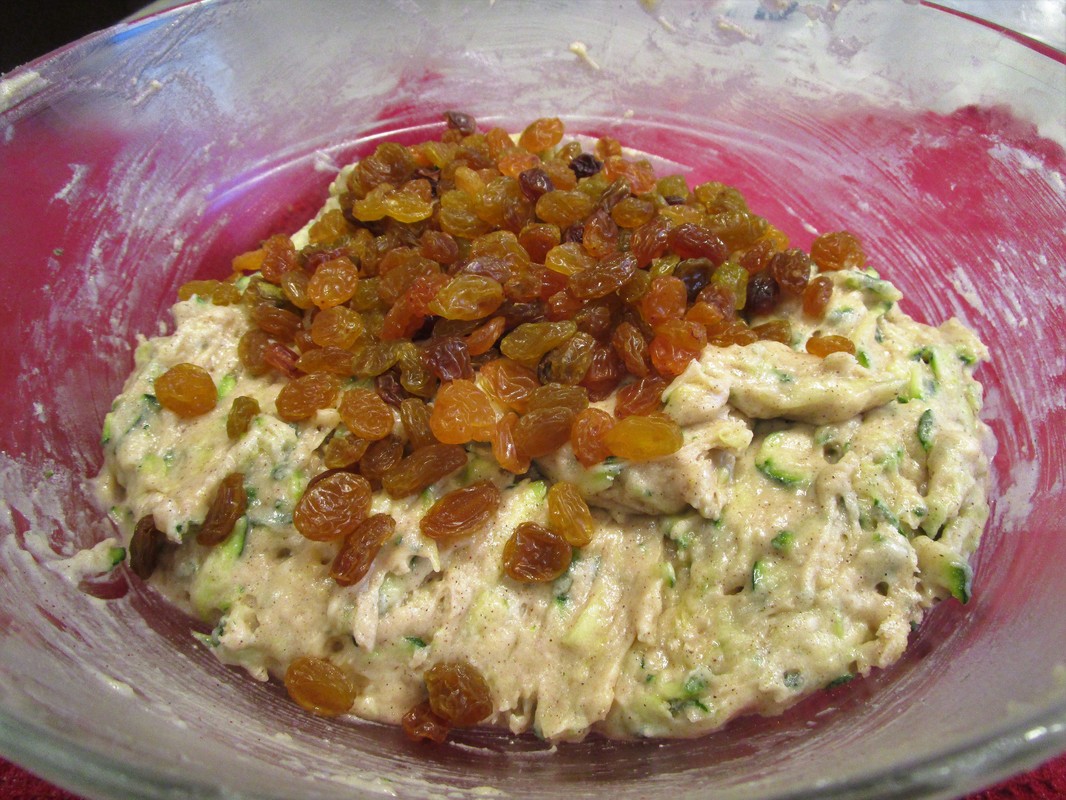
- Add the sugar mixture to the flour mixture, stirring with the spatula until just combined. Gently fold in the raisins and any rum from the pan.
- Scrape the batter into the prepared pan, smooth the top, and tap the pan on the counter once or twice to break any air bubbles. Bake until the top is golden-brown and a wooden skewer or toothpick inserted in the center comes out with just a few moist crumbs clinging to it, about 25 minutes. Let cool completely in the pan on a wire rack
- Run a knife around the edge of the pan to loosen the blondies, invert onto a cutting board, remove the pan and parchment, and flip right side up. Cut into 16 pieces and serve.


 RSS Feed