
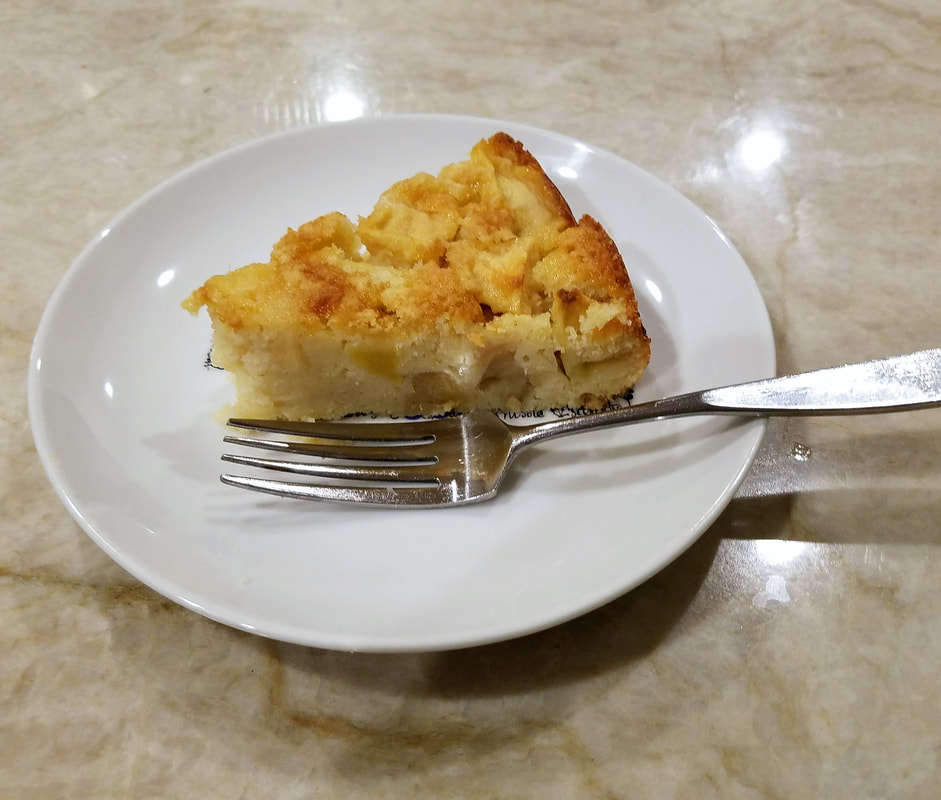
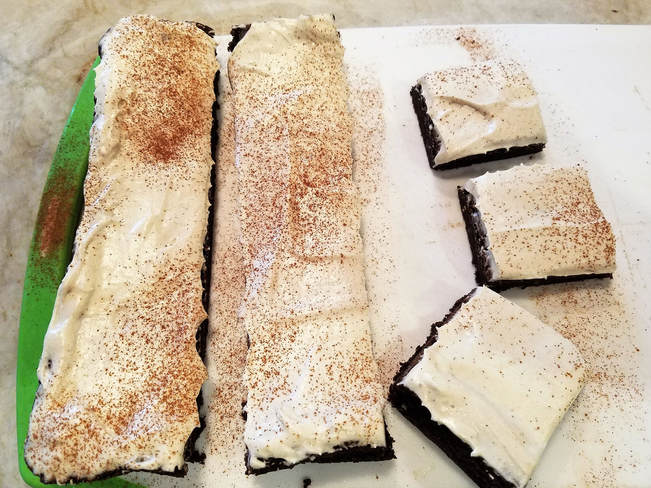
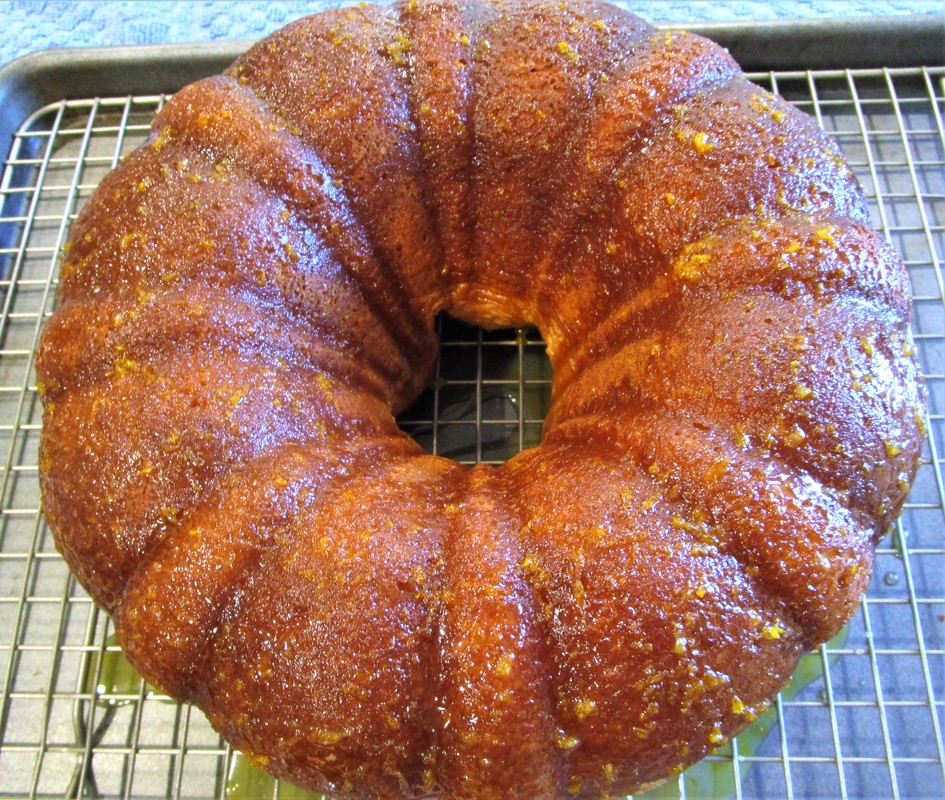
This sweet, simple cake will win your heart -- and your taste buds!
Yes, this is the third Sweet Bites in a row. I hope no one minds that we’re leaning heavily on the baked goods during the height of the holiday season. Come January I promise we’ll return to salads and fish dinners and other savory delights.
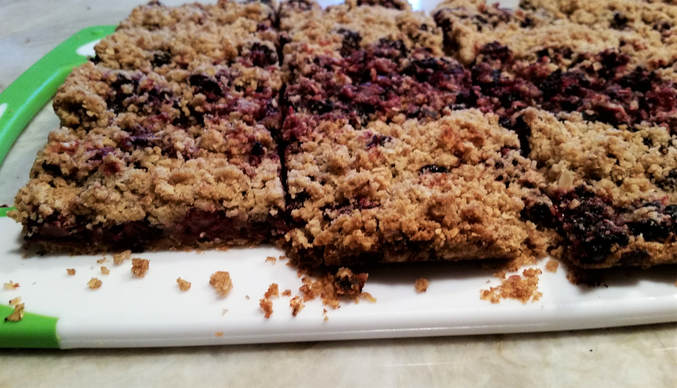
But hold on to this recipe, it’s a keeper. As desserts go, it’s a bit understated. Easy to make, rustic-looking, uses ingredients you probably have on hand – all great qualities in a cake, but lacking the razzle dazzle of many frosting-laden celebration cakes. That’s okay. Let’s keep this modest, soul-satisfying cake as a little secret between you and me.
The recipe comes from Dorie Greenspan by way of David Lebovitz, both excellent chefs with well-crafted cookbooks and lively blogs. Worth your time to check 'em out and follow!
|
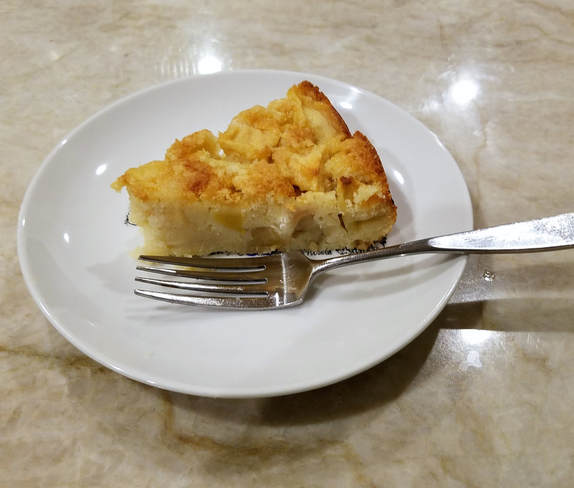
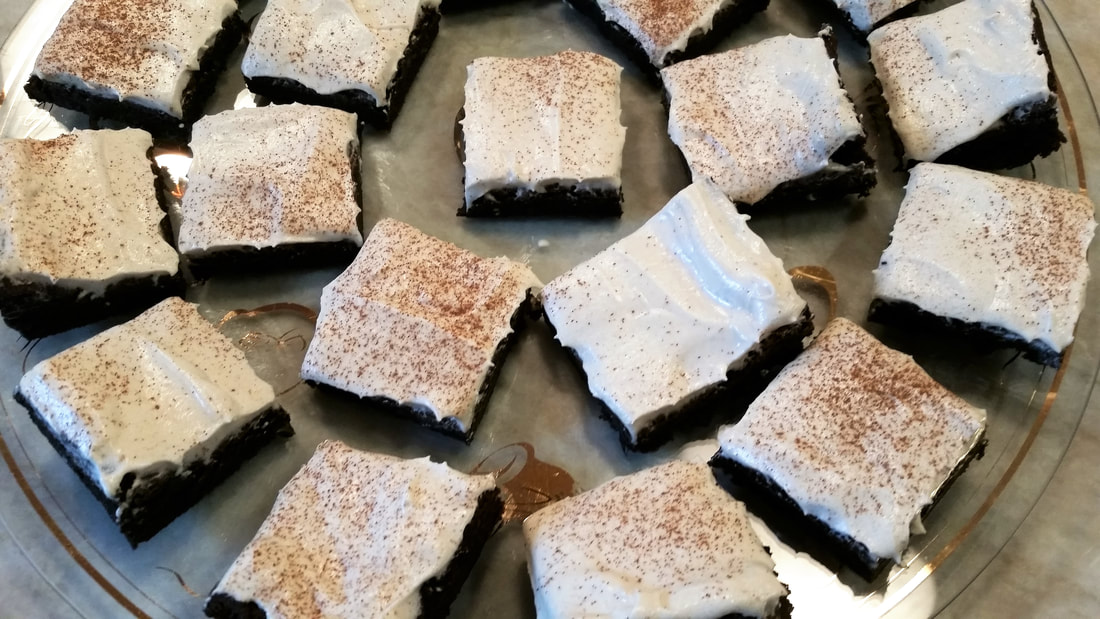
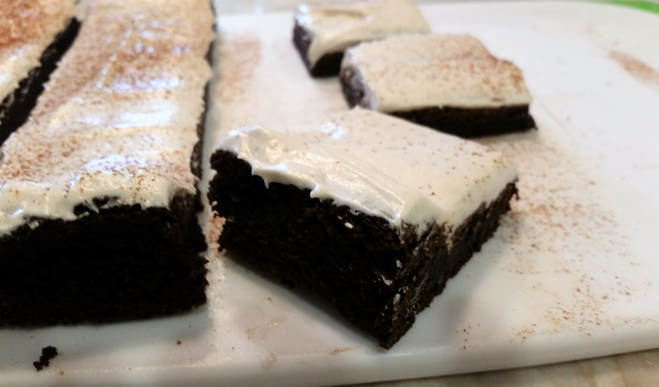
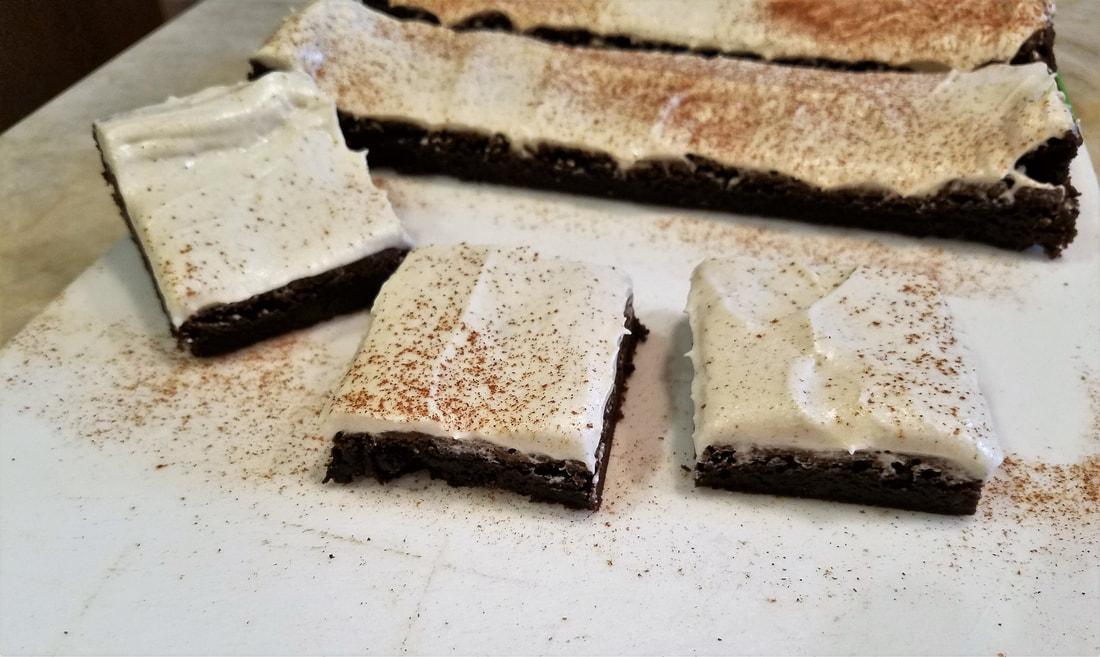
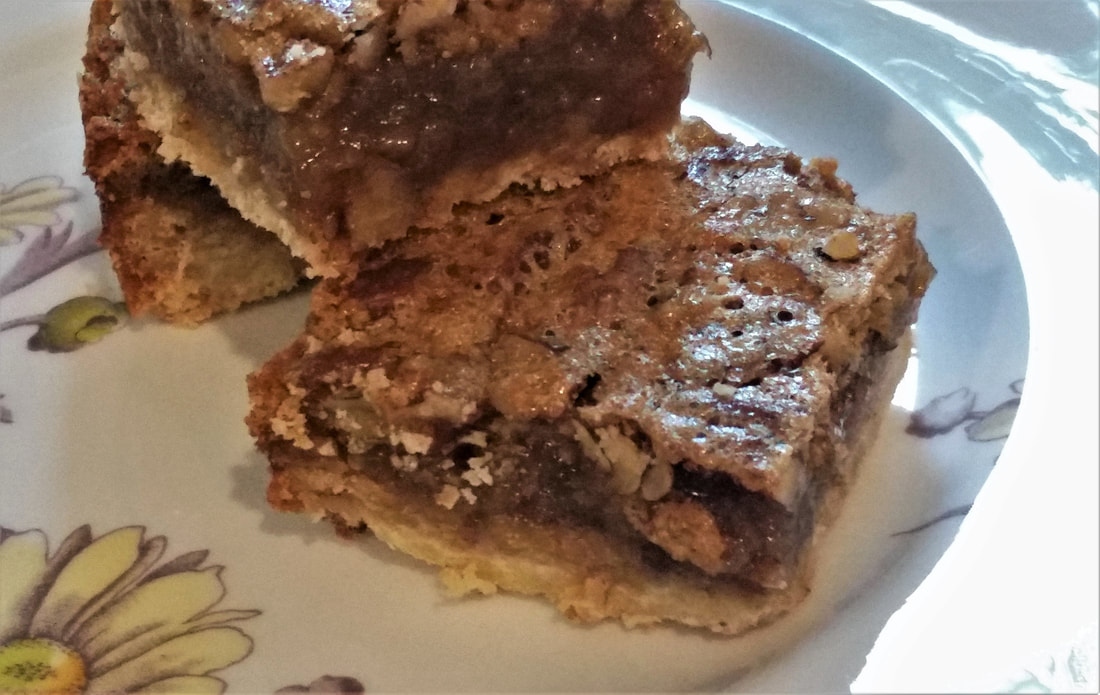
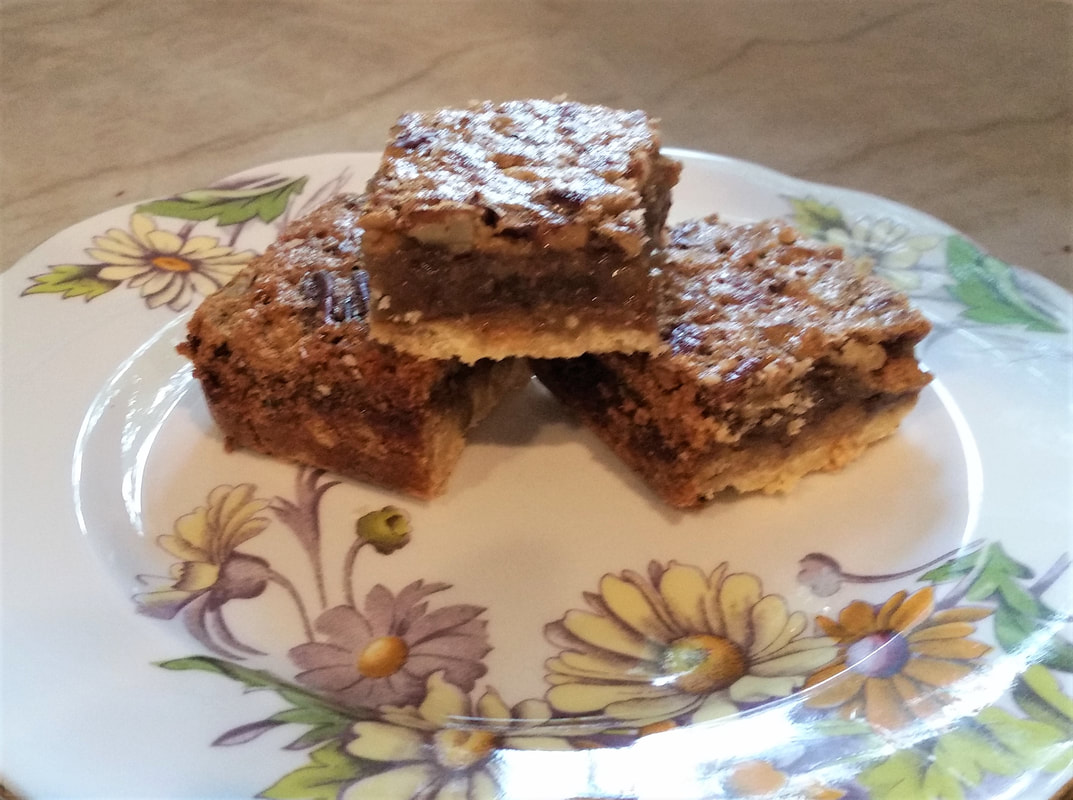
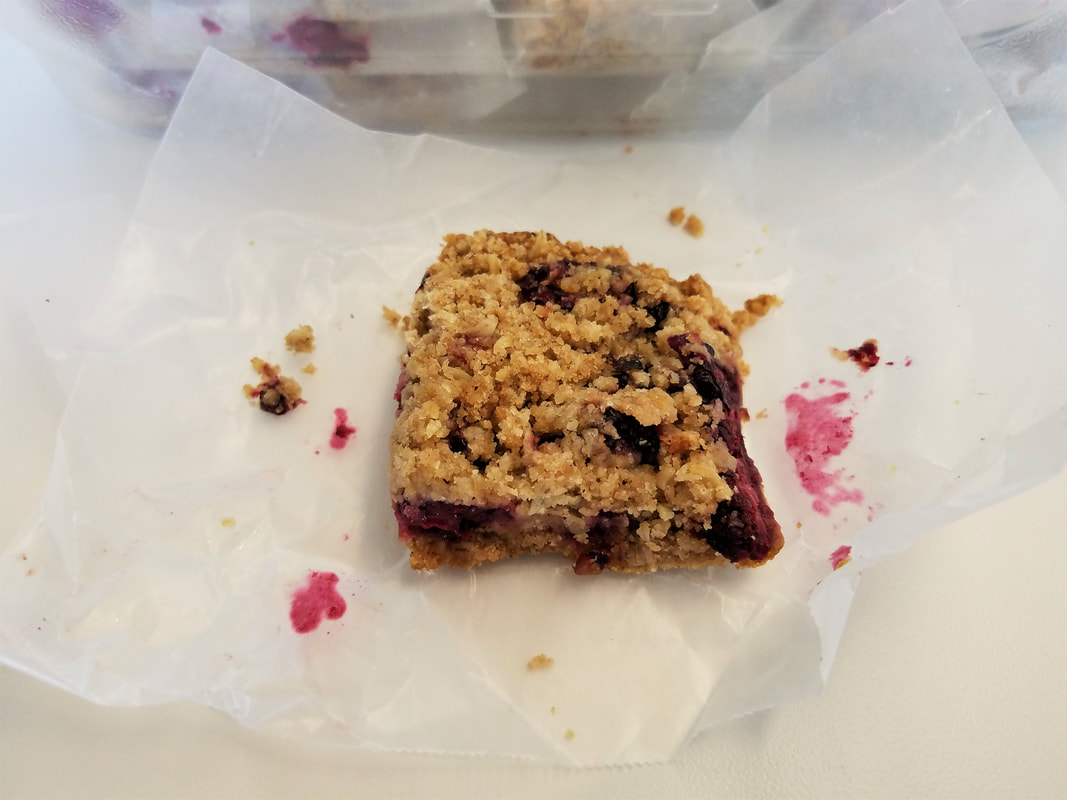
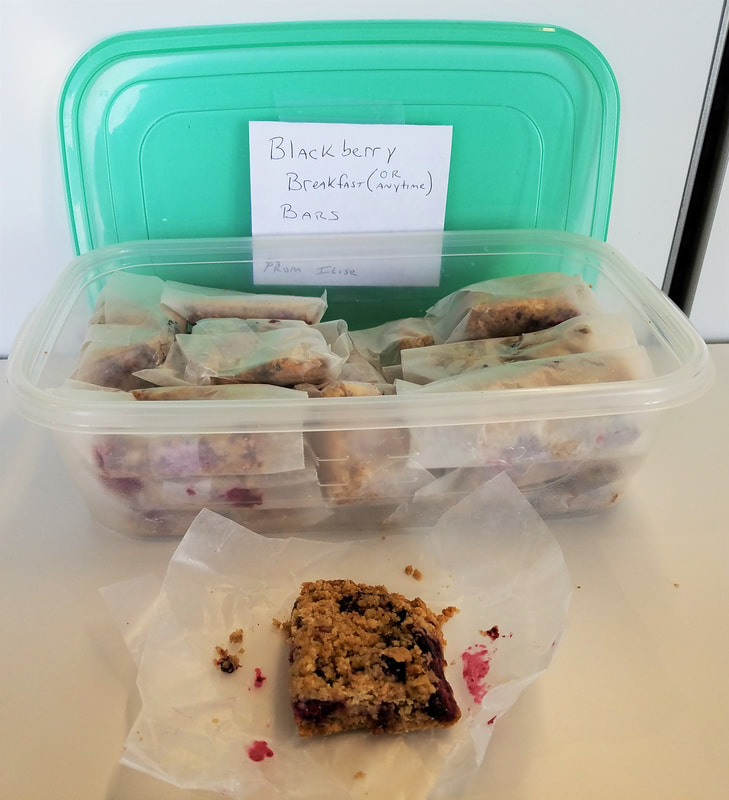
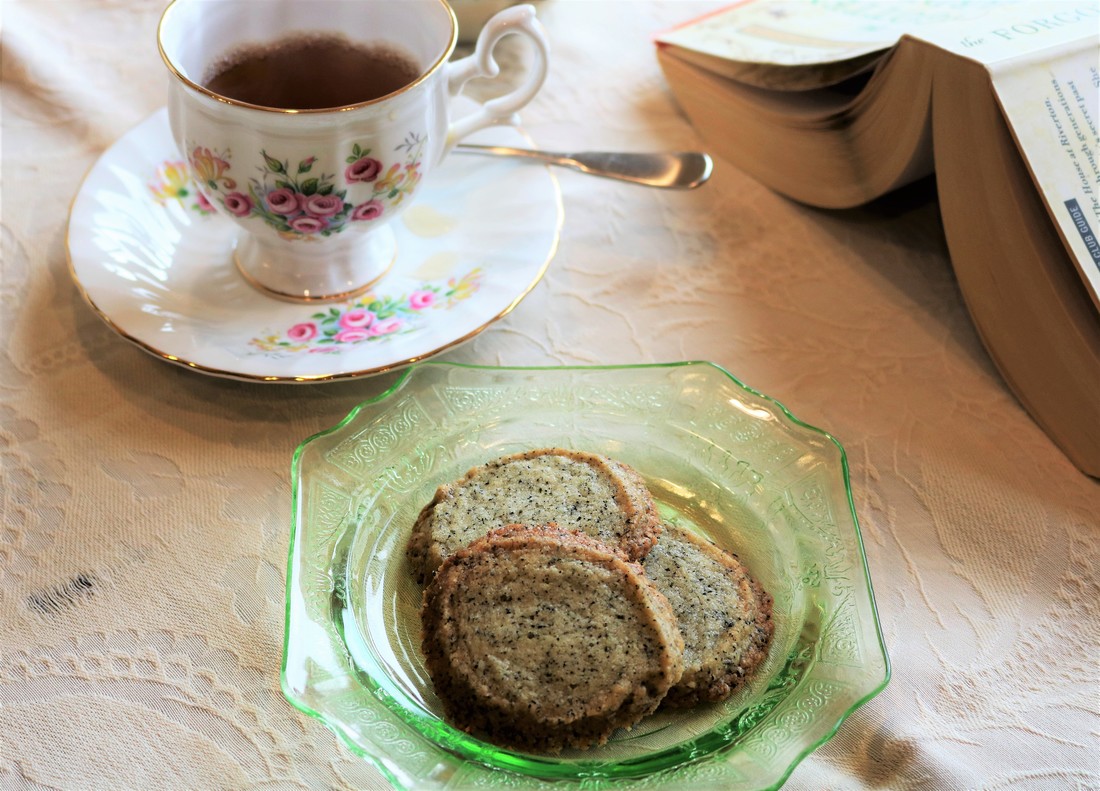
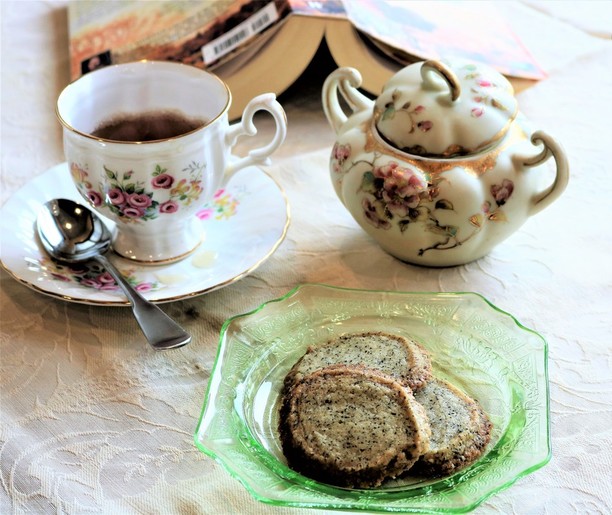
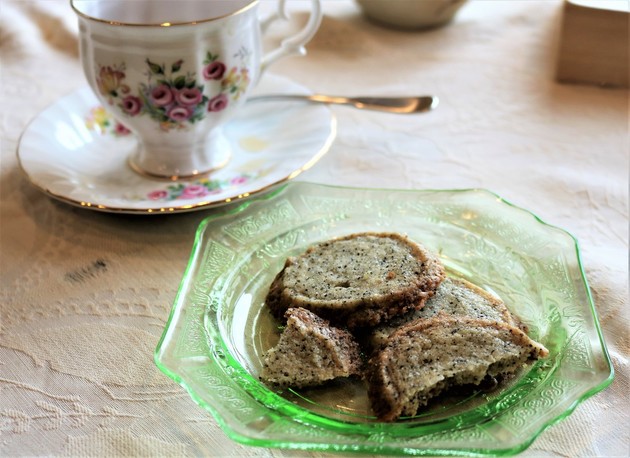
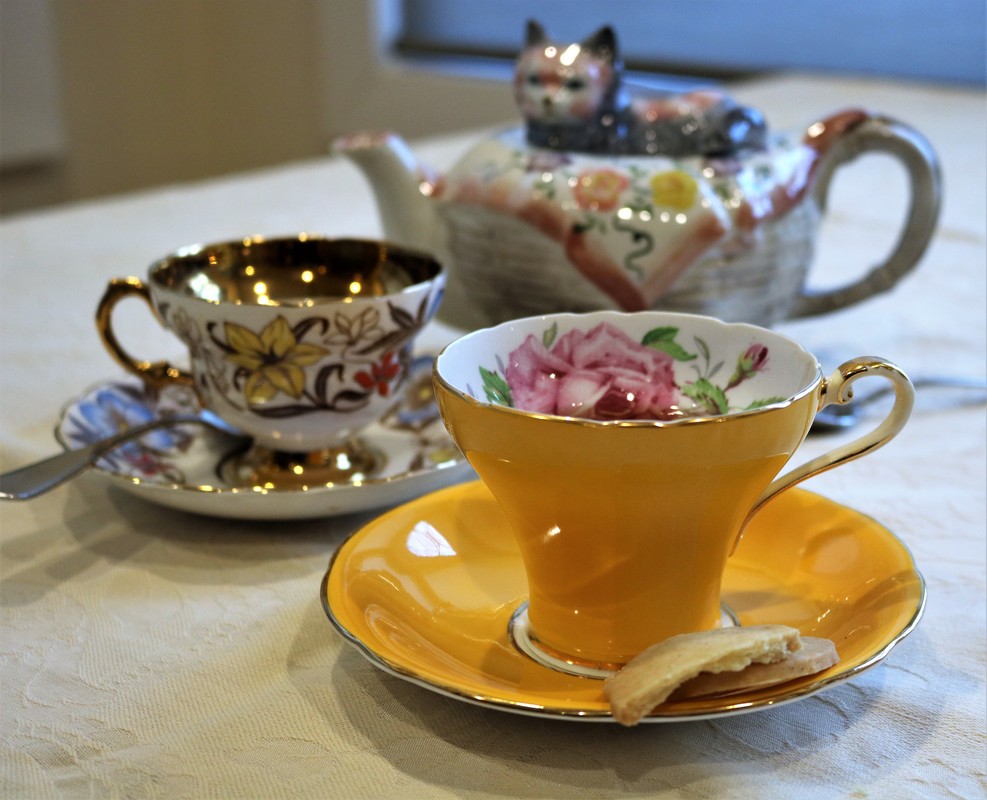
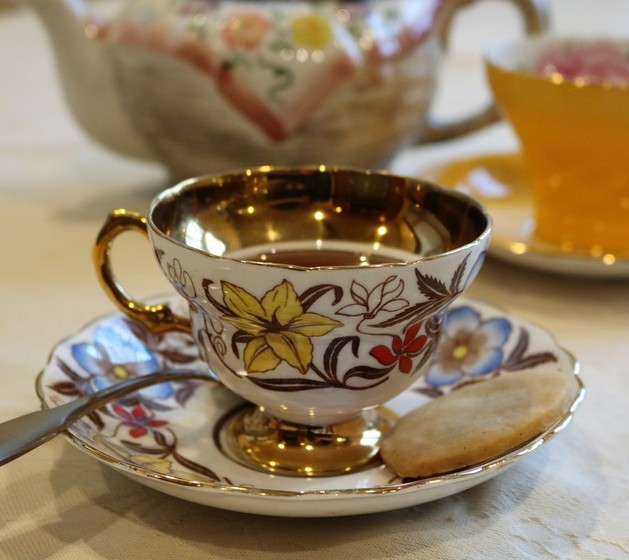
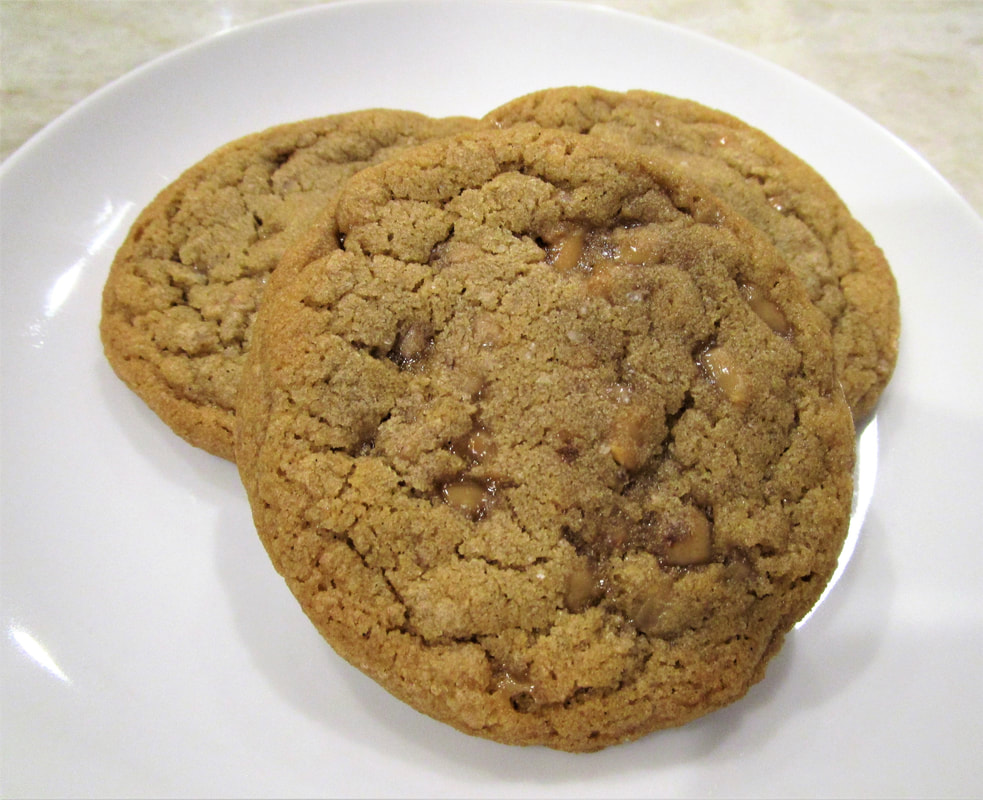
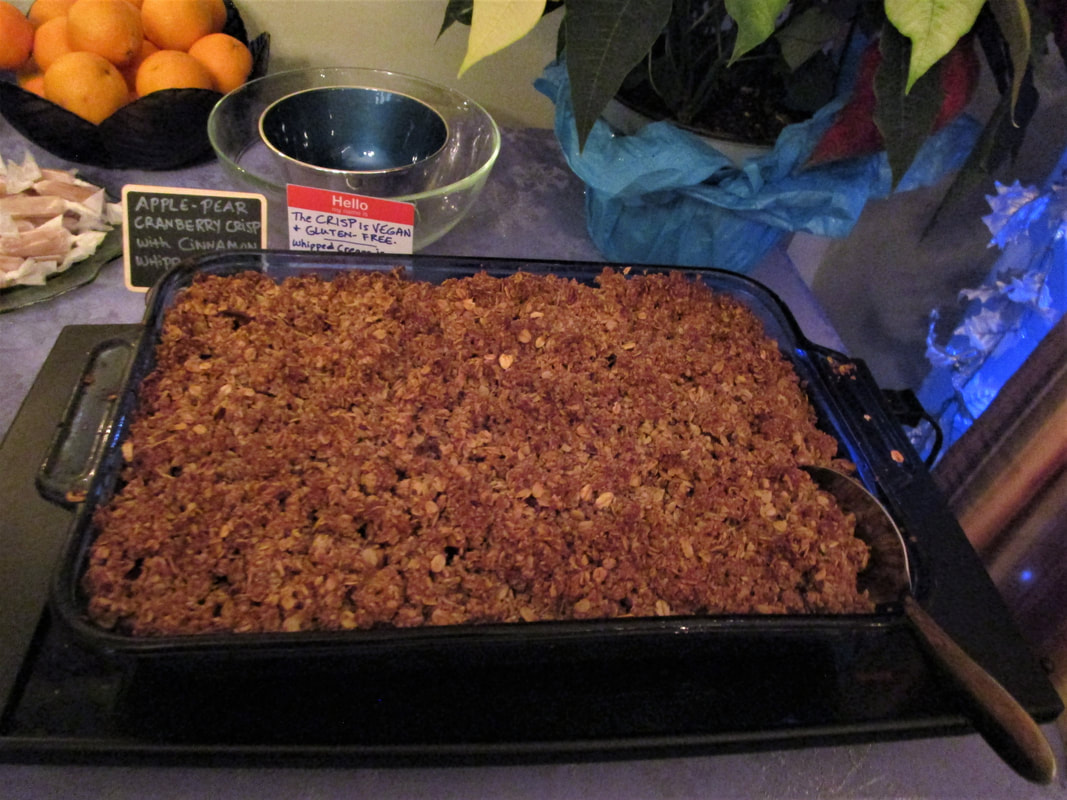
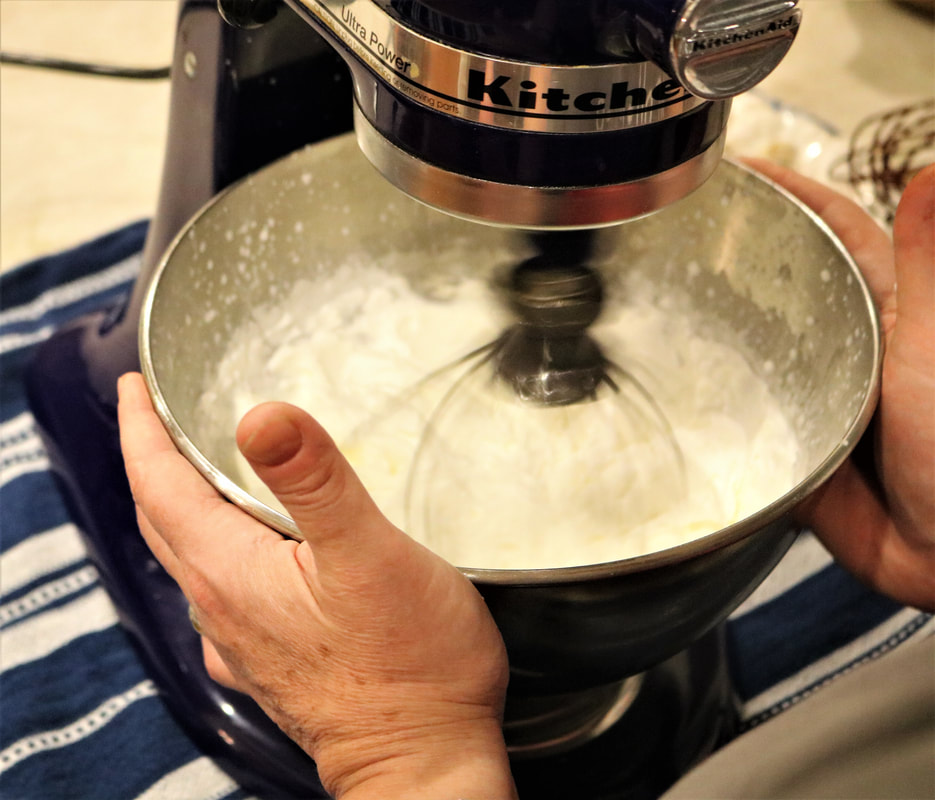
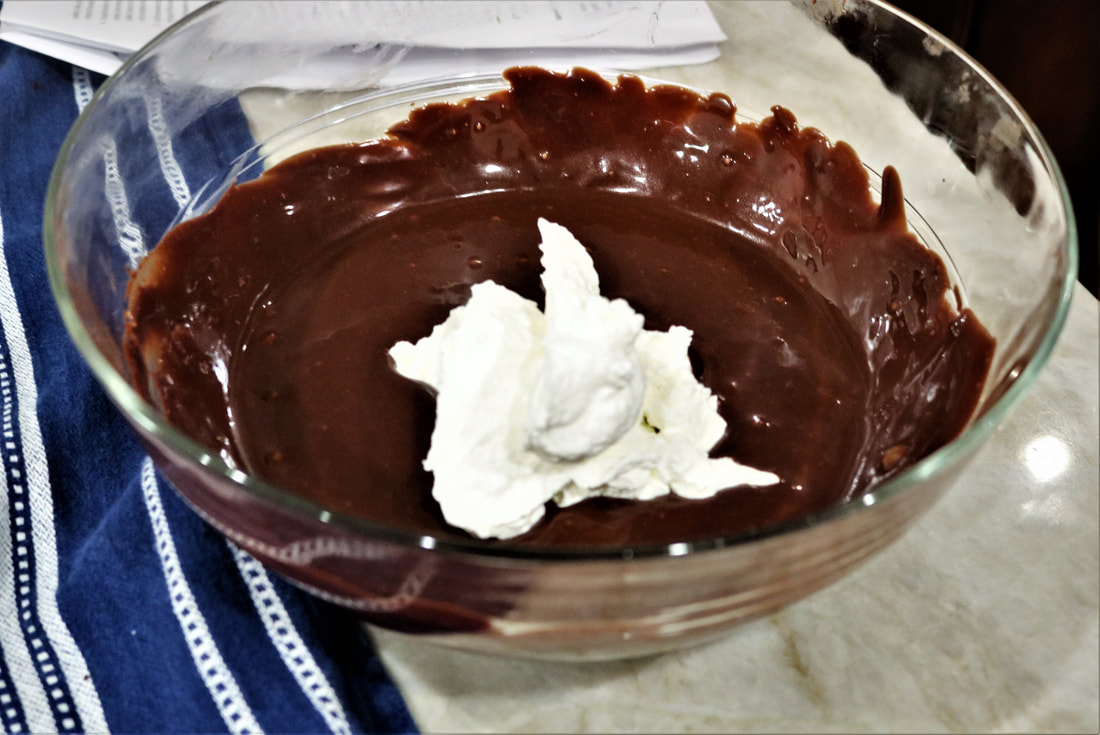
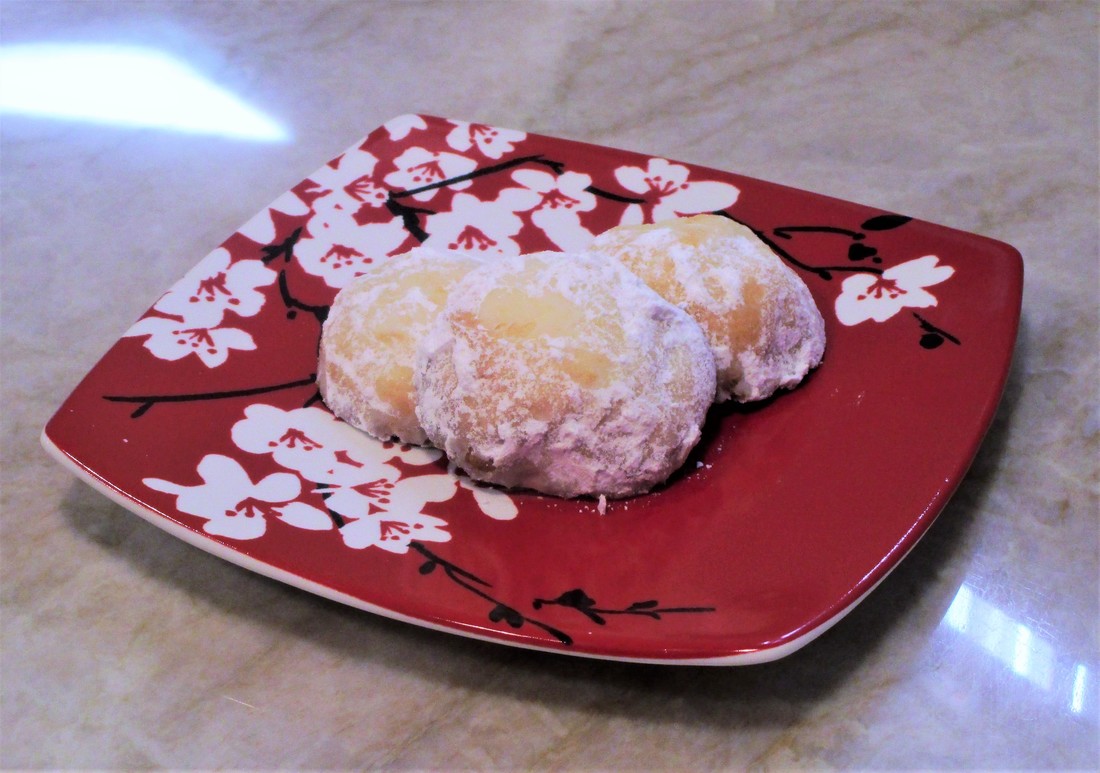
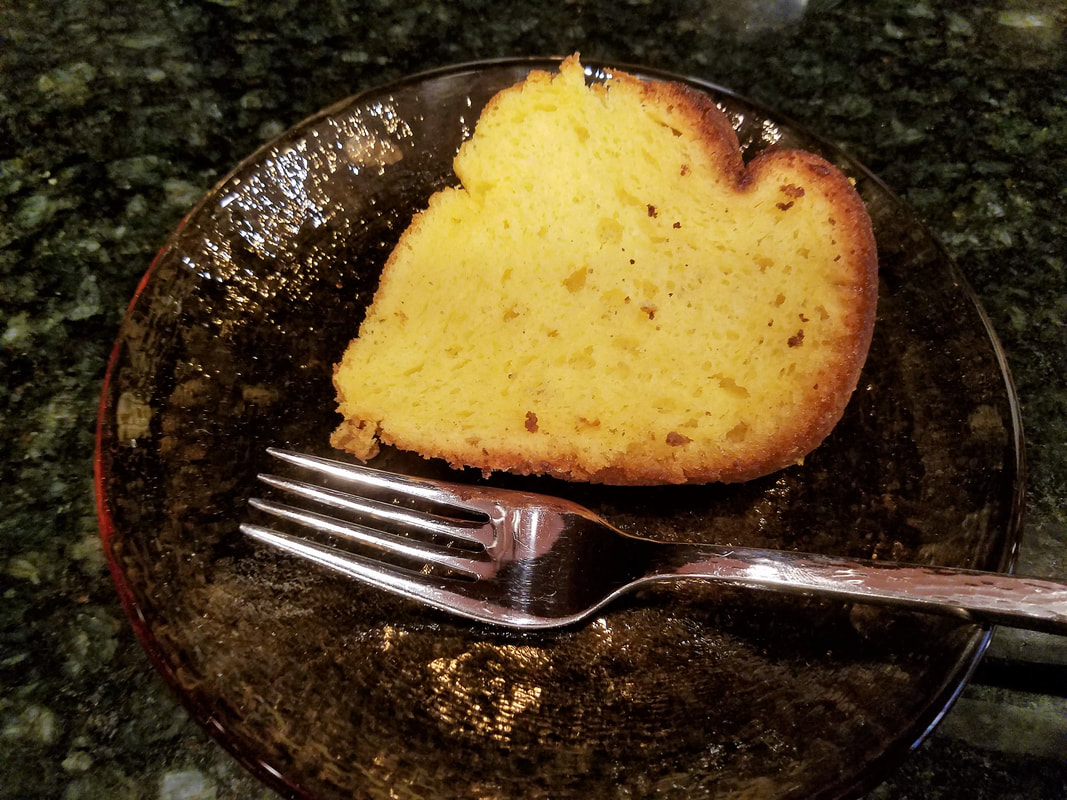
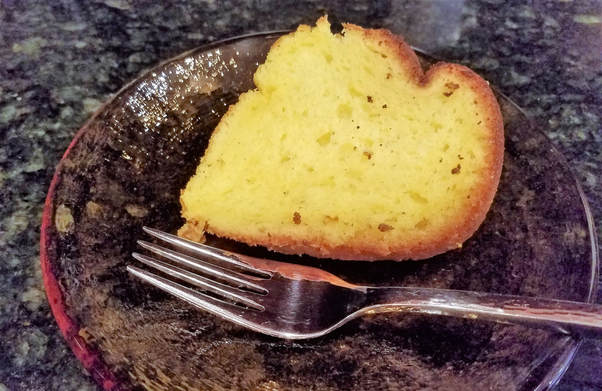
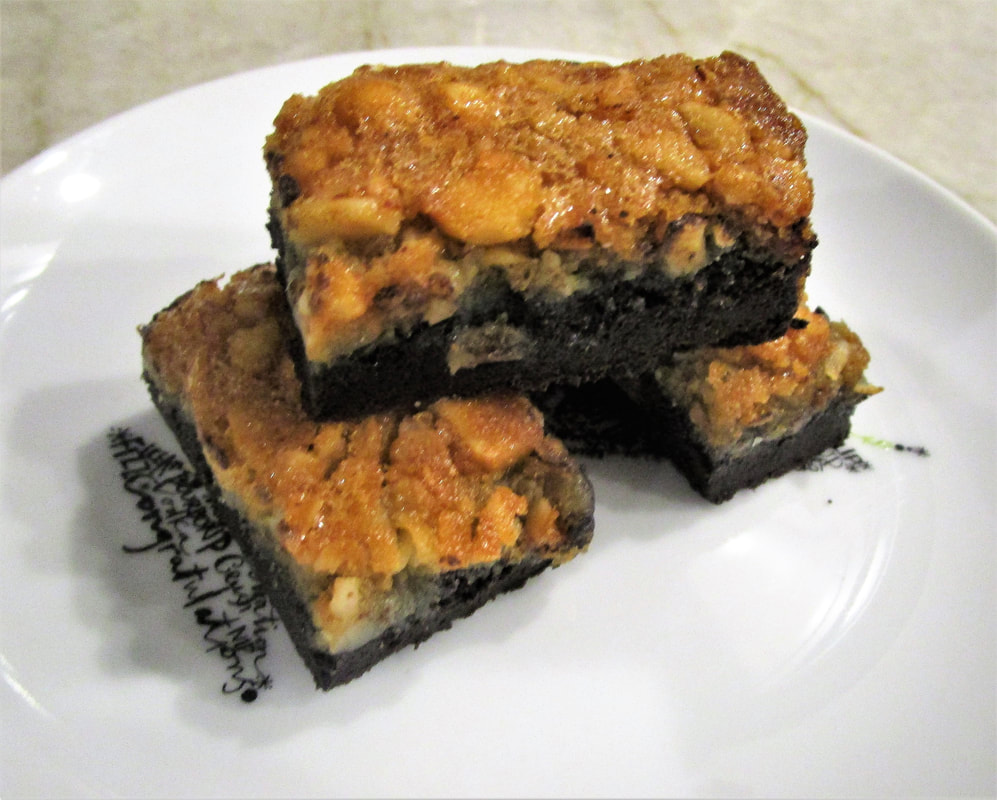
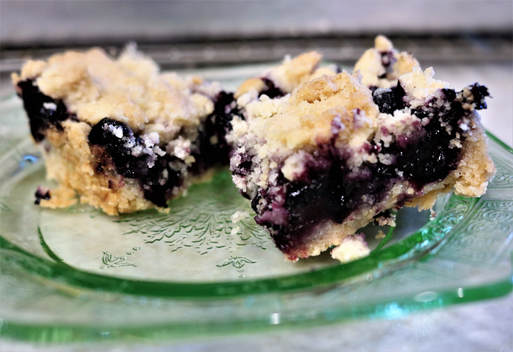
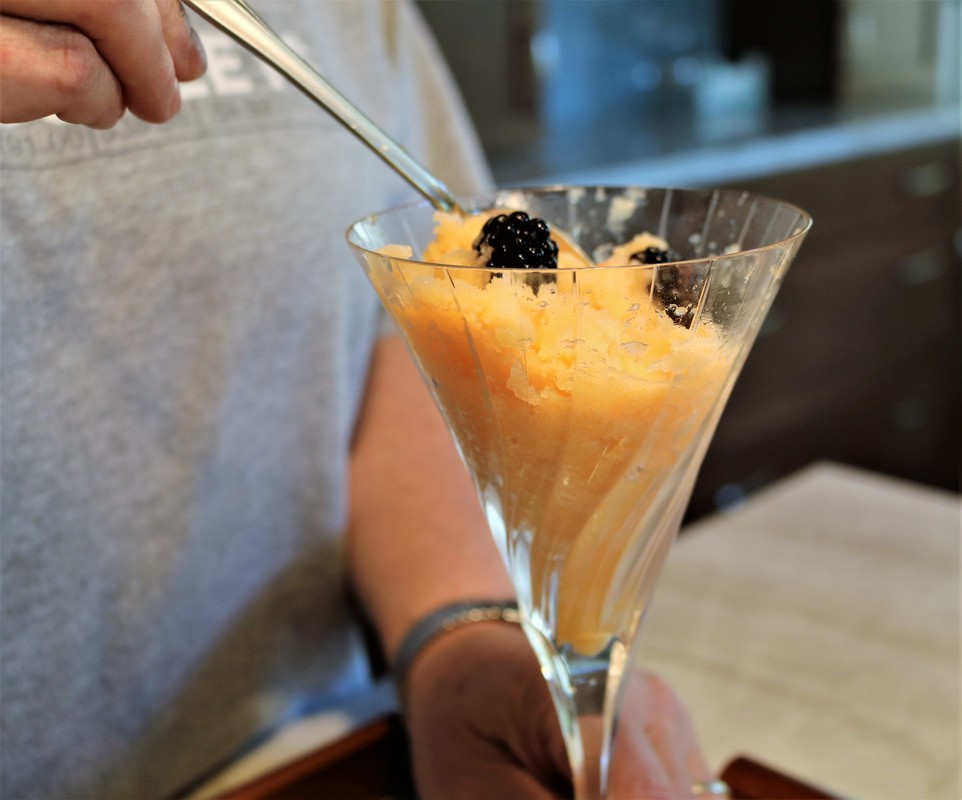
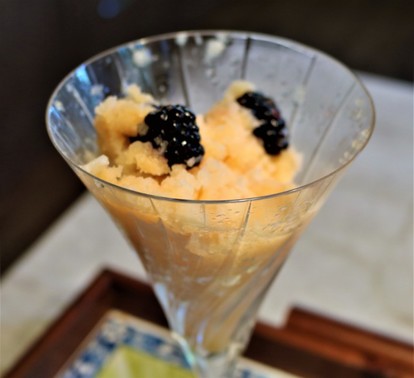
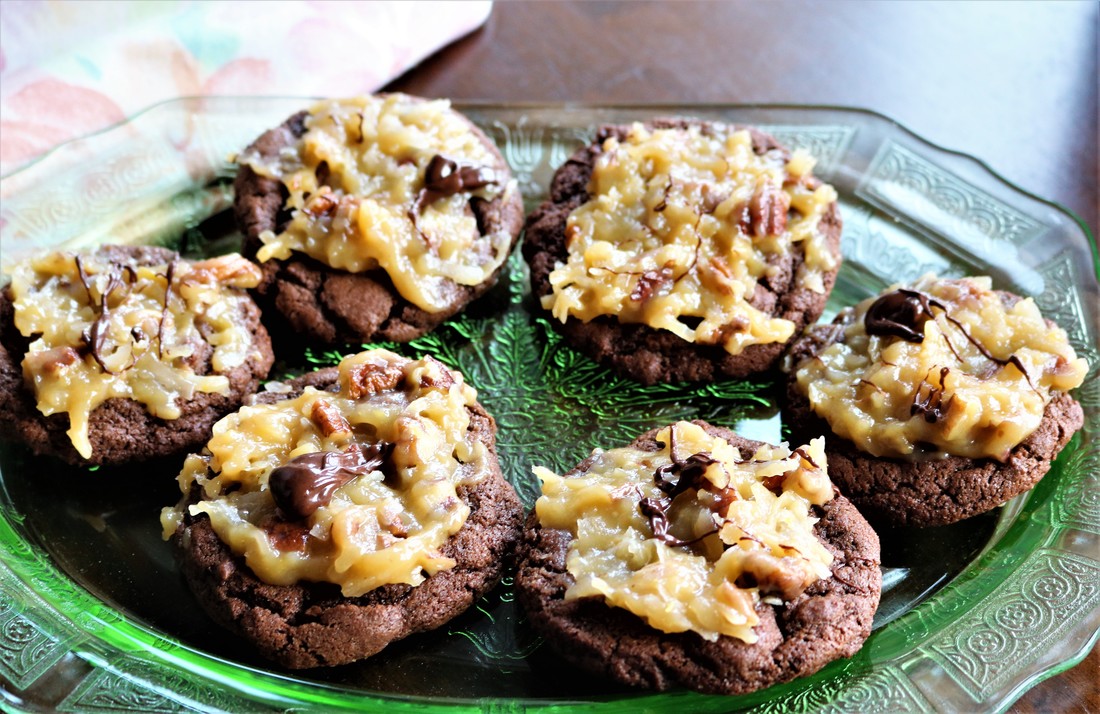
Serve With: A cup of tea would be lovely with a slice of this cake. Or dress it up with a dollop of fresh whipped cream, maybe flavored with a hint of cinnamon.
|
|
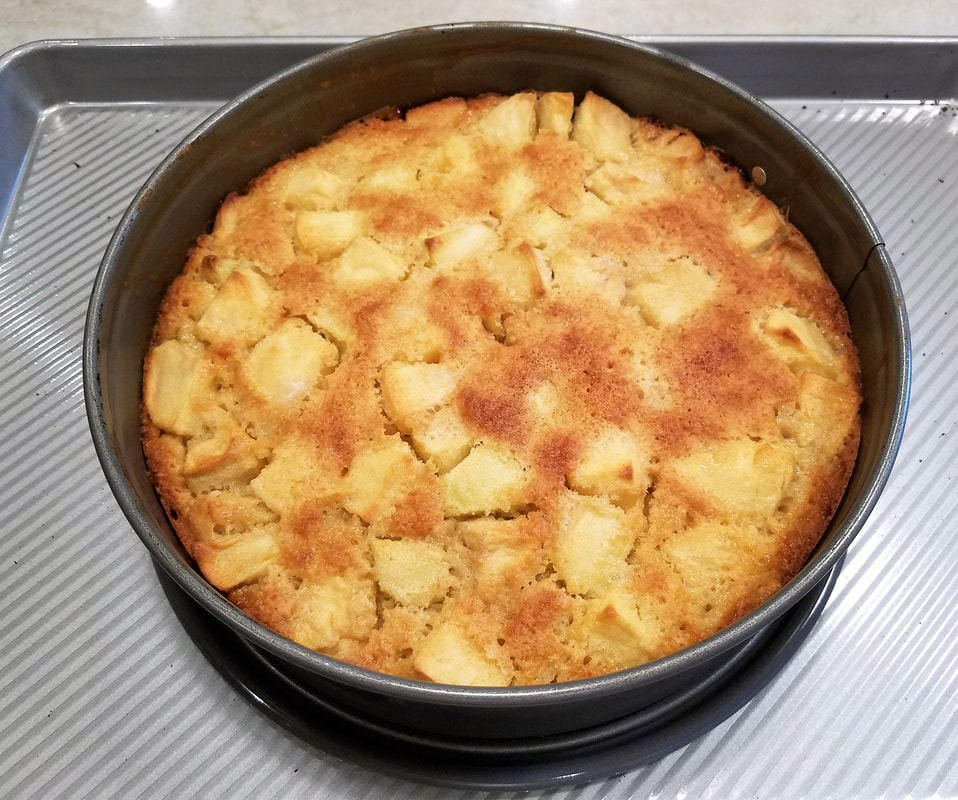
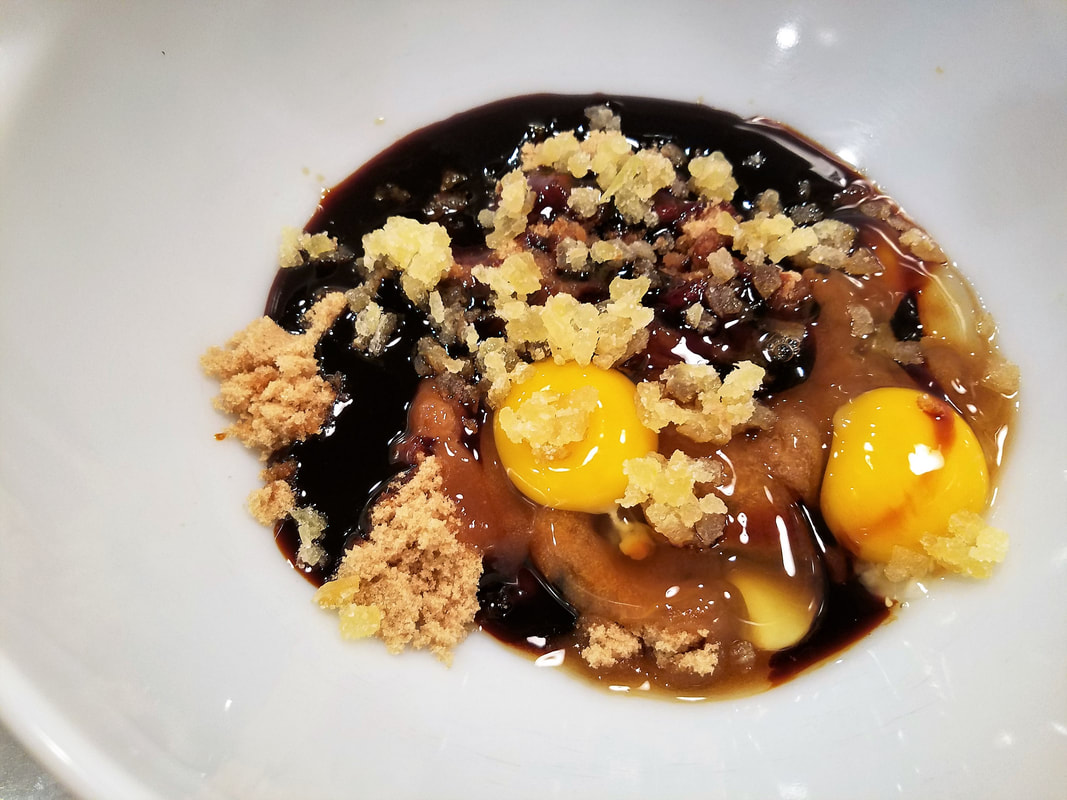
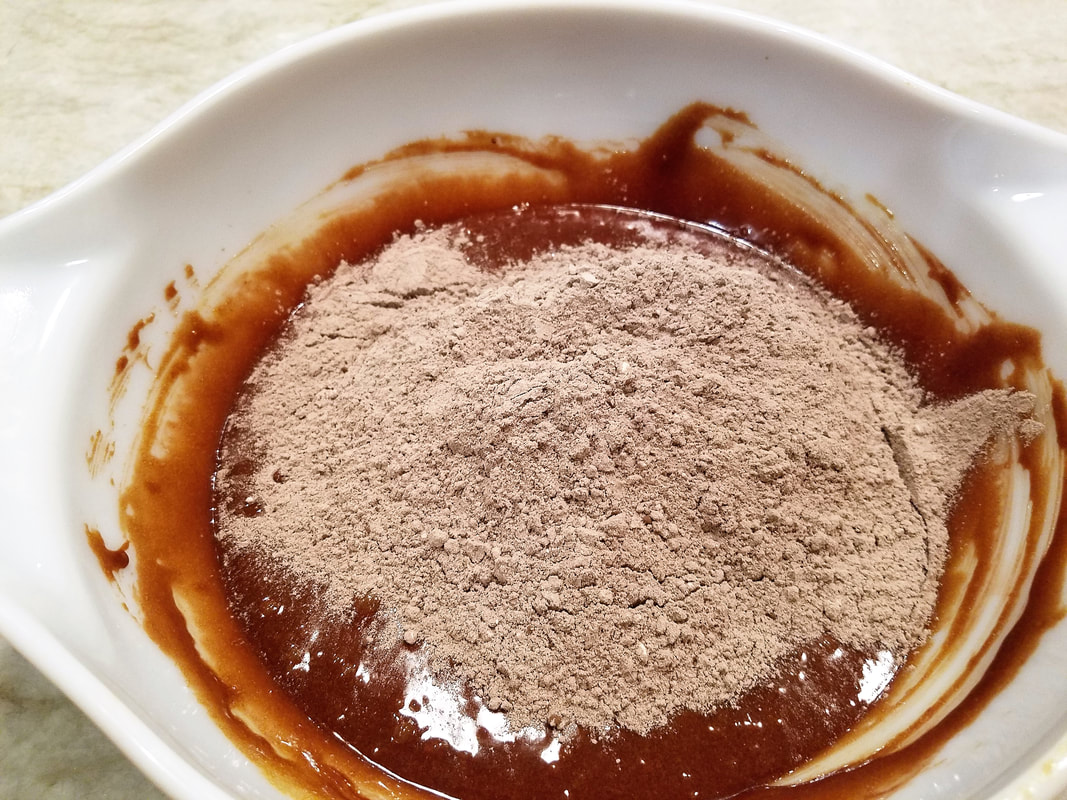
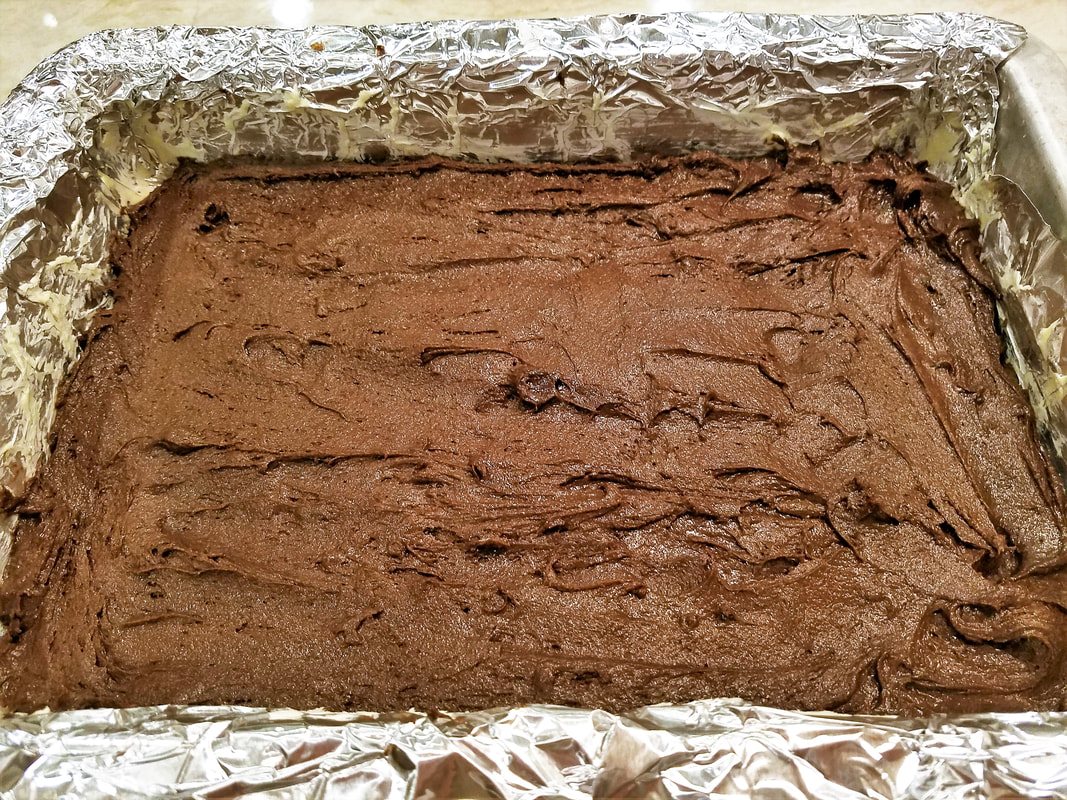
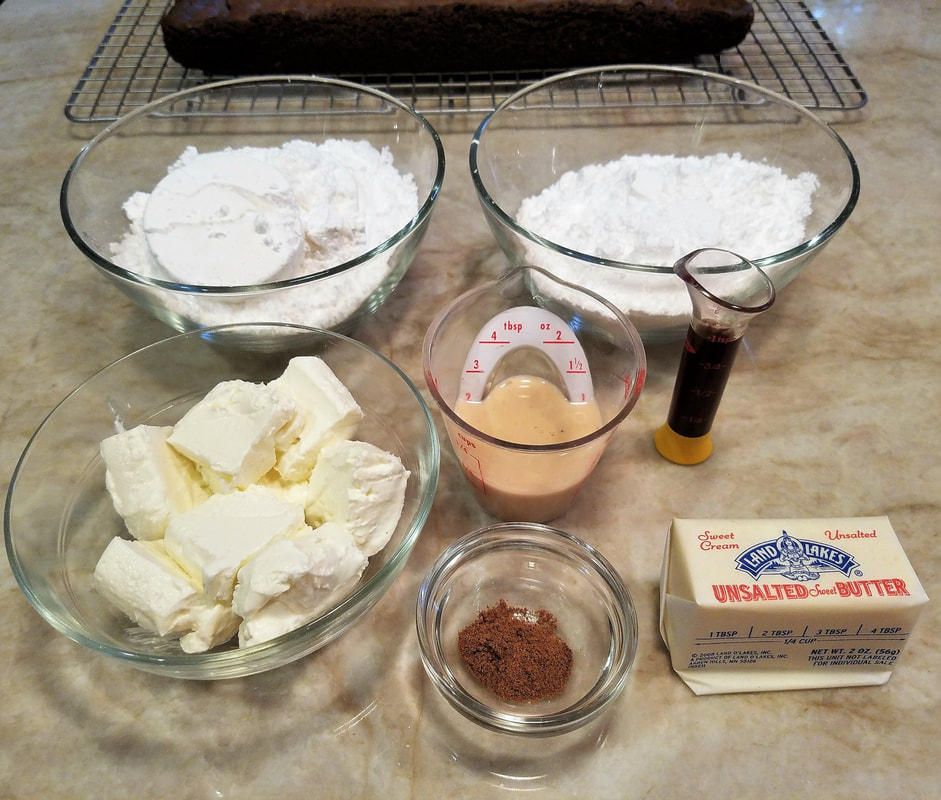
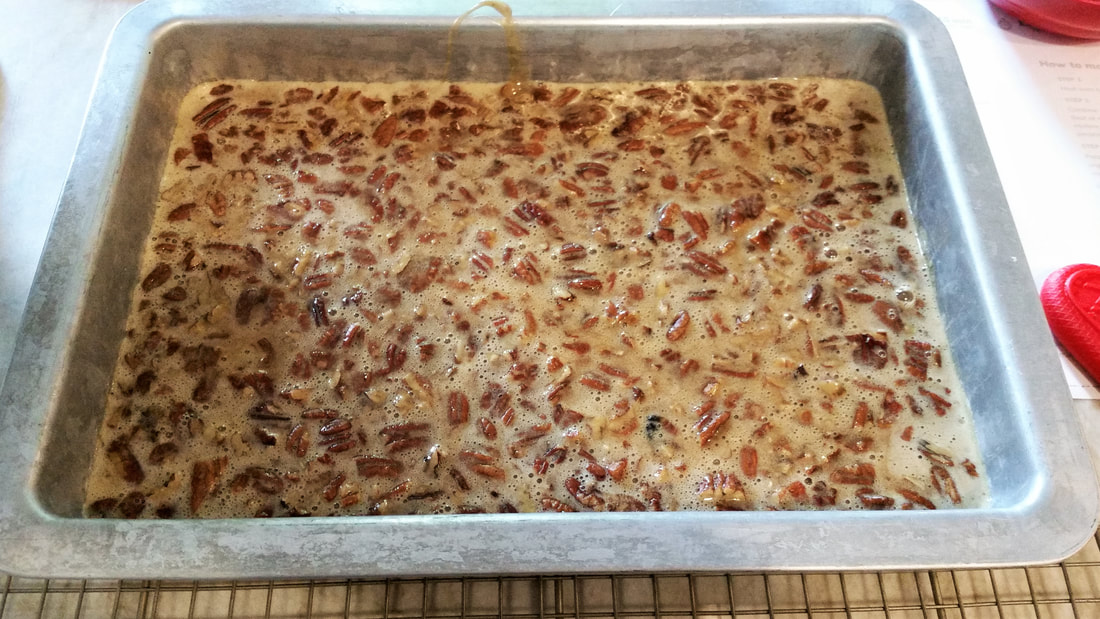
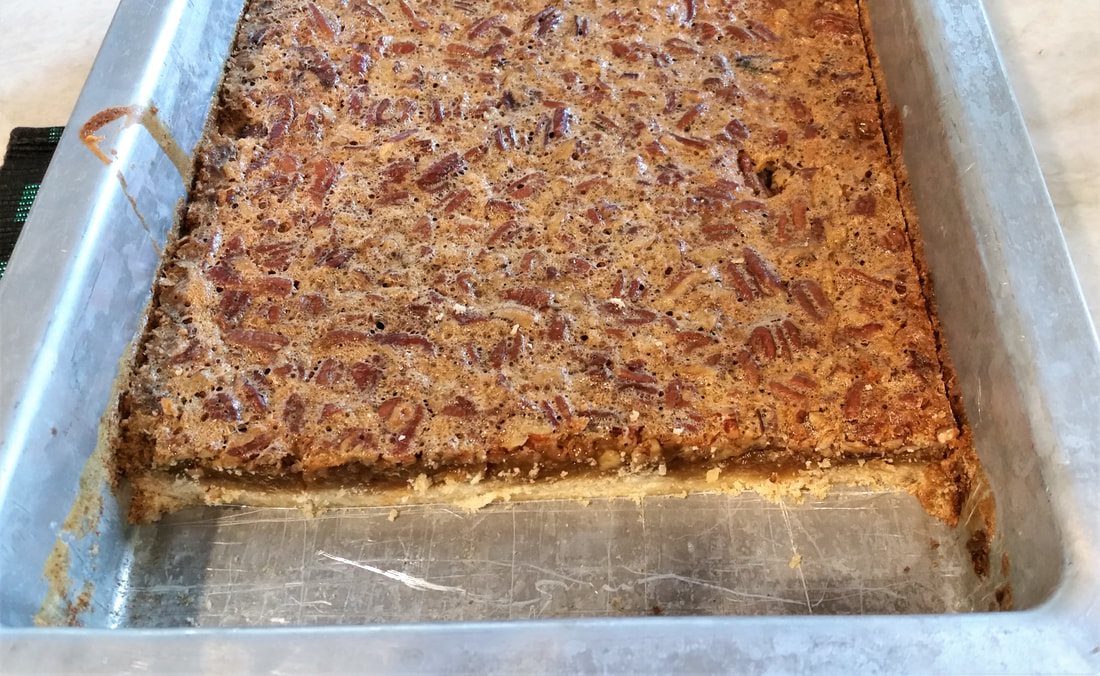
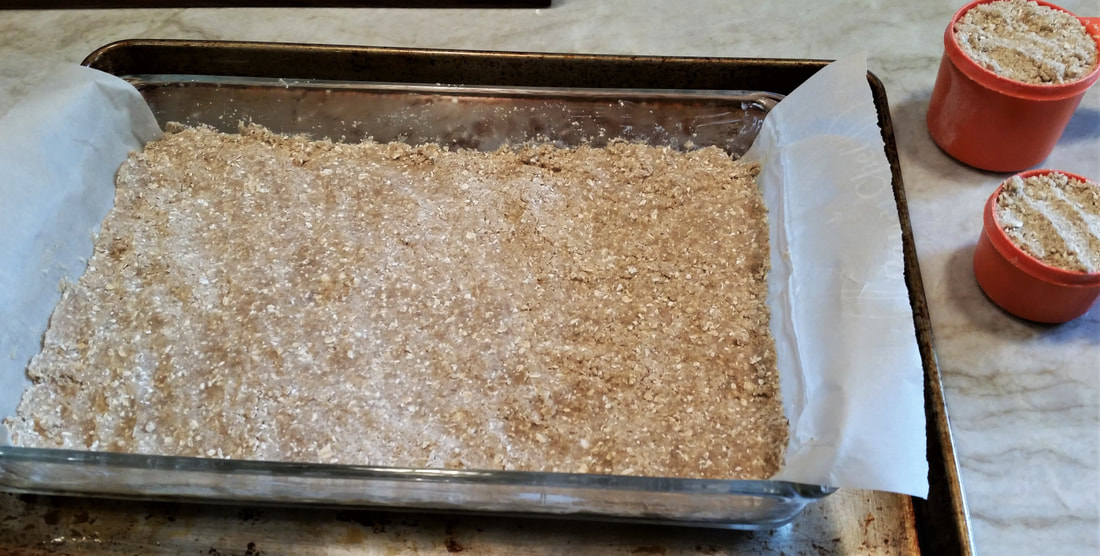
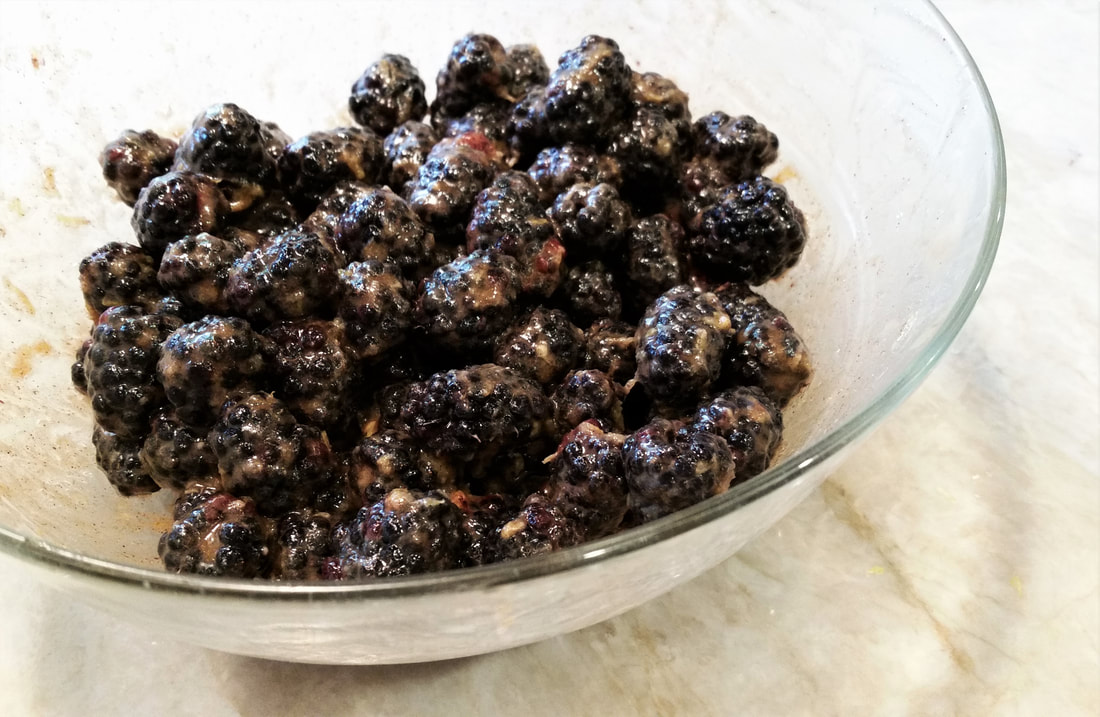
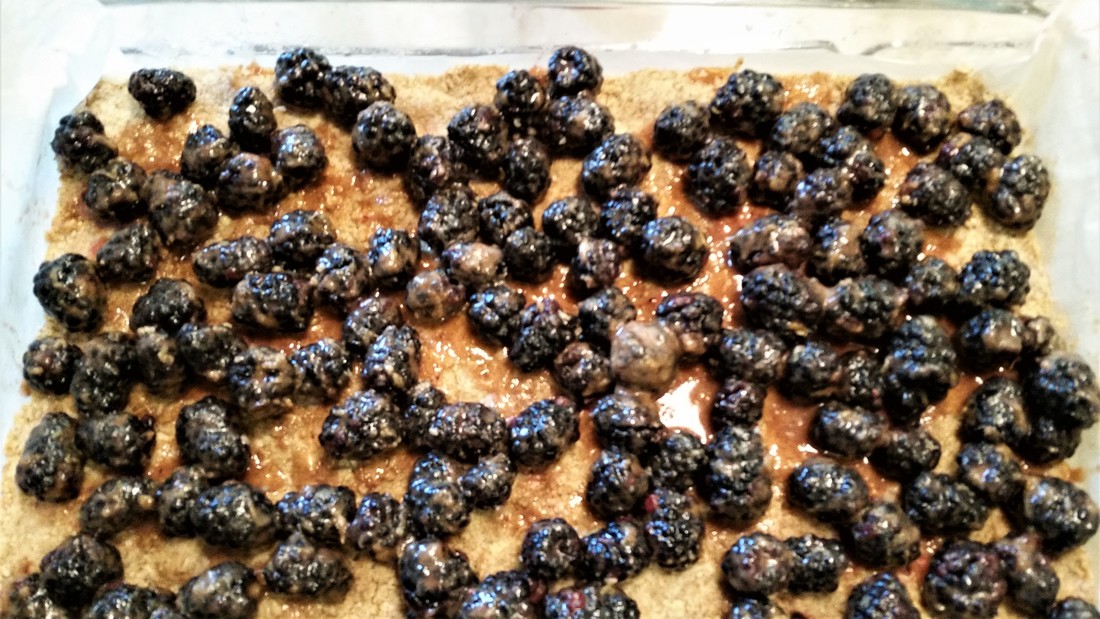
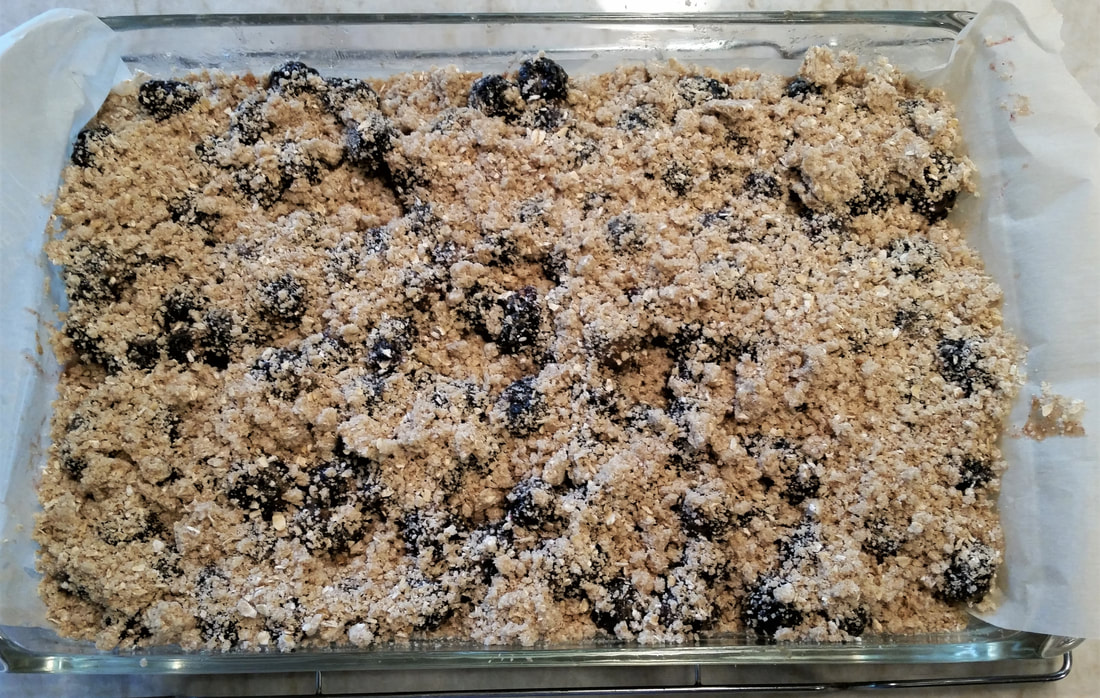
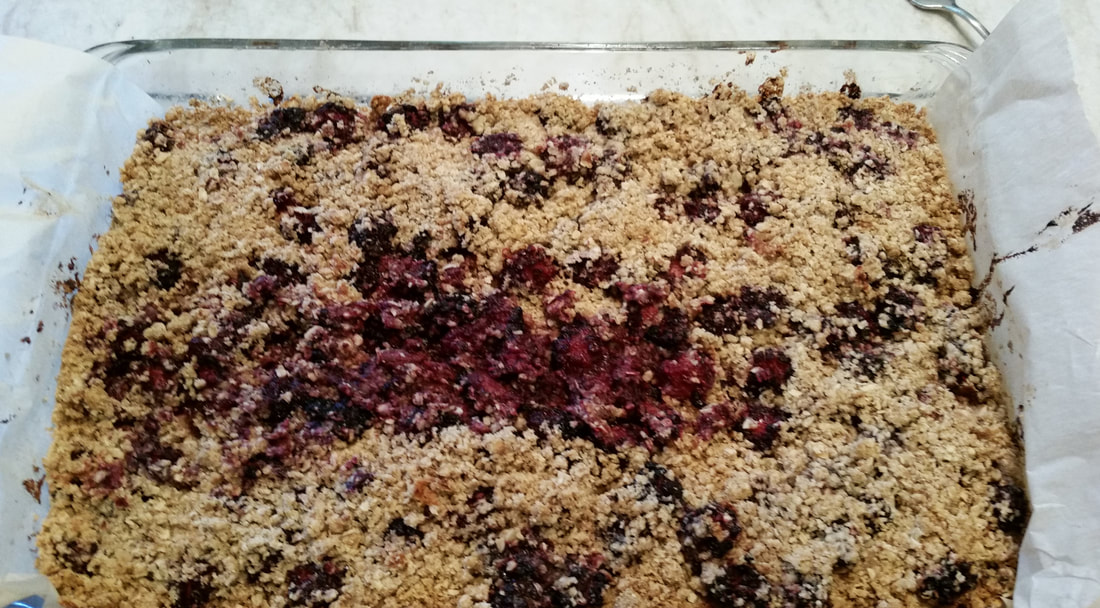
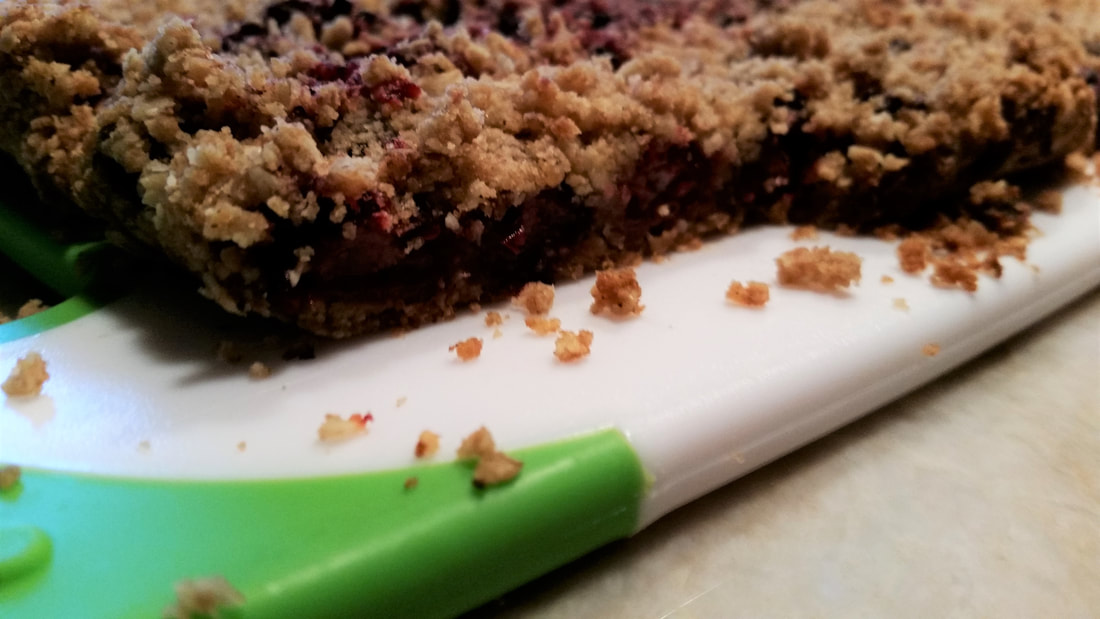
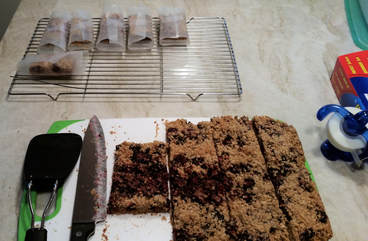
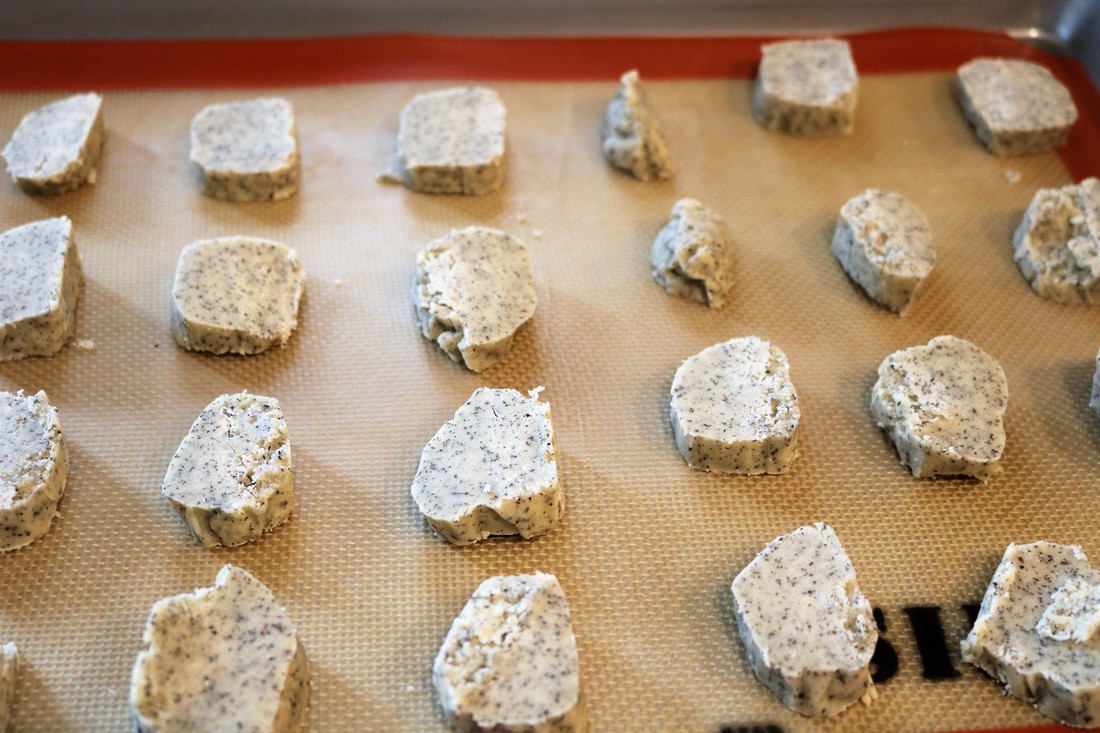
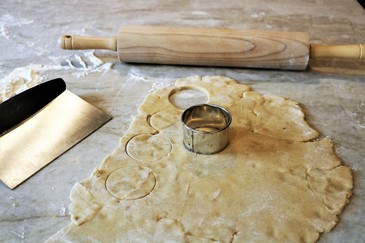
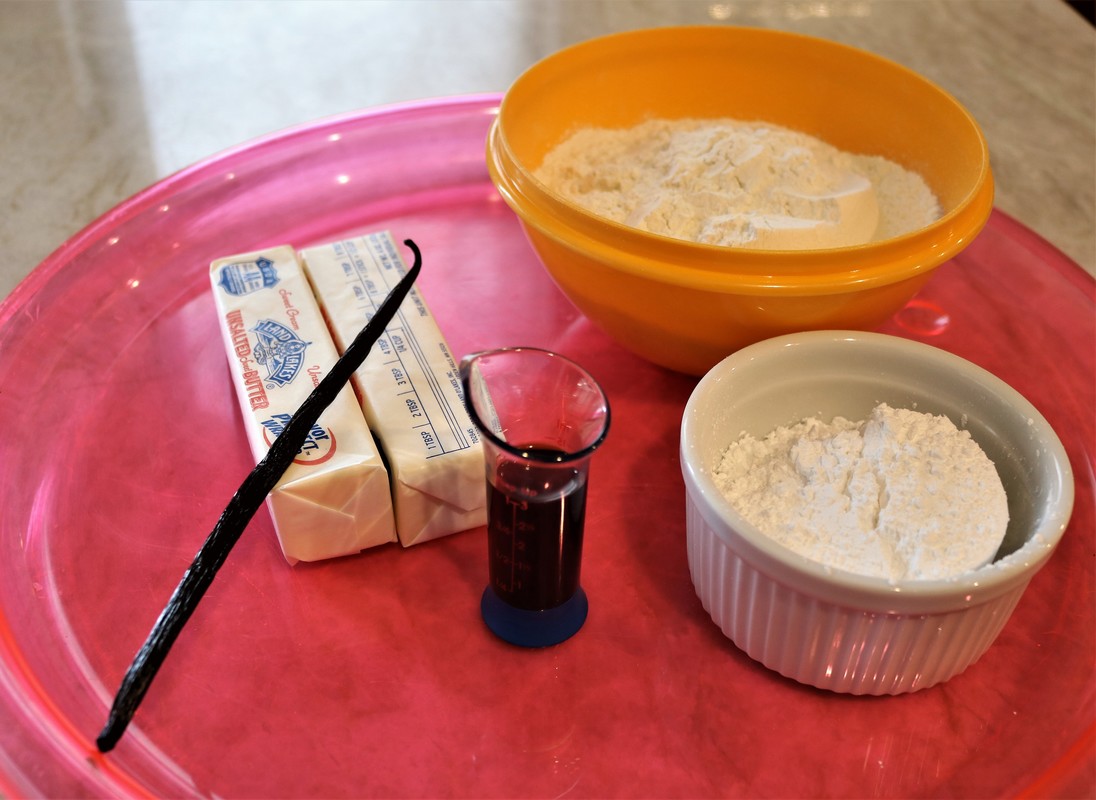
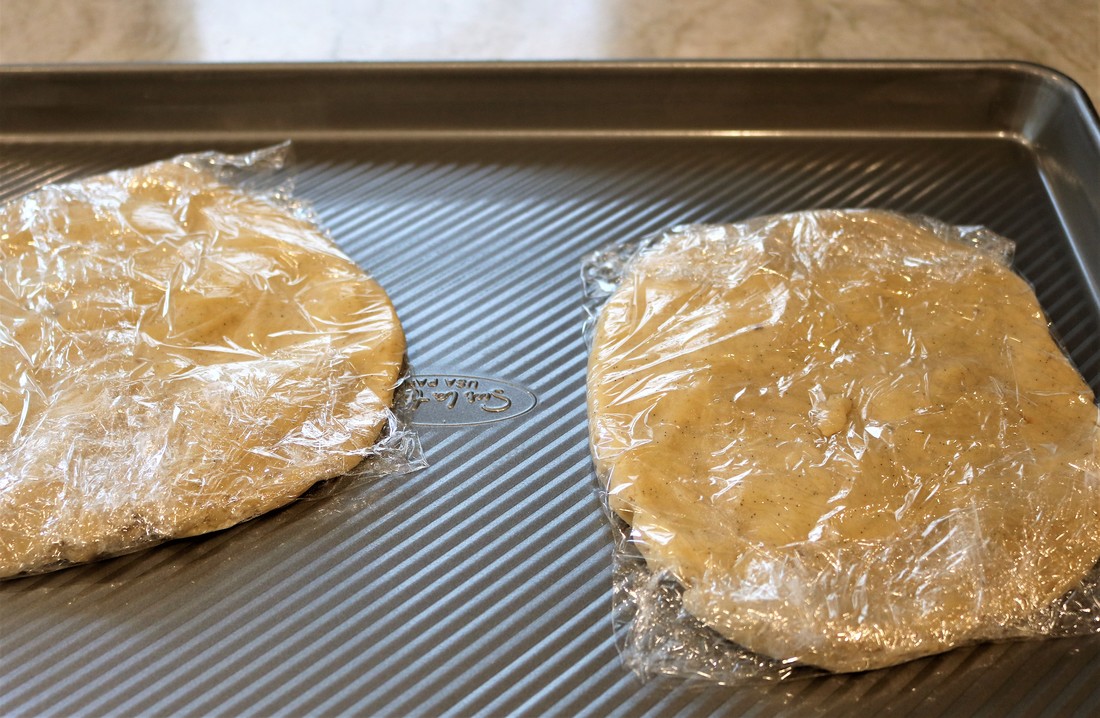
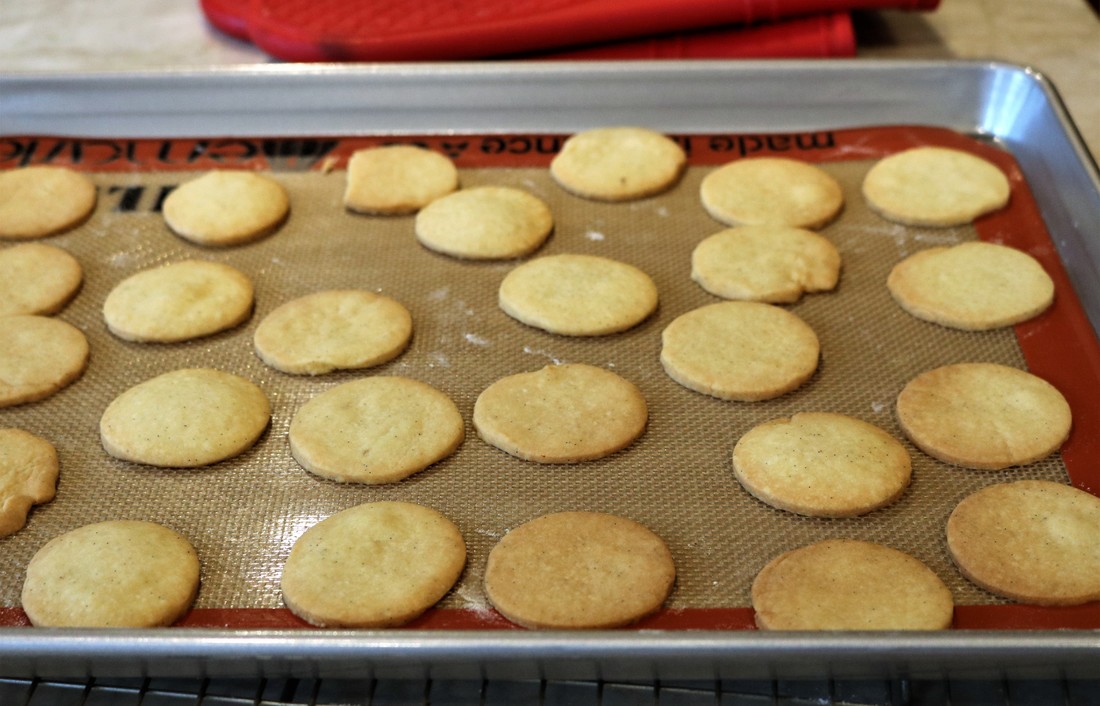
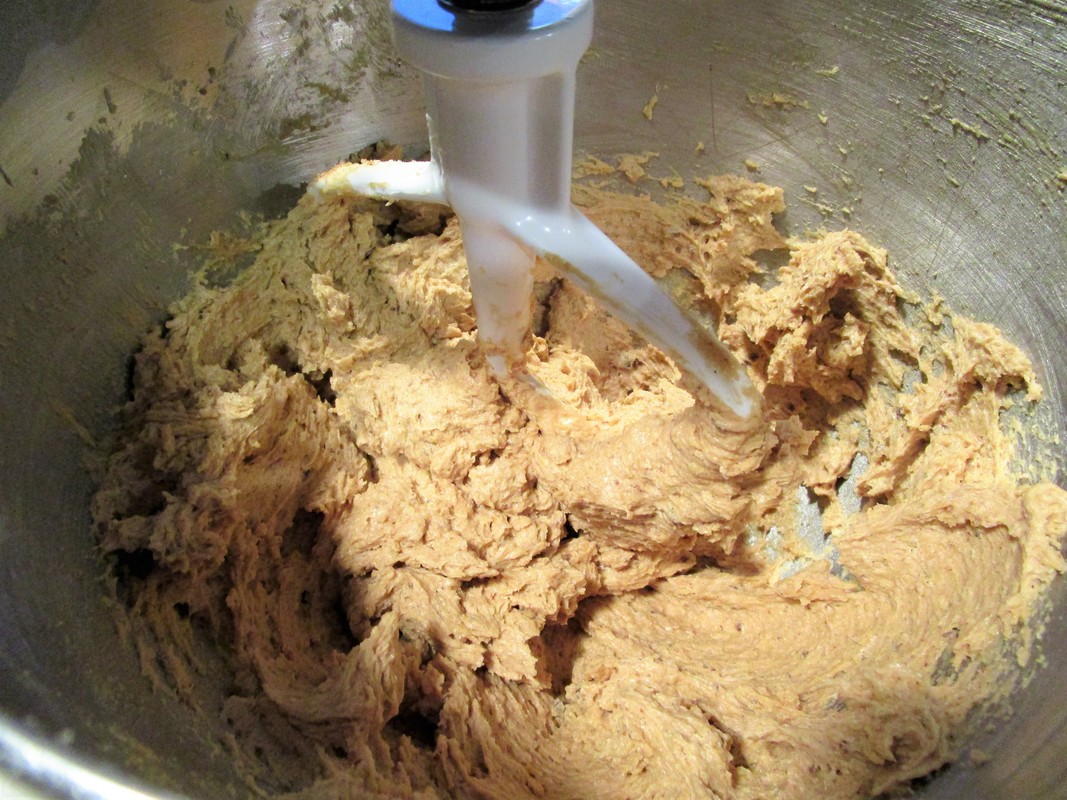
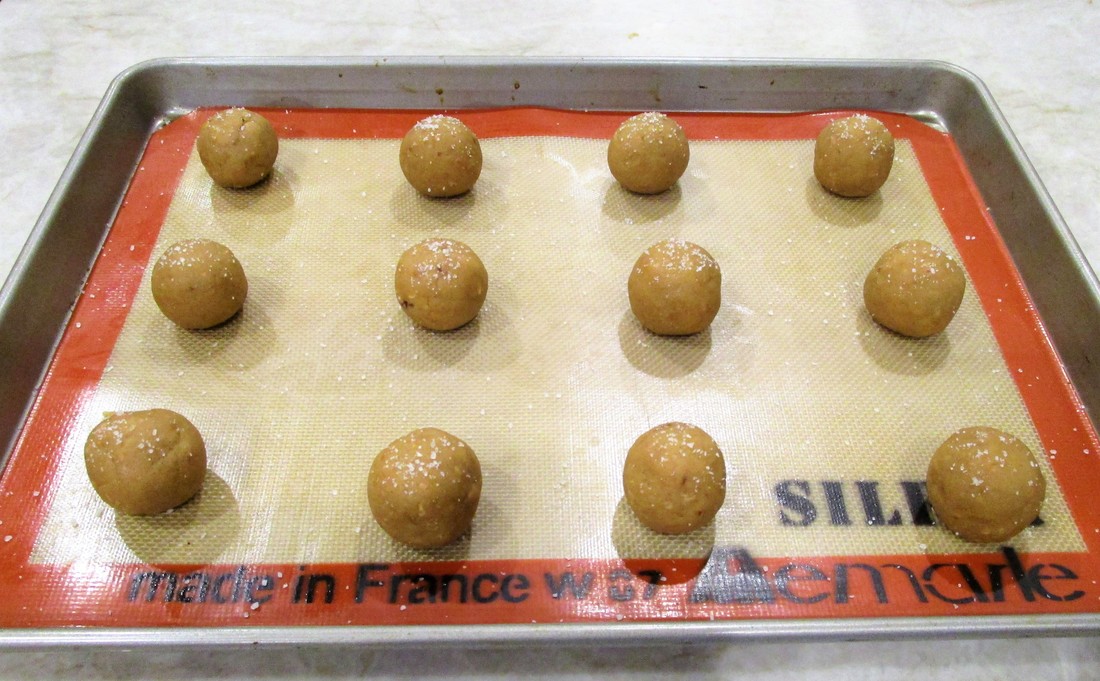
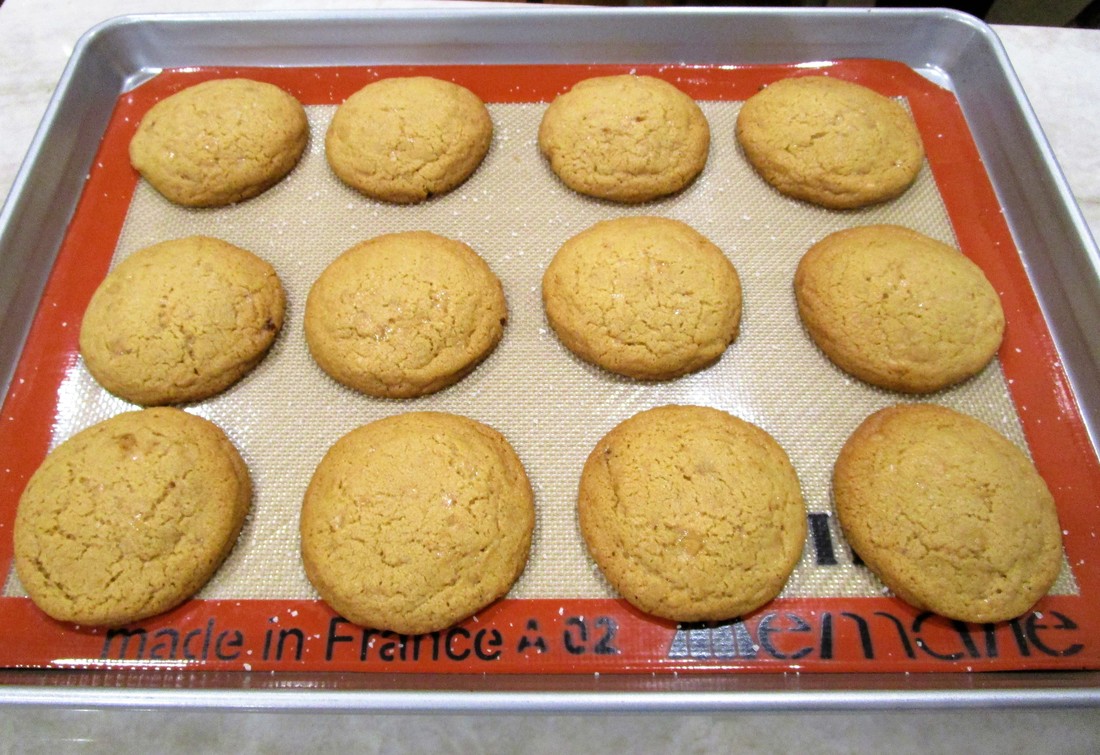
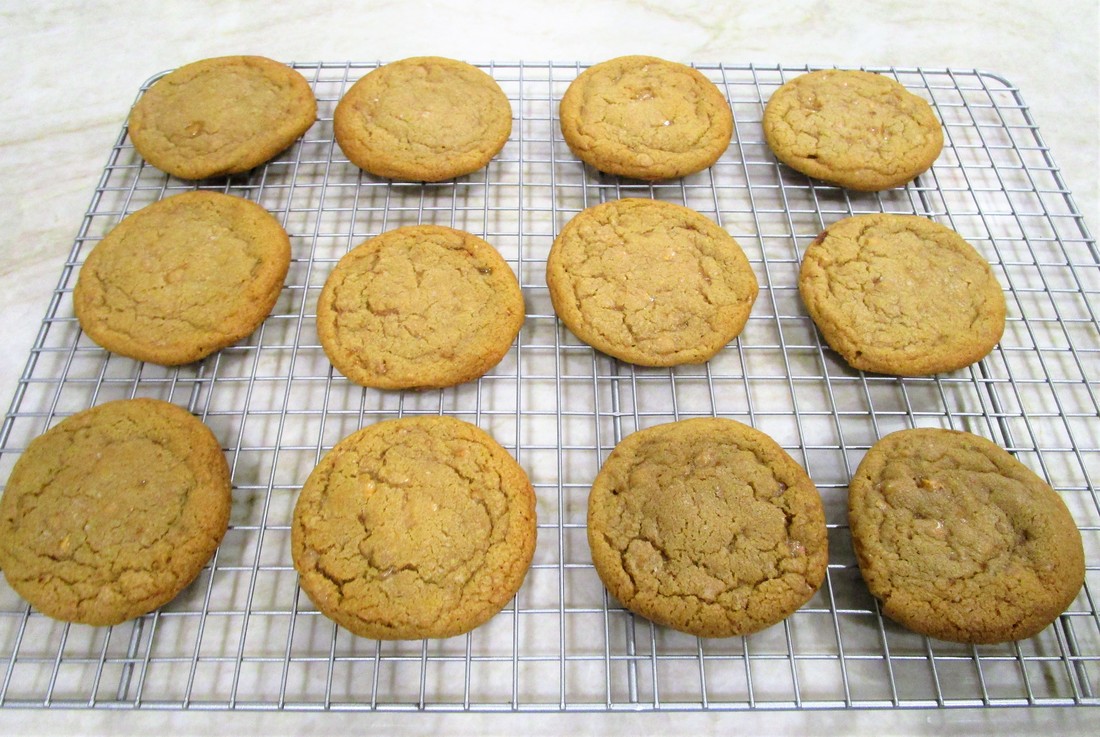
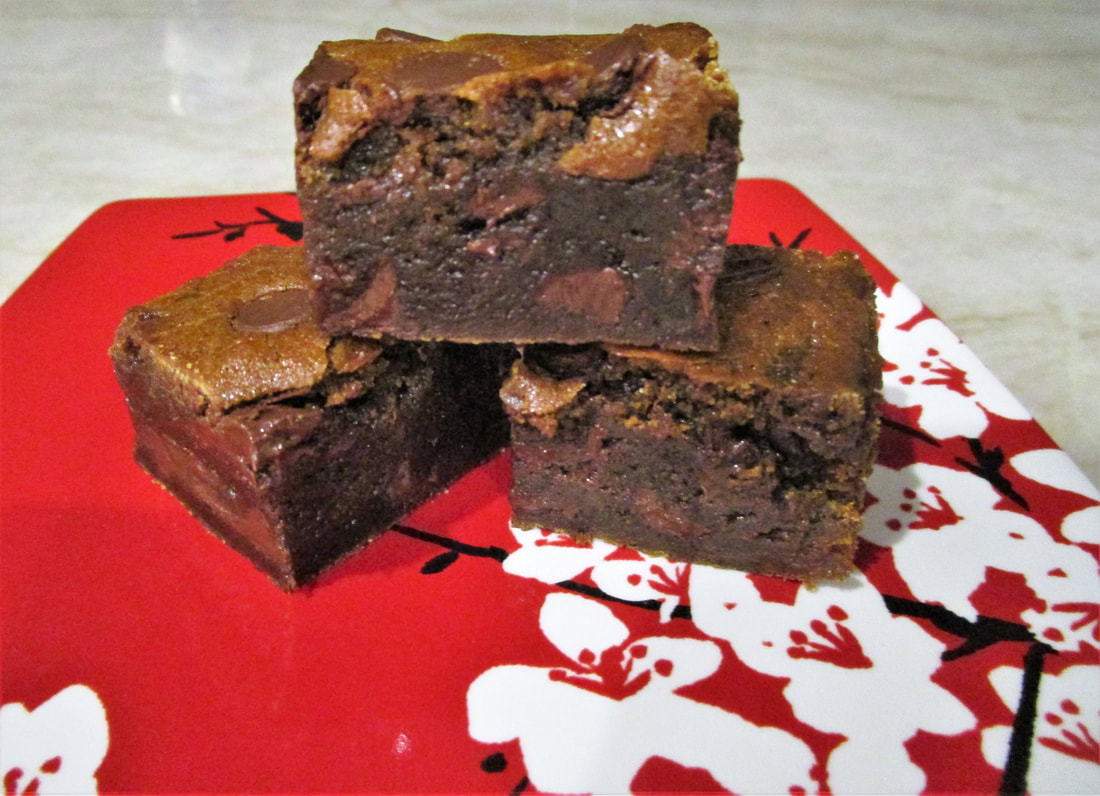
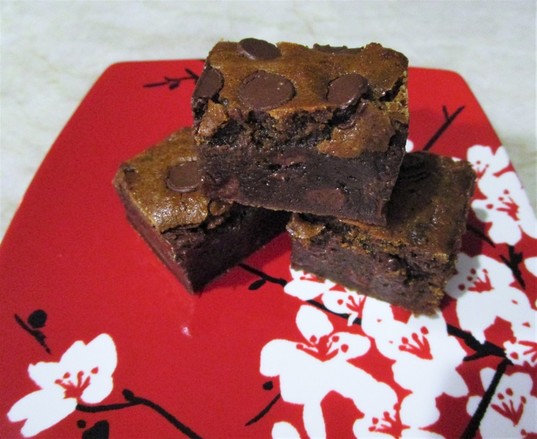
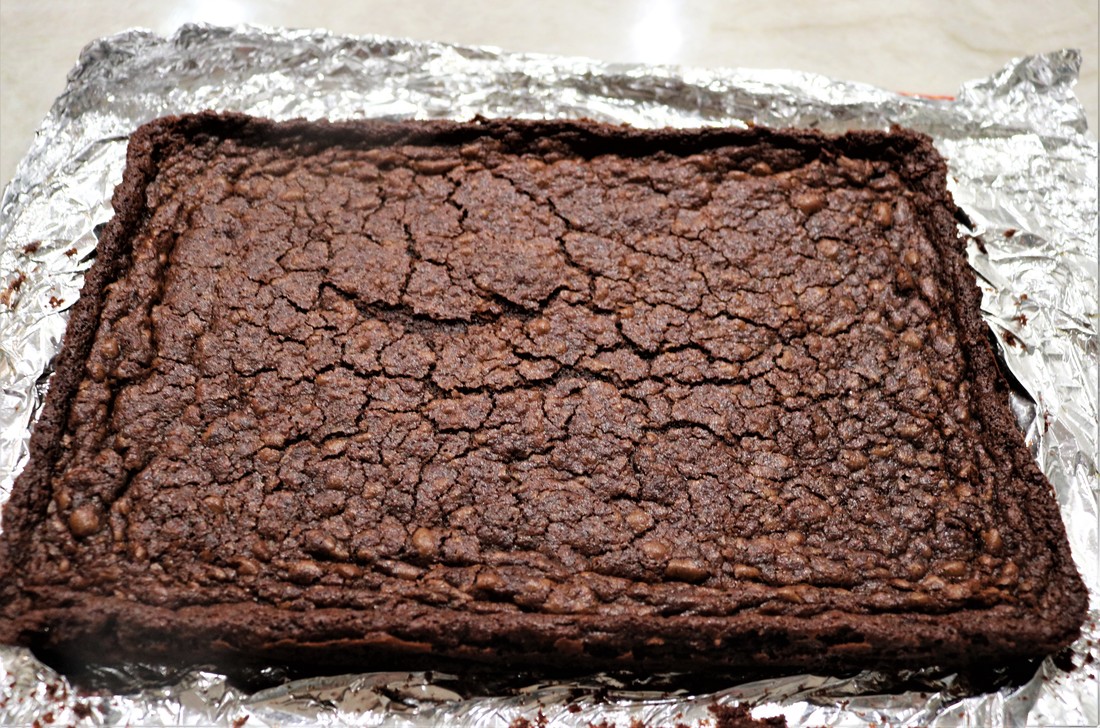
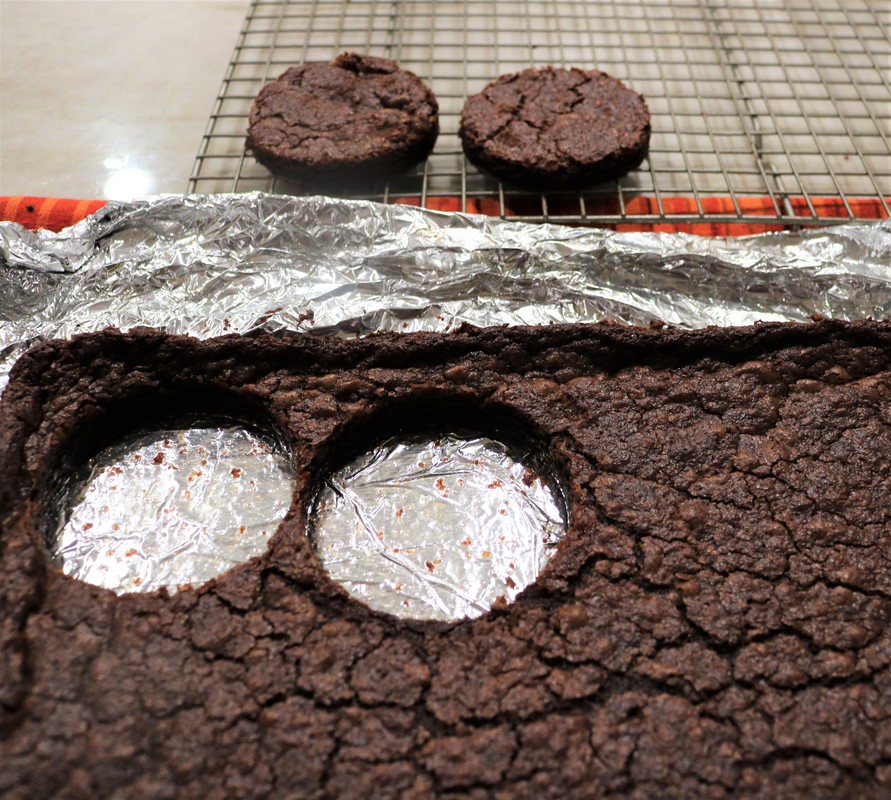
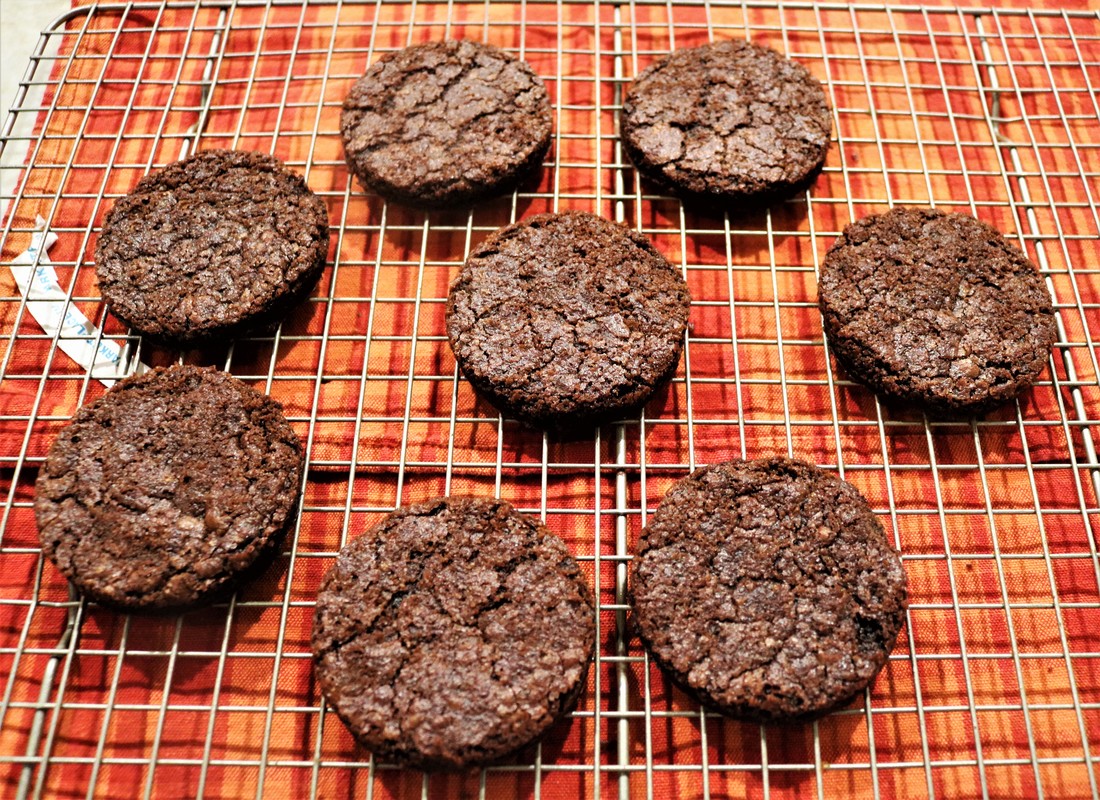
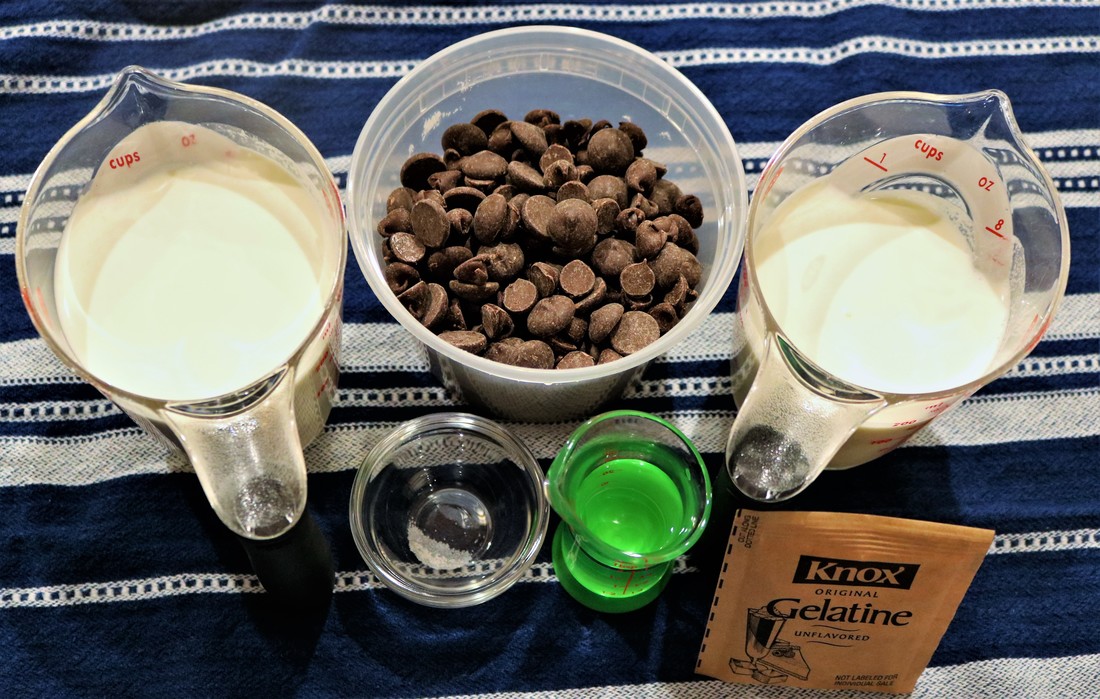
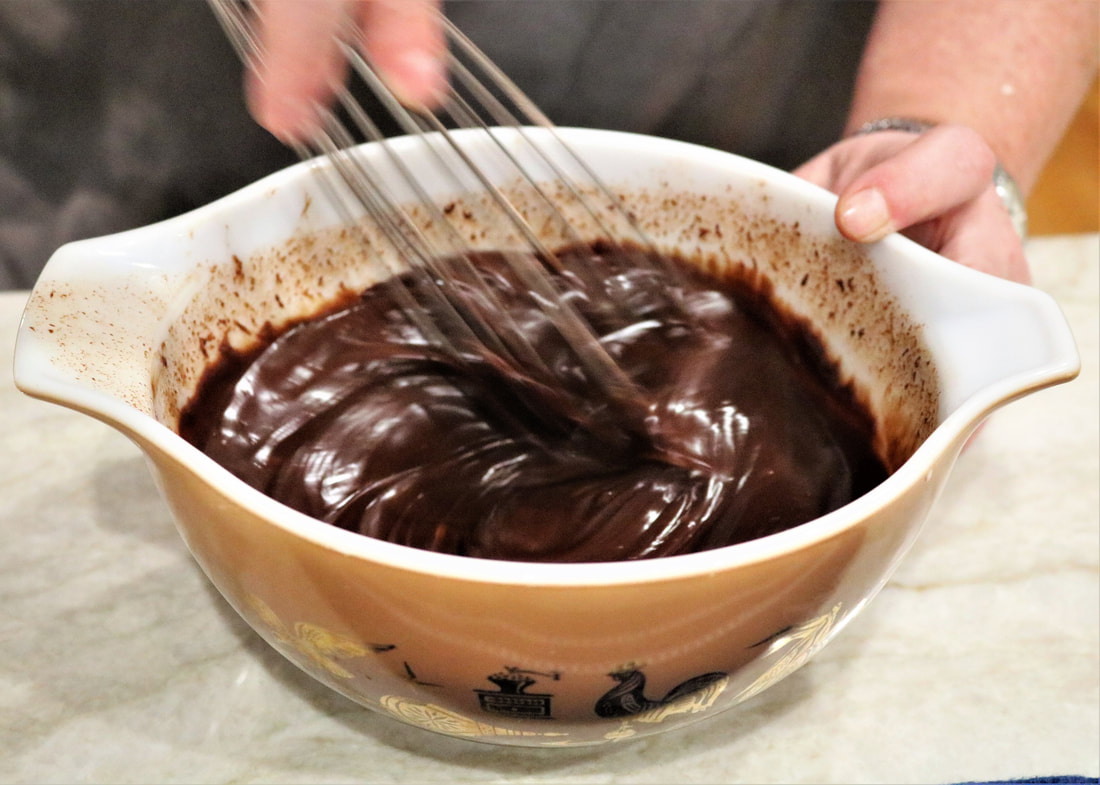
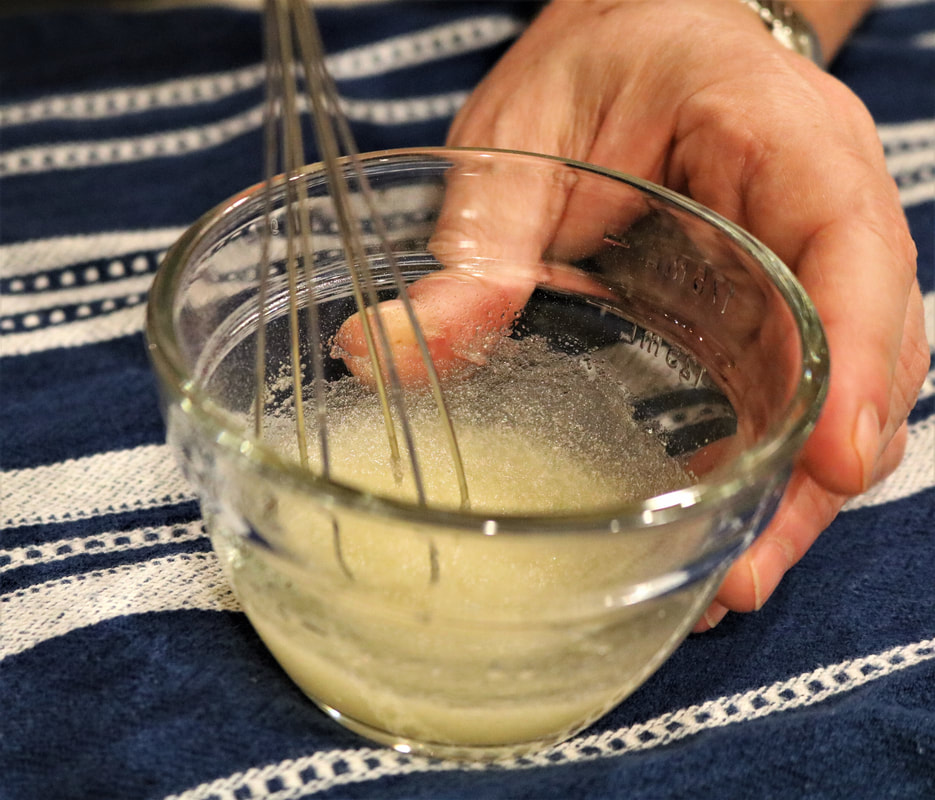
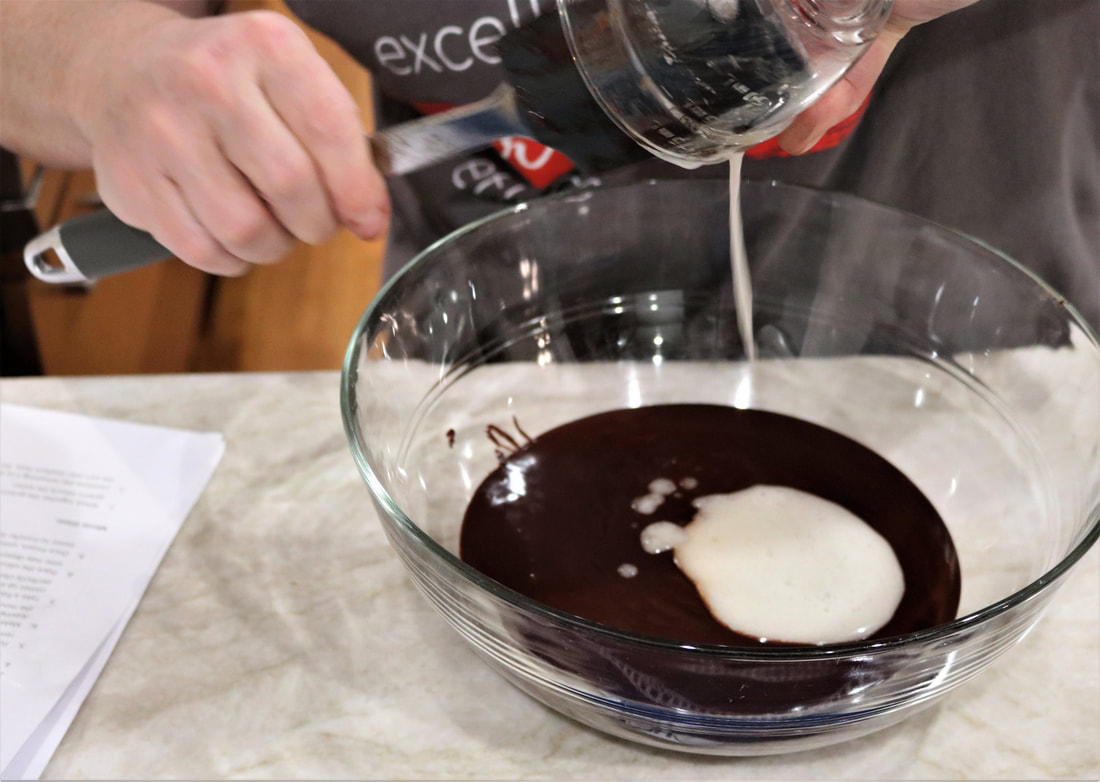
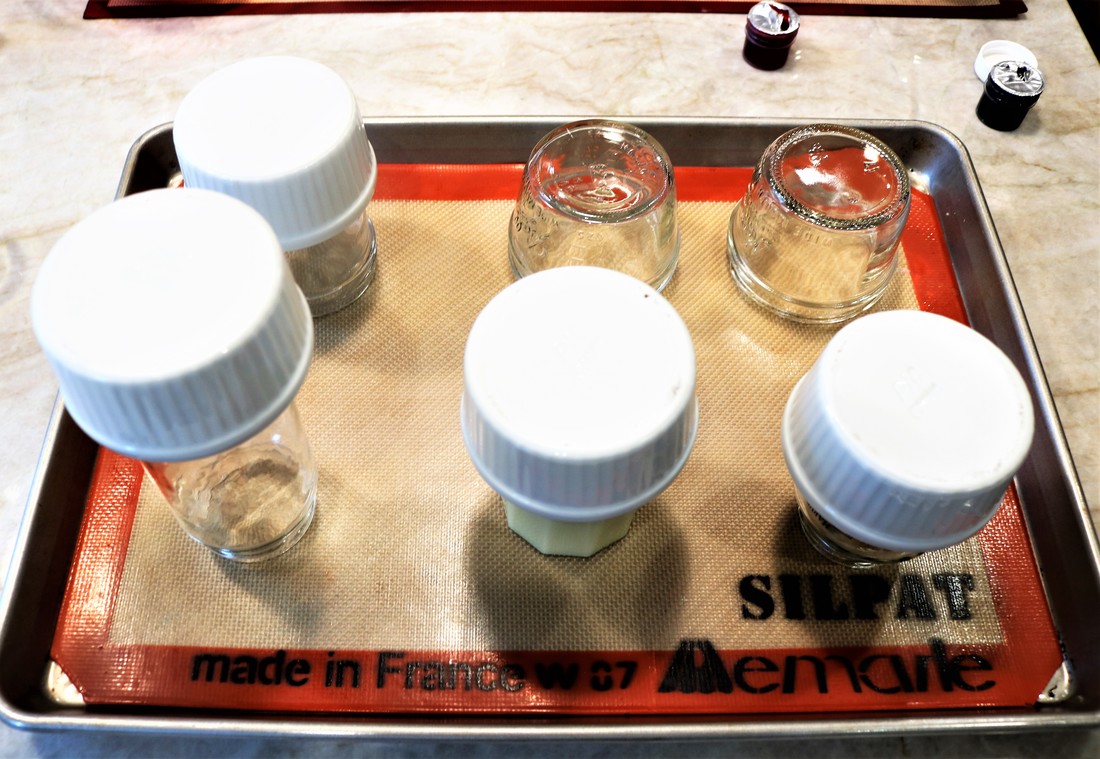
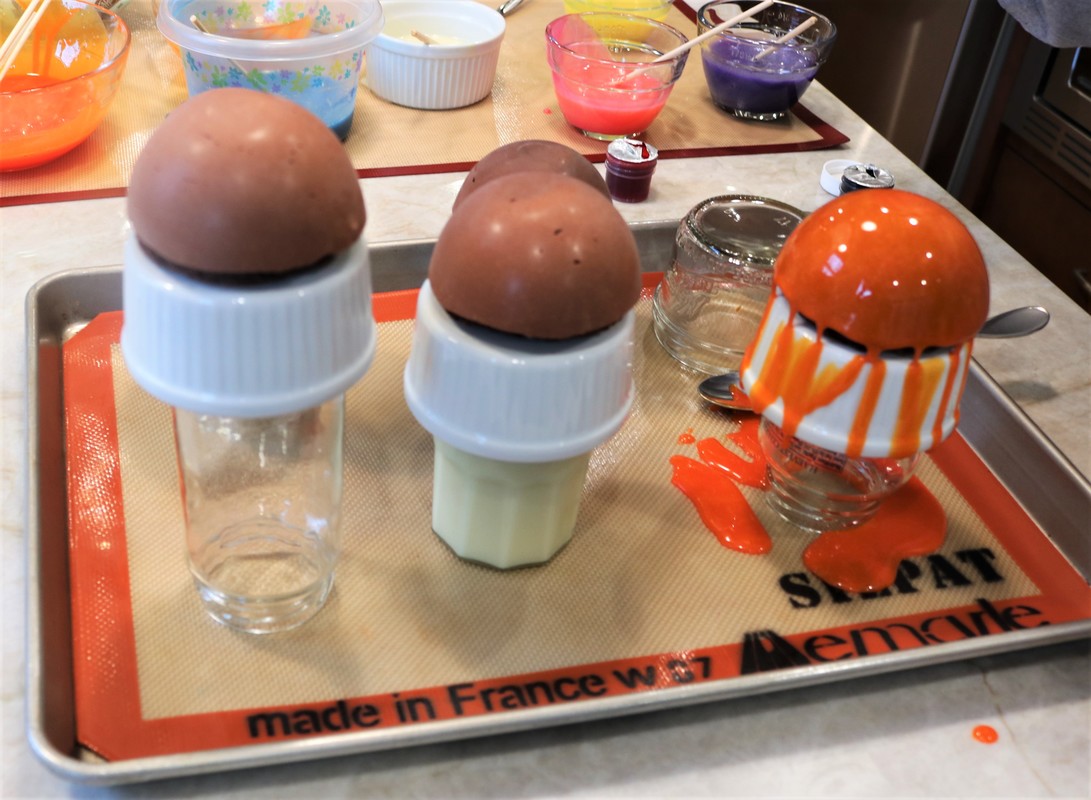
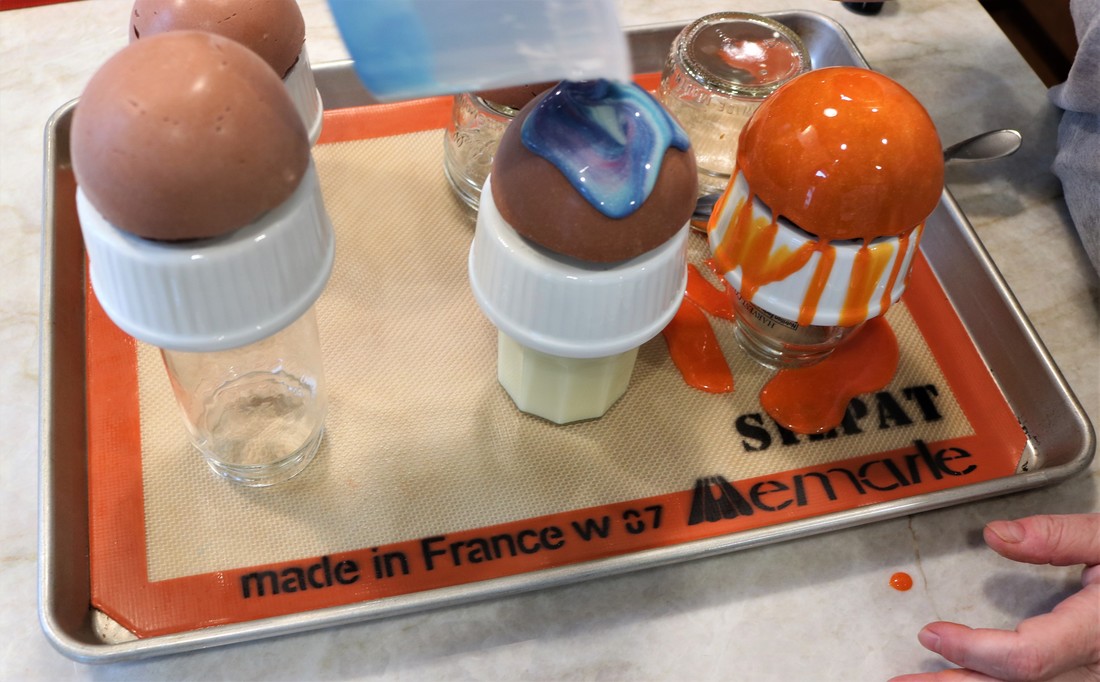
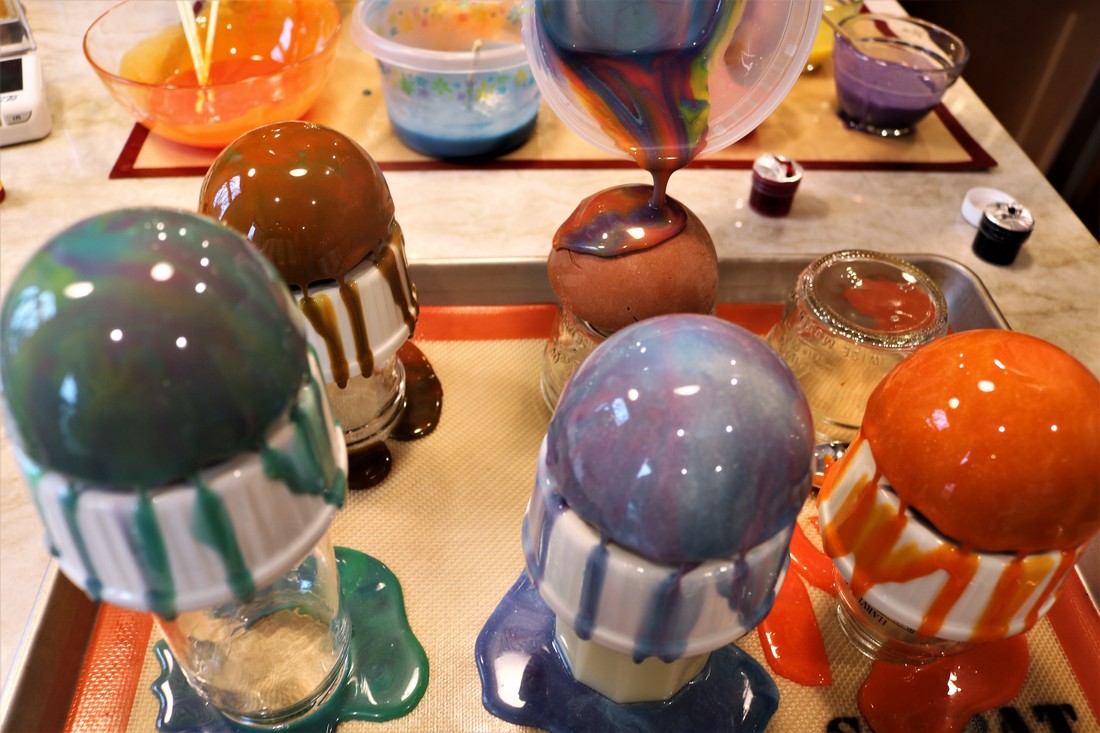
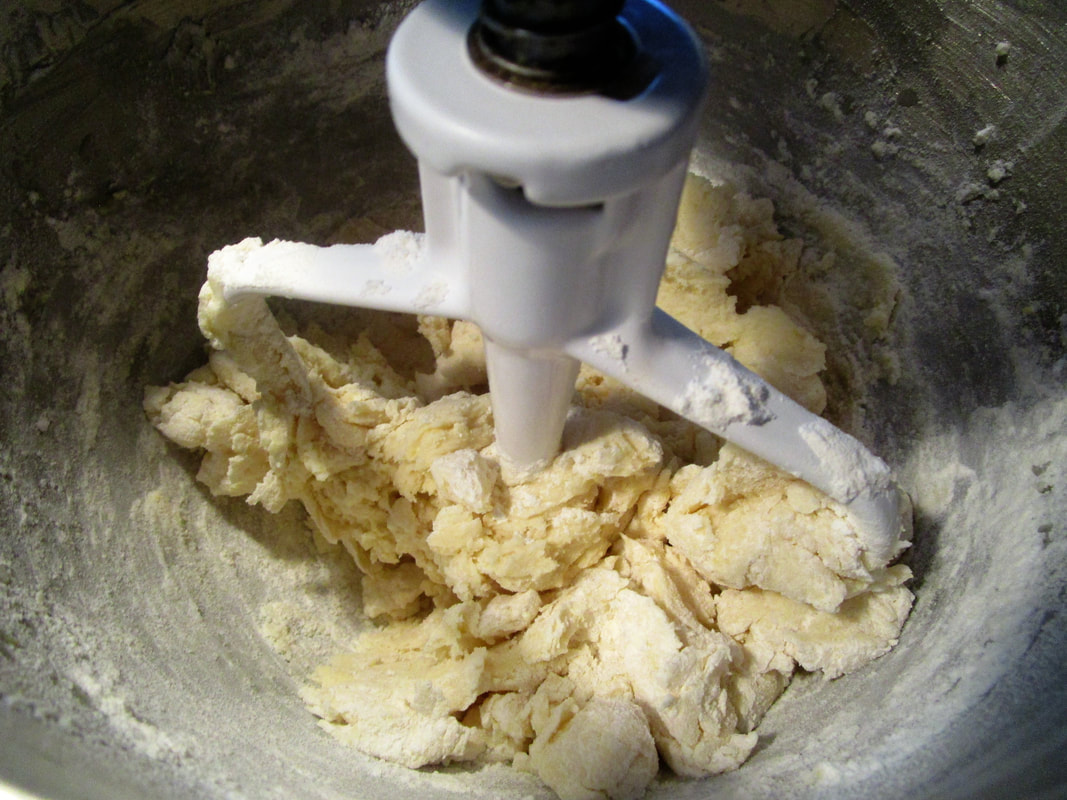
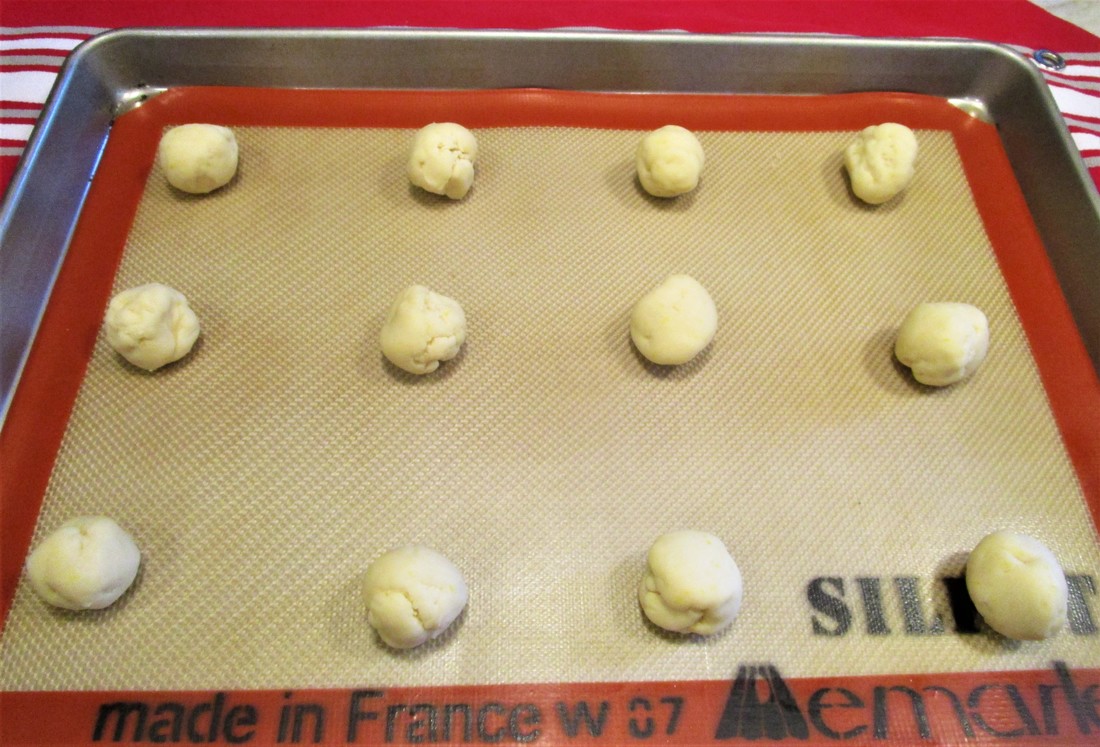
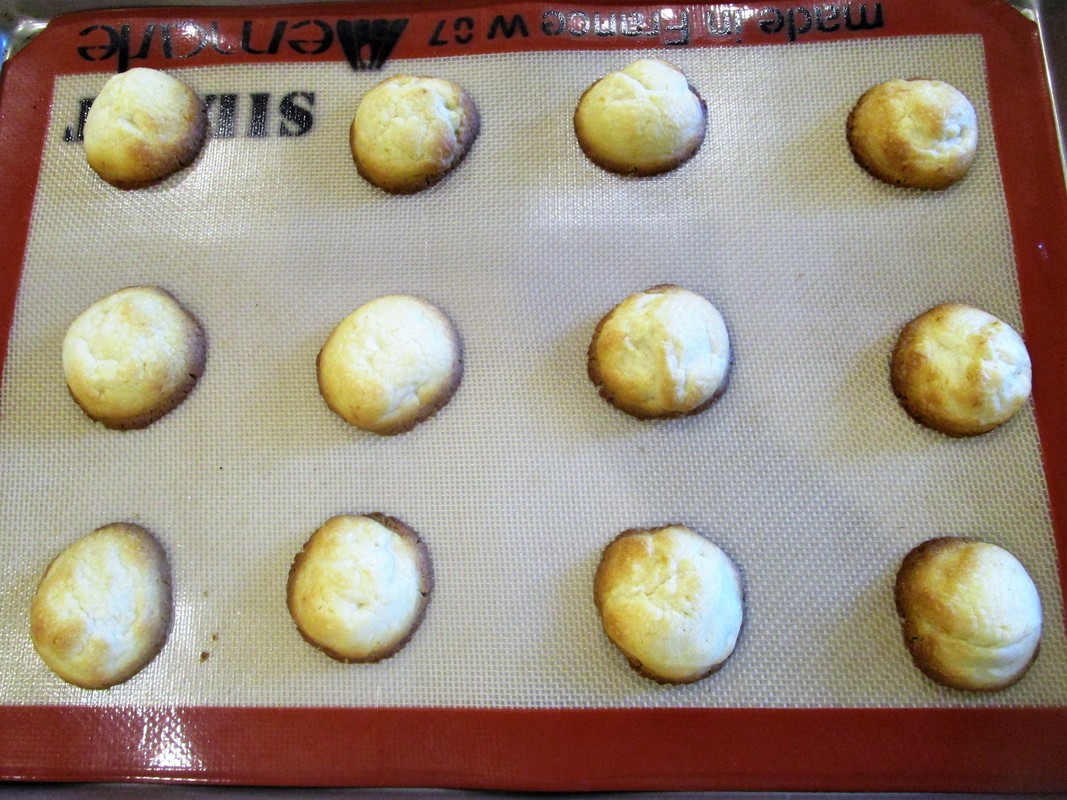
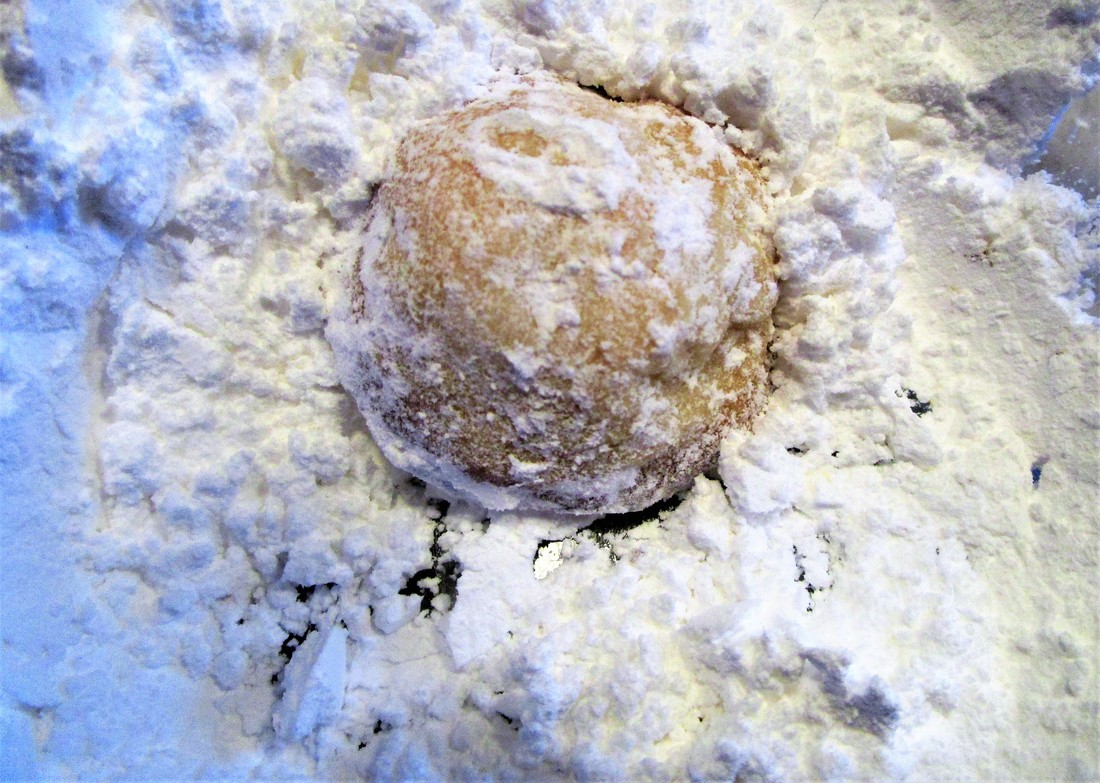
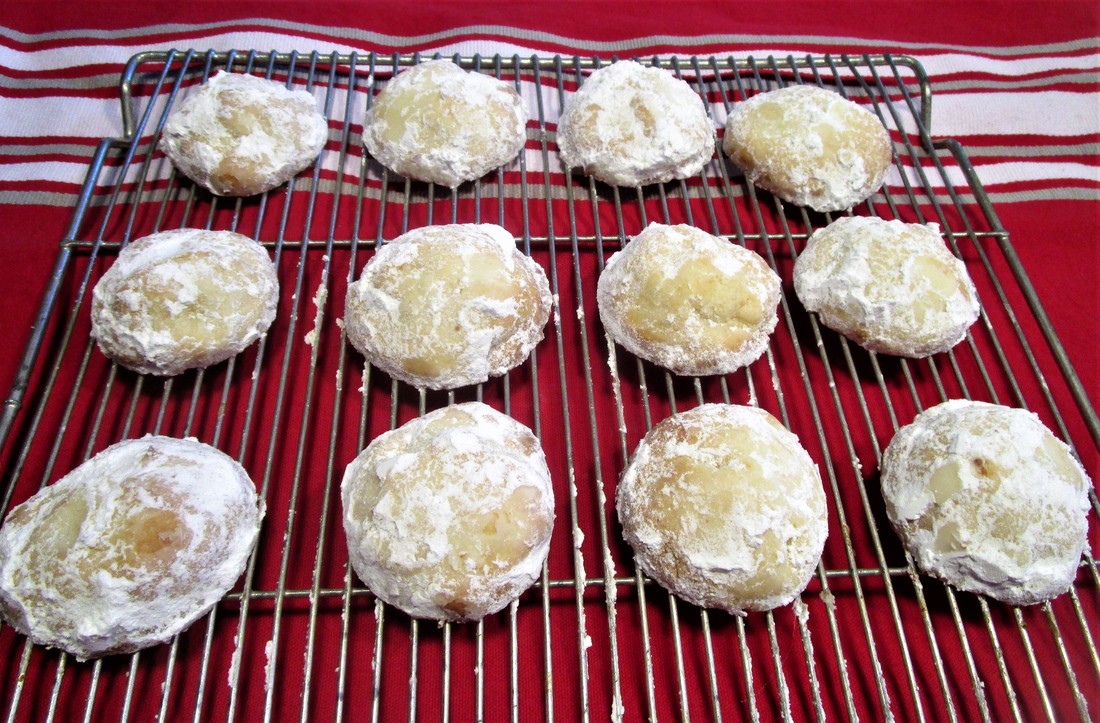
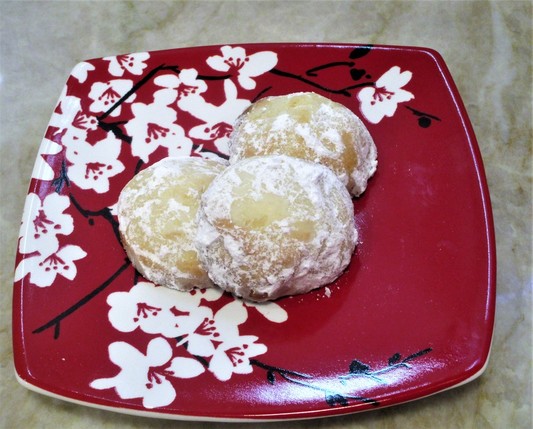
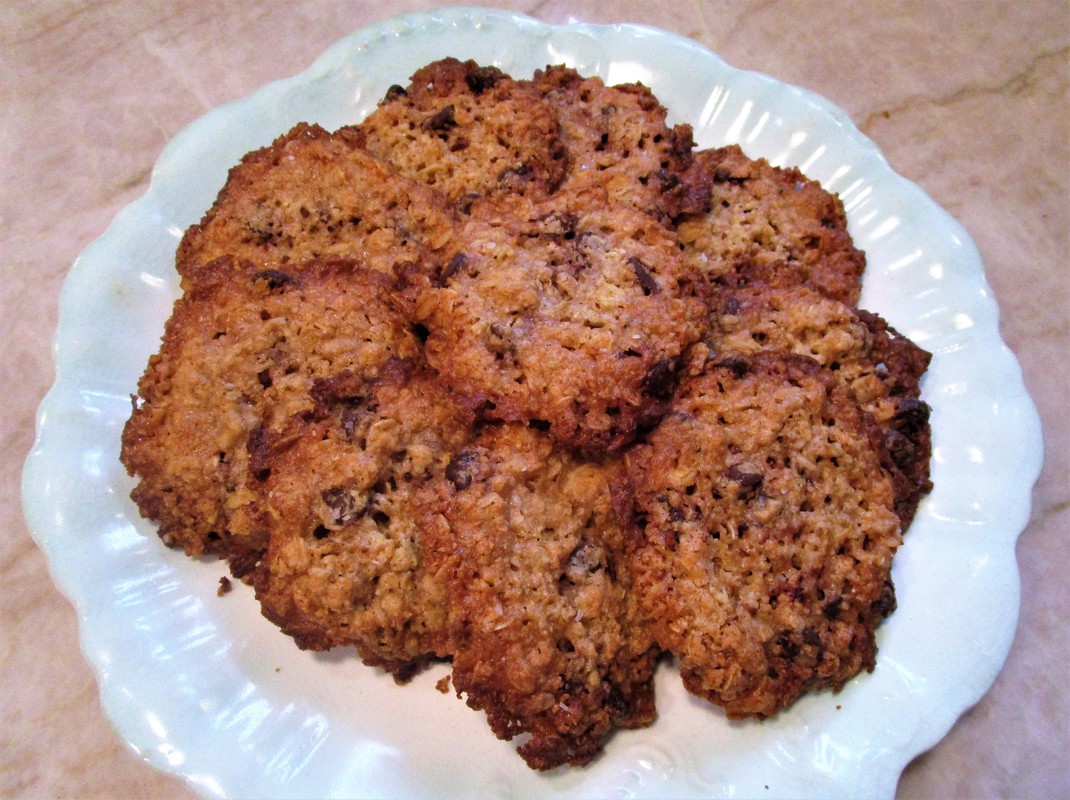
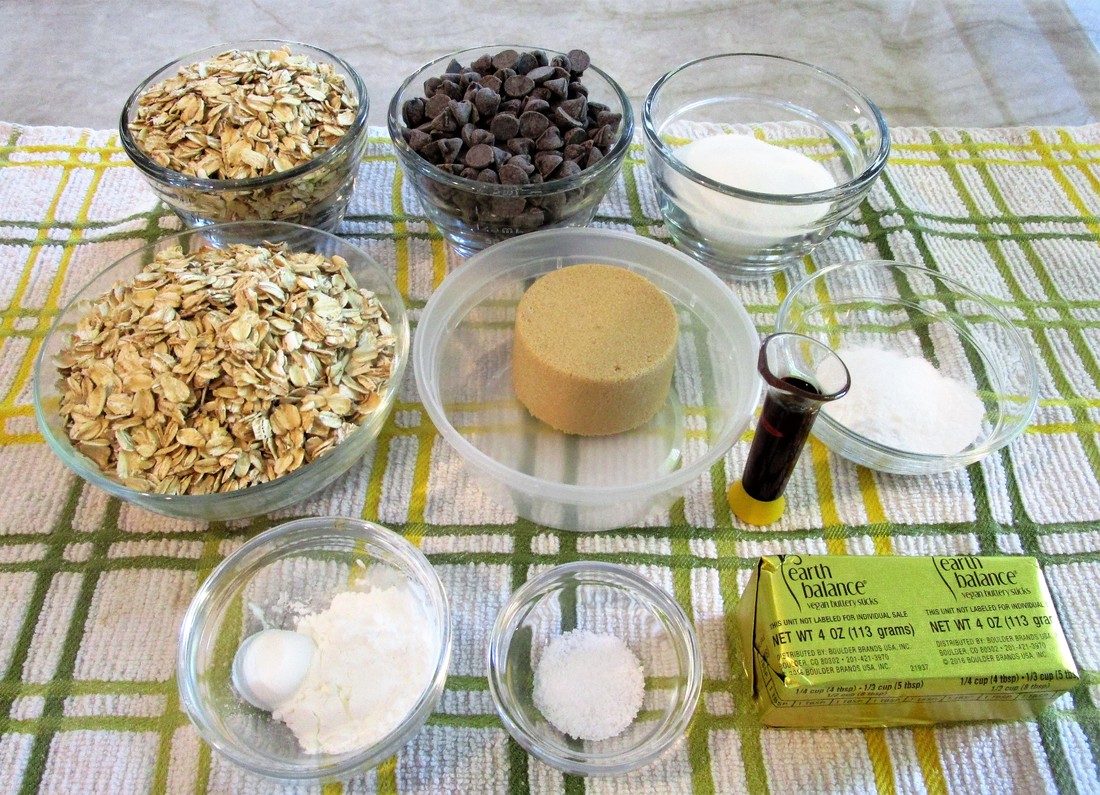
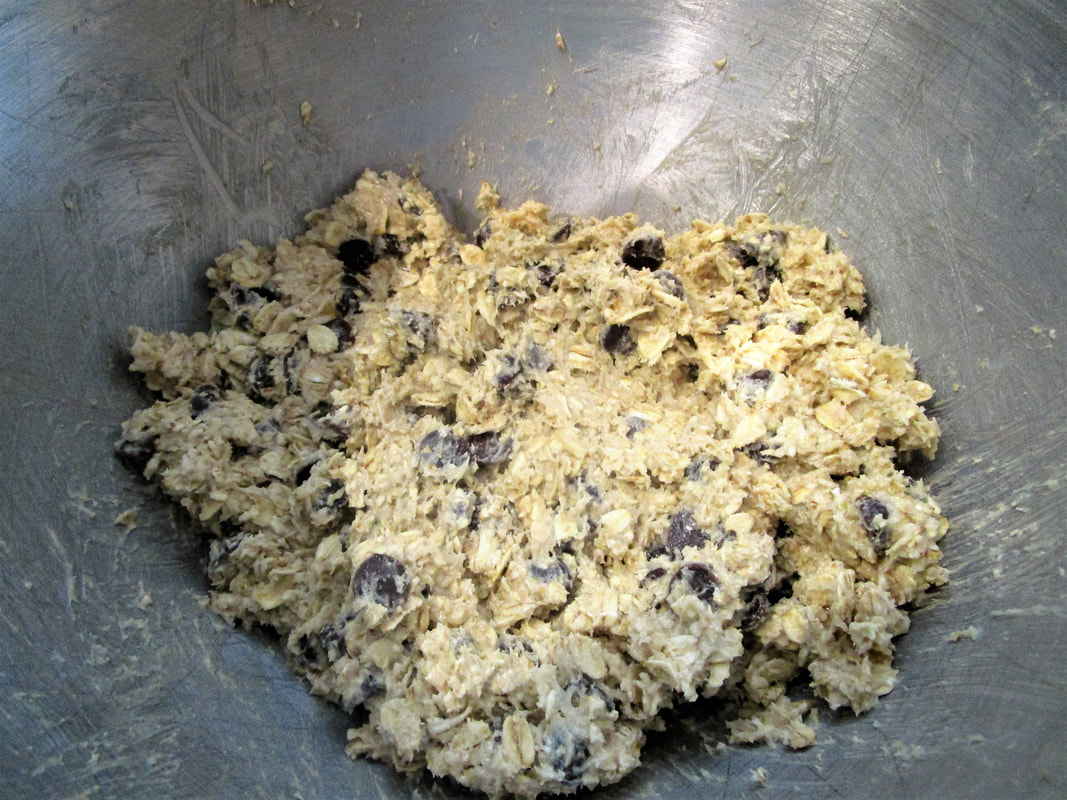
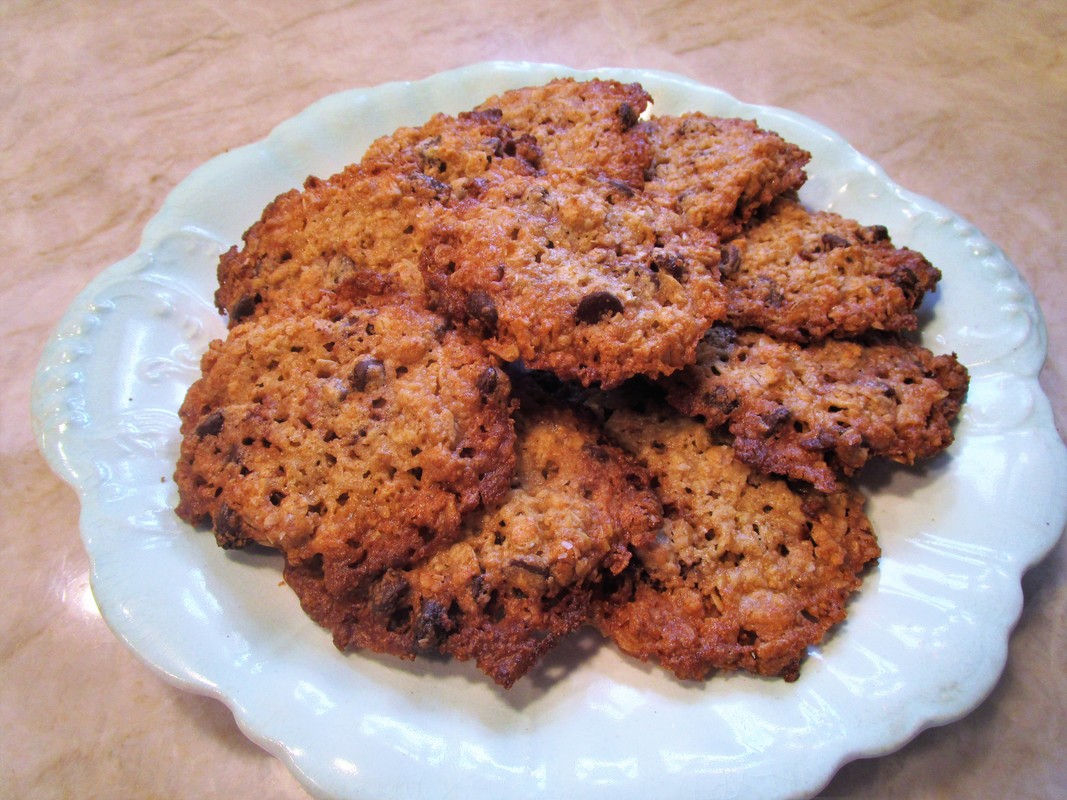
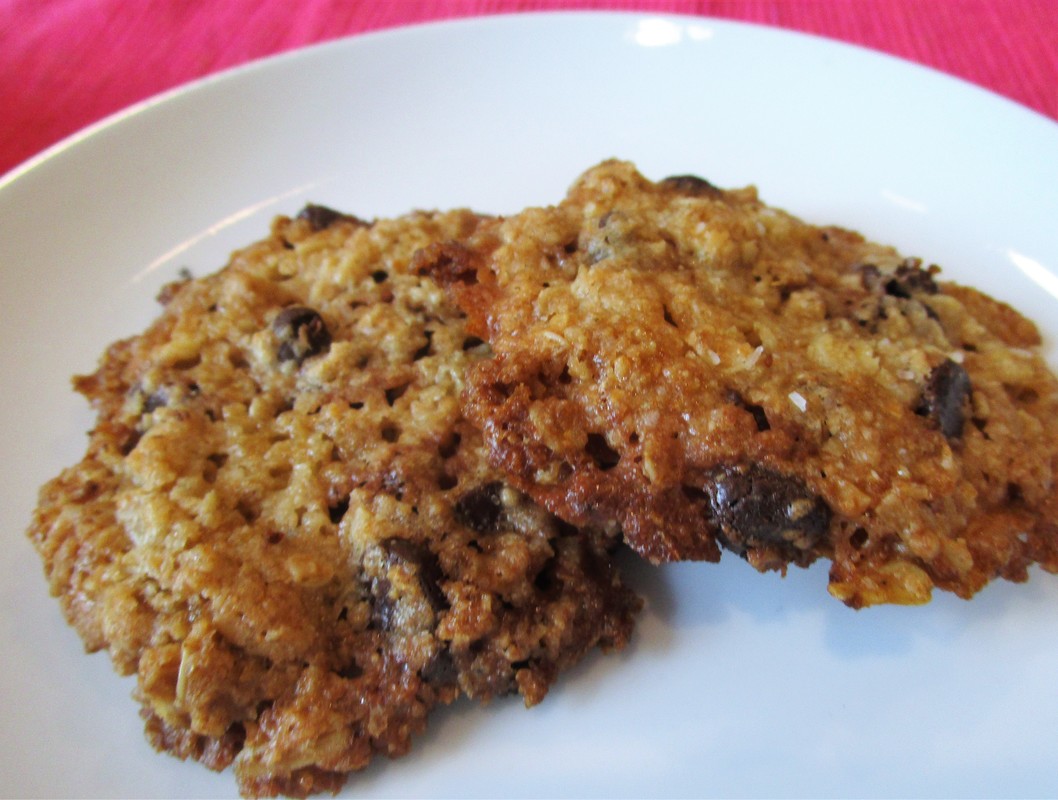
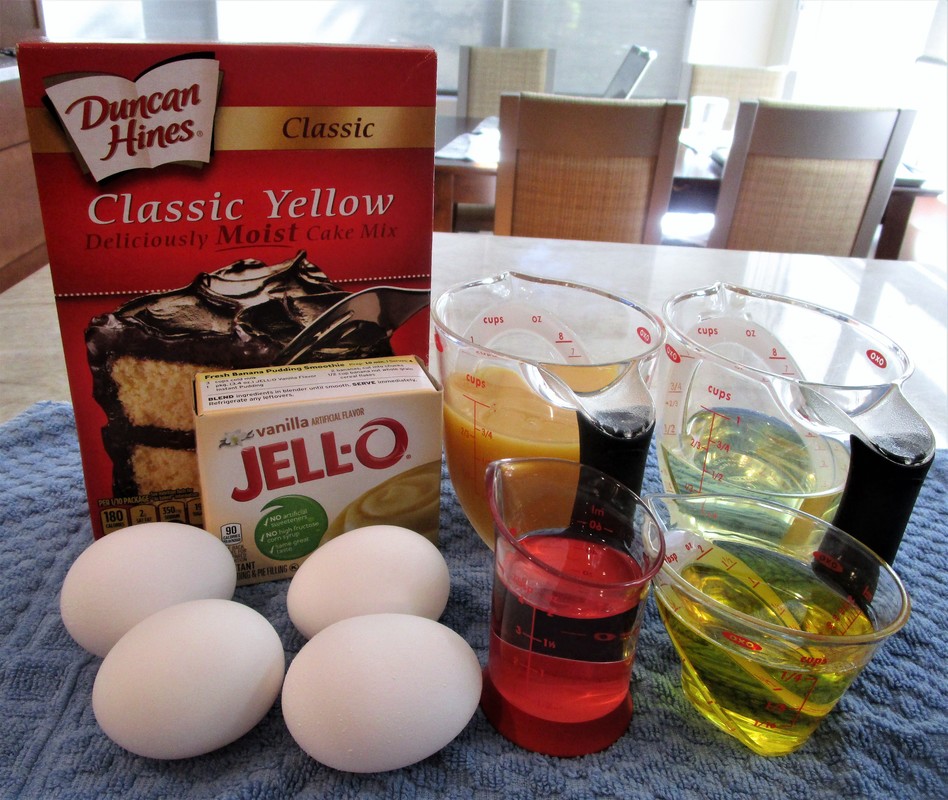
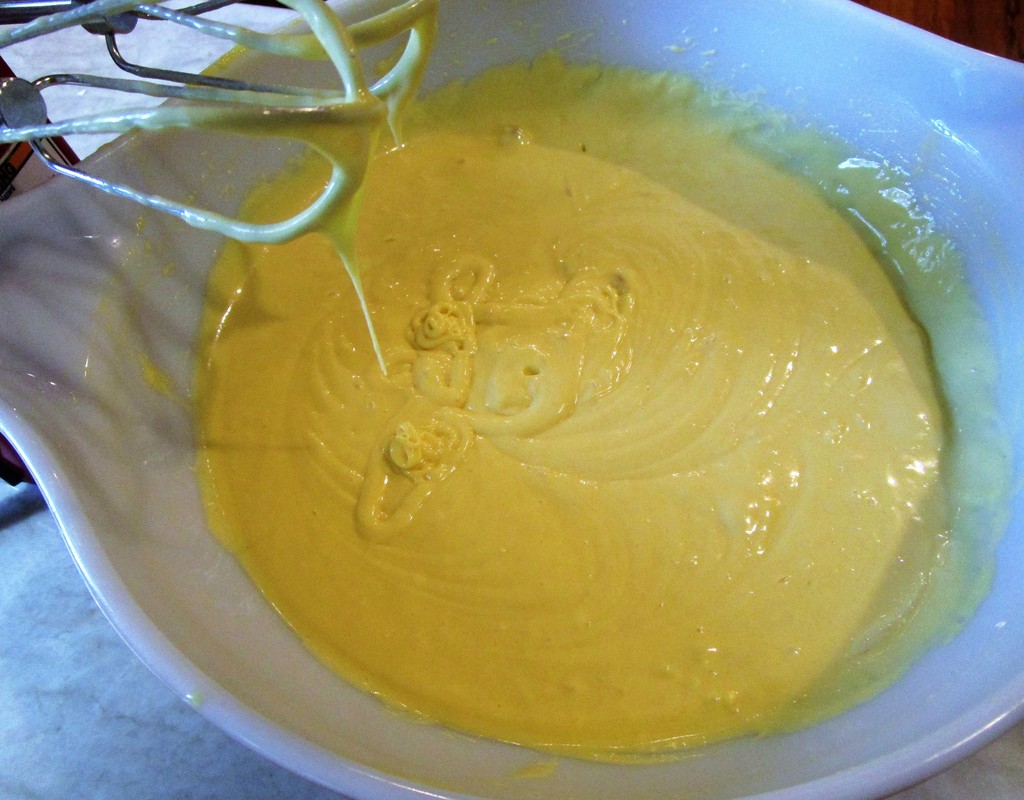
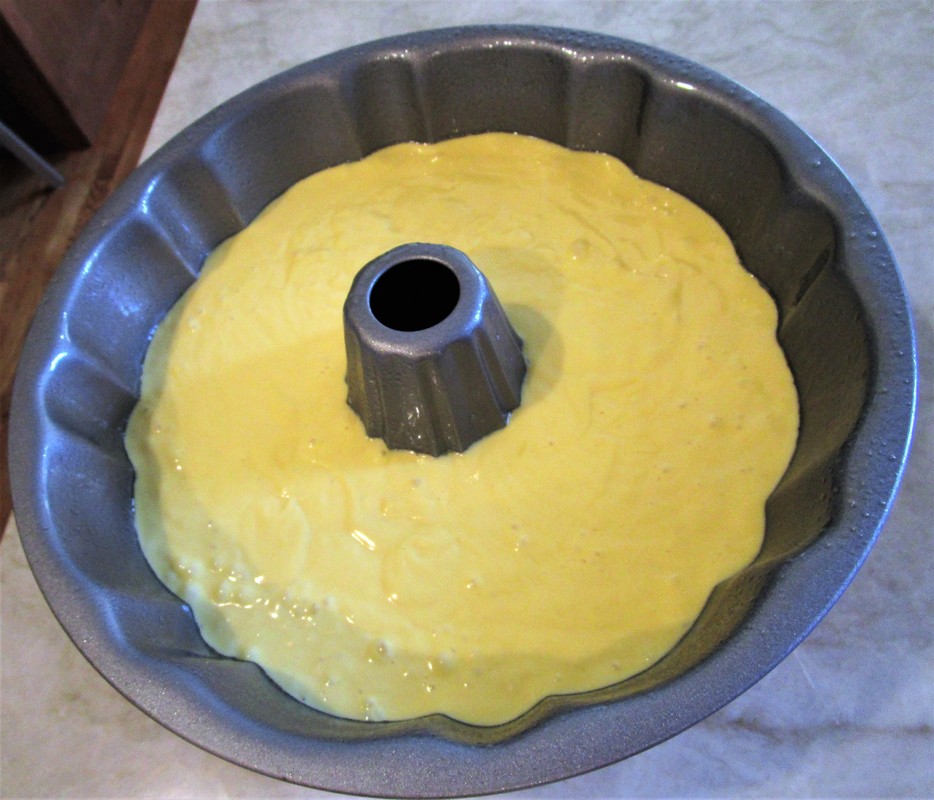
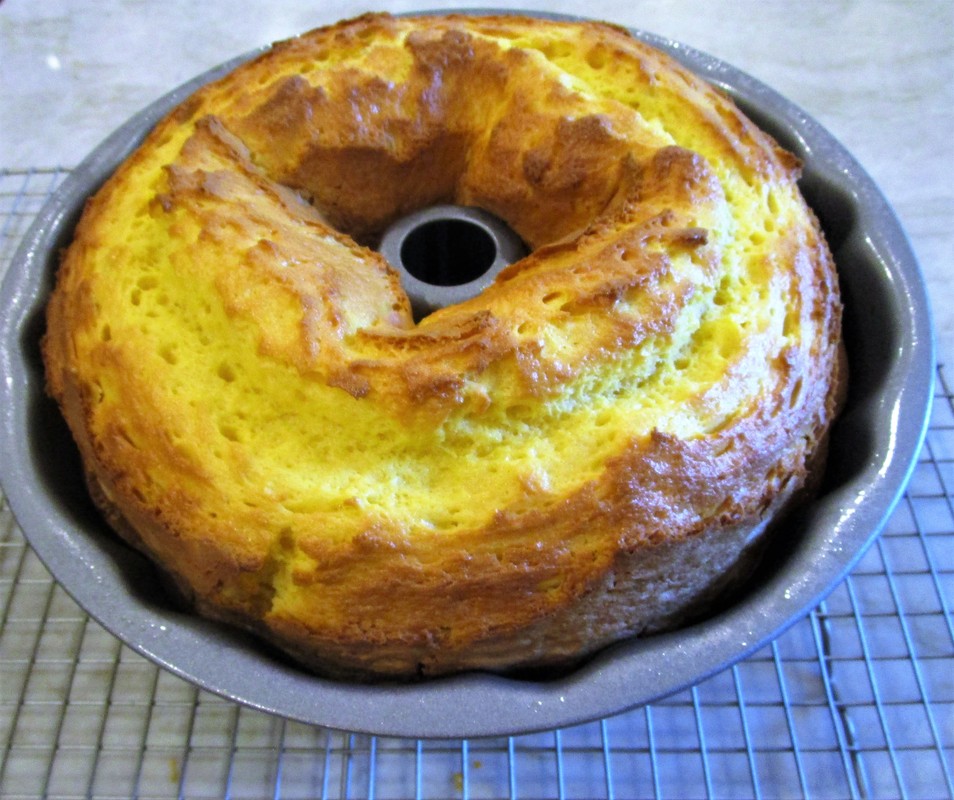
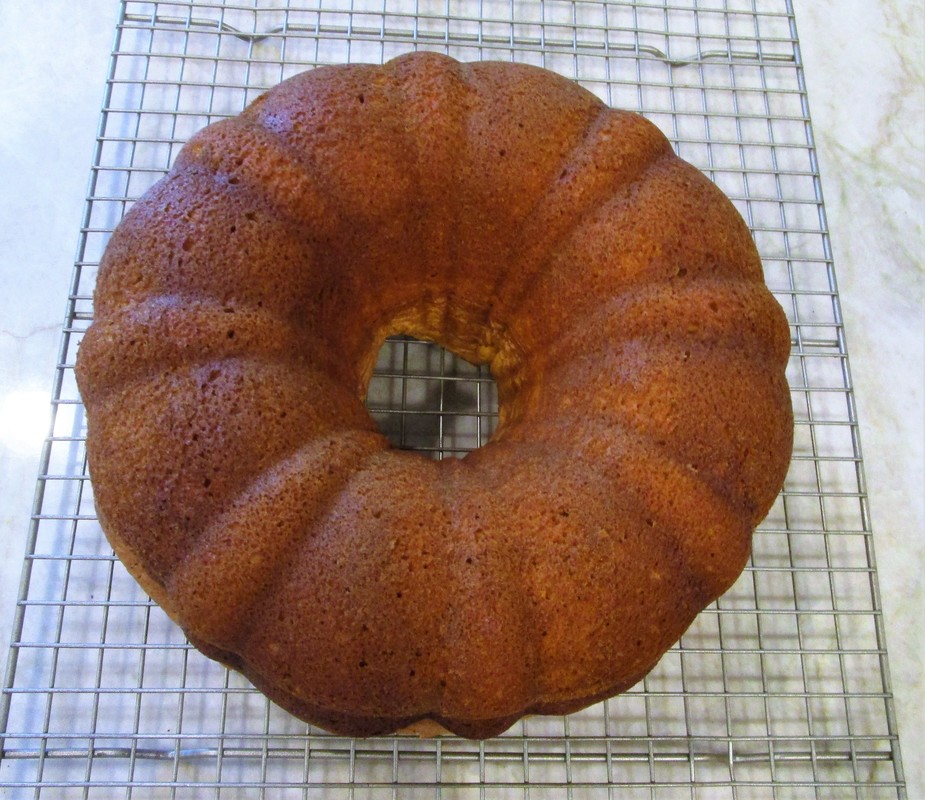
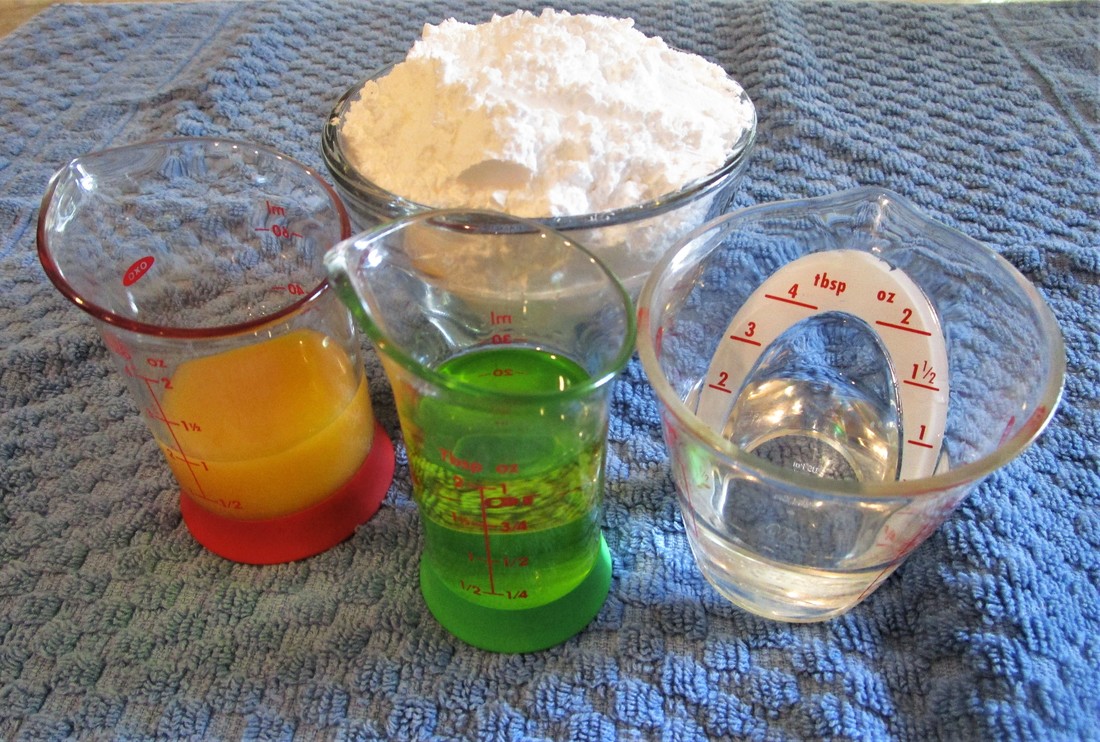
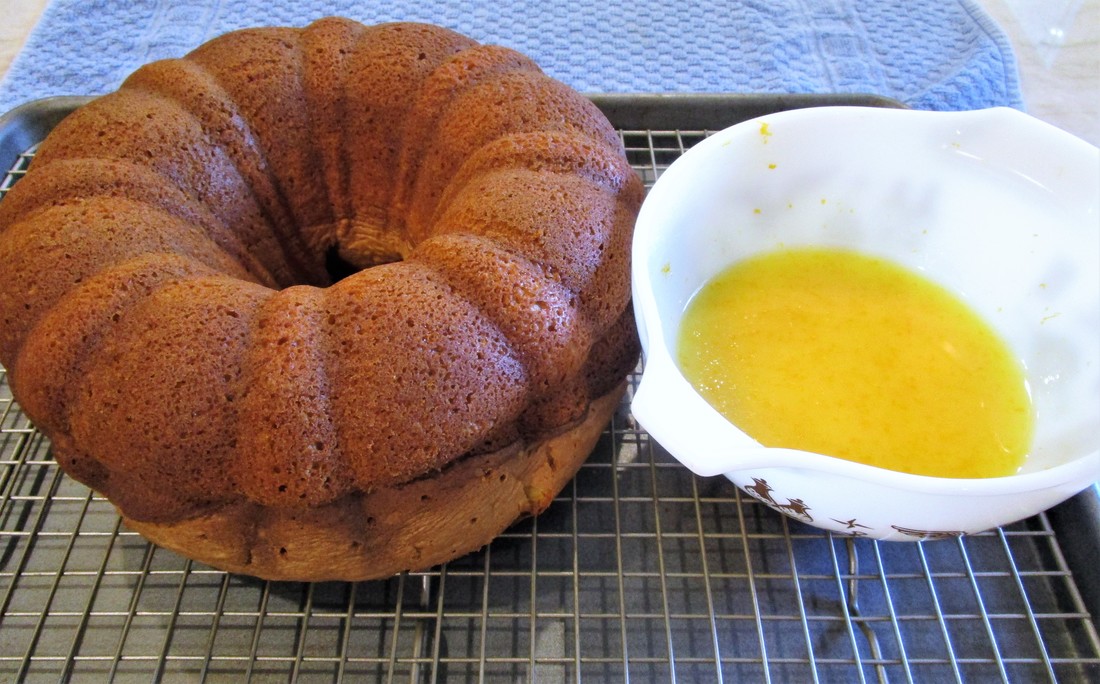
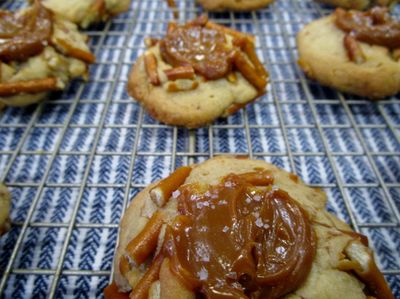
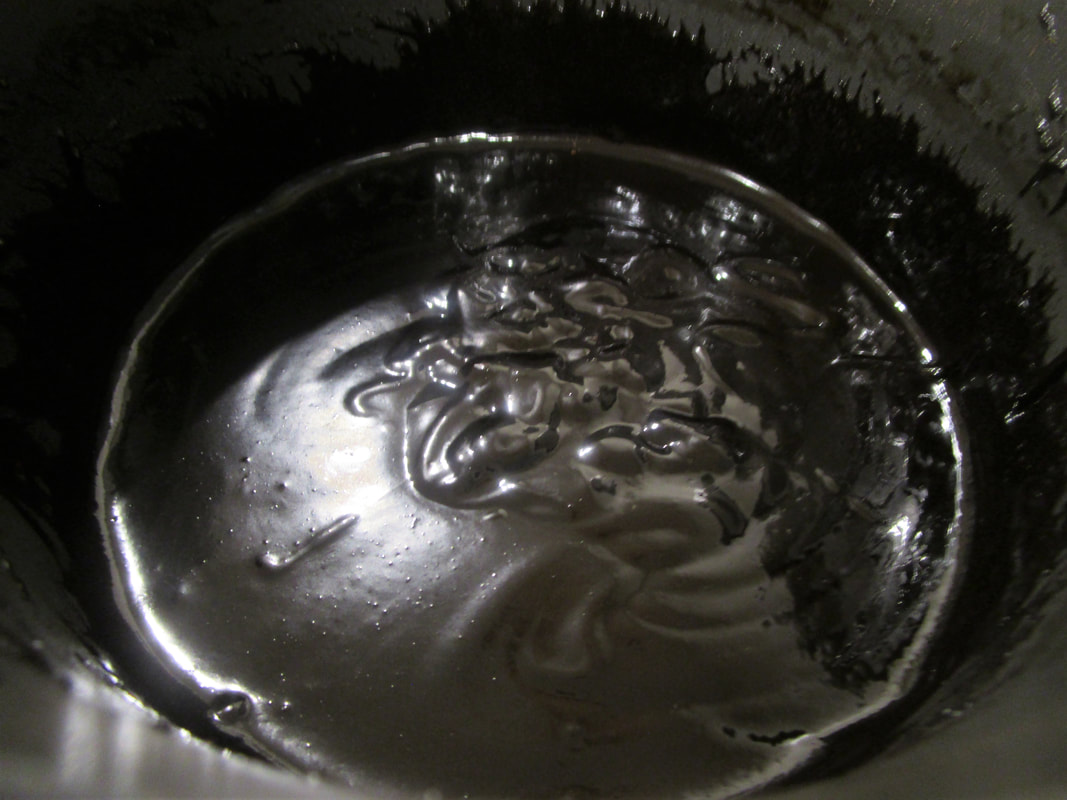
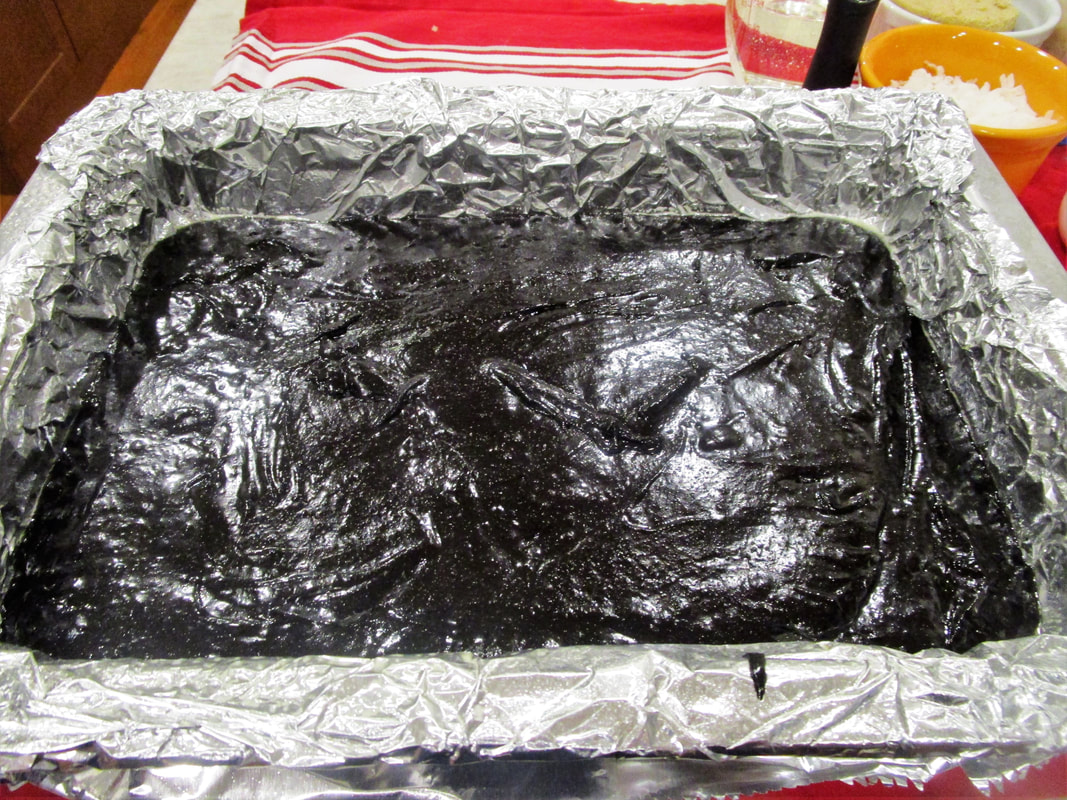
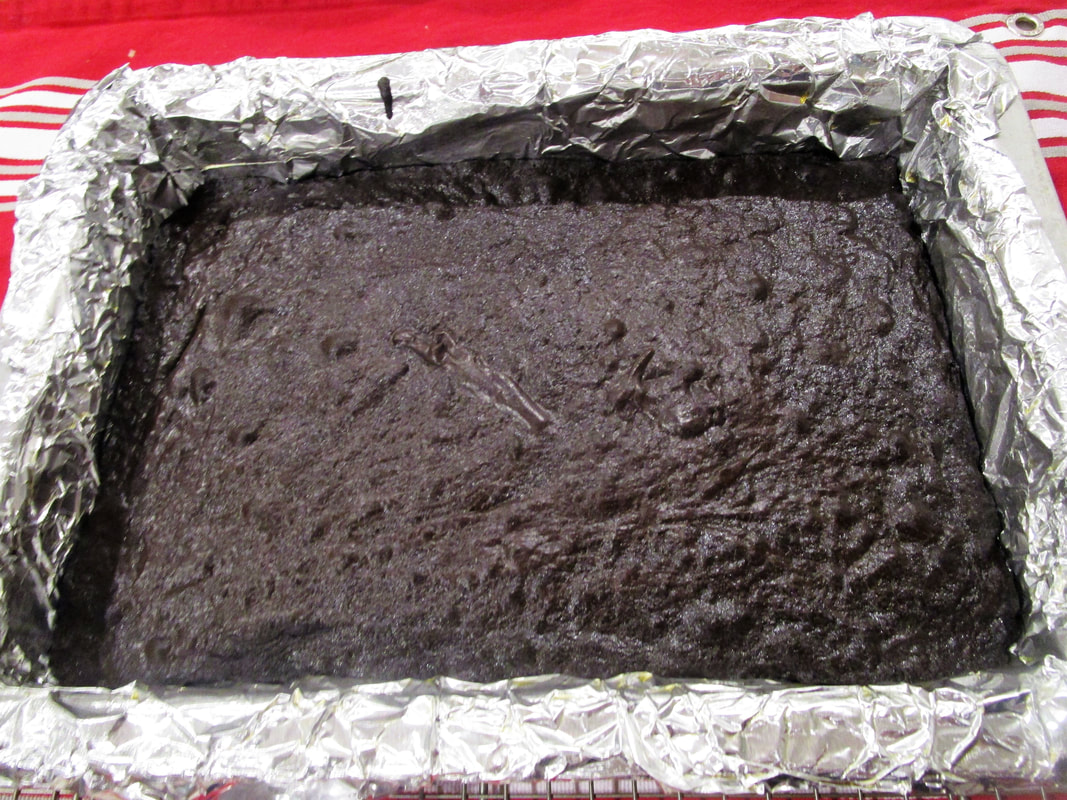
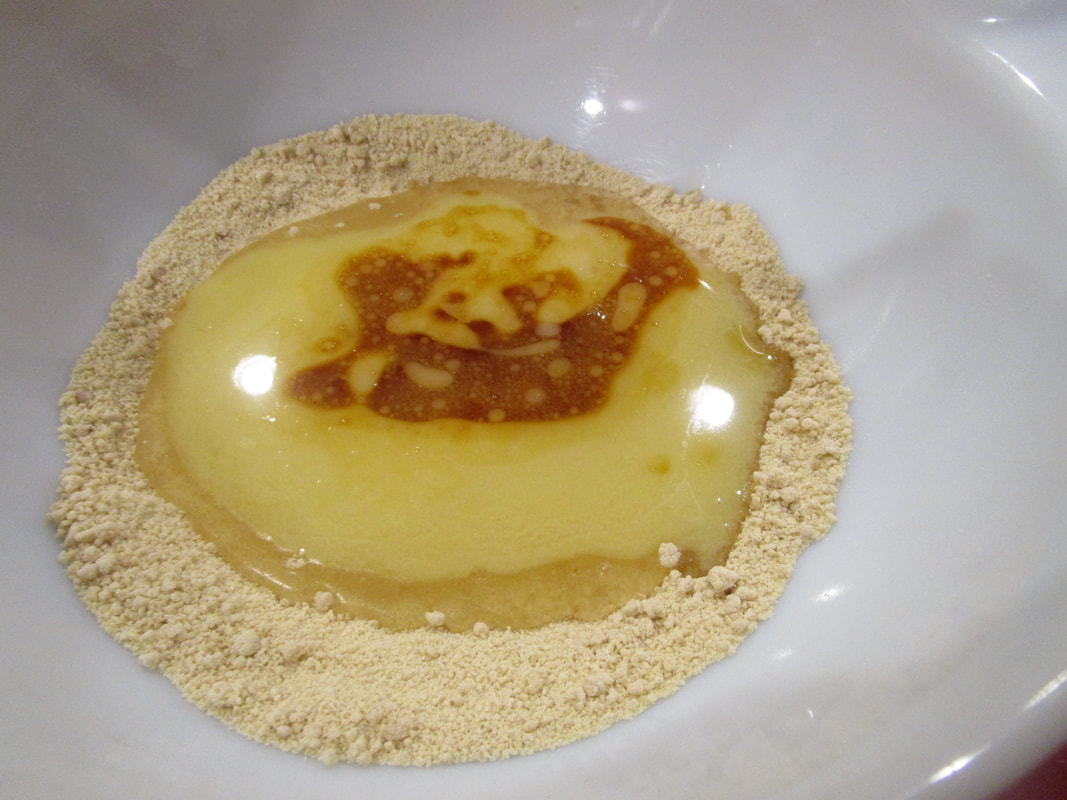
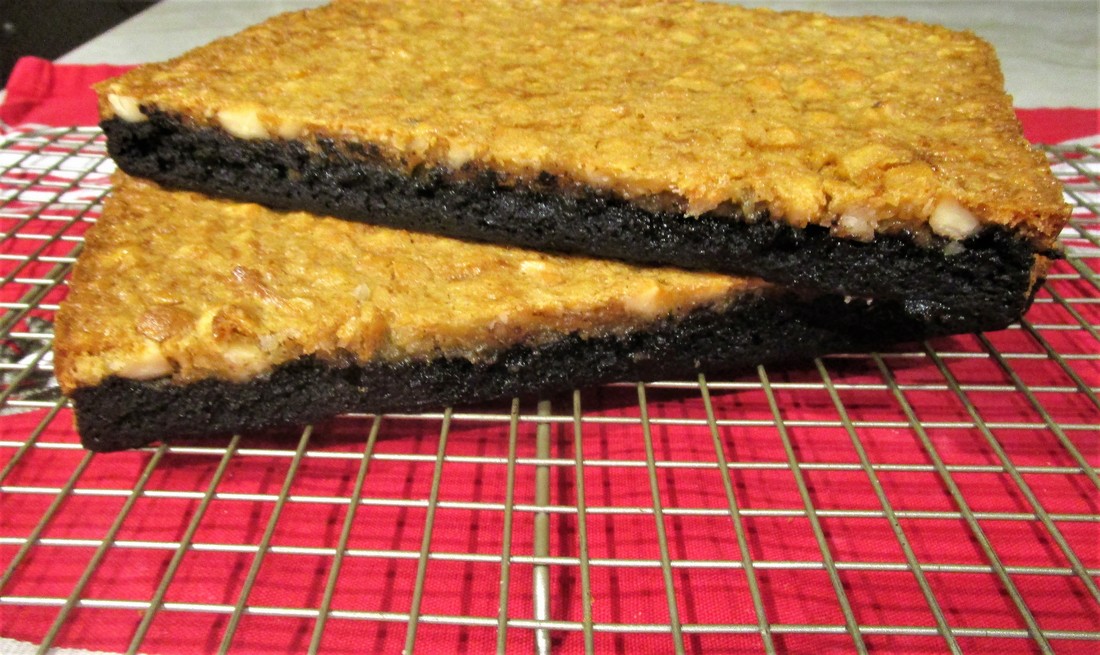
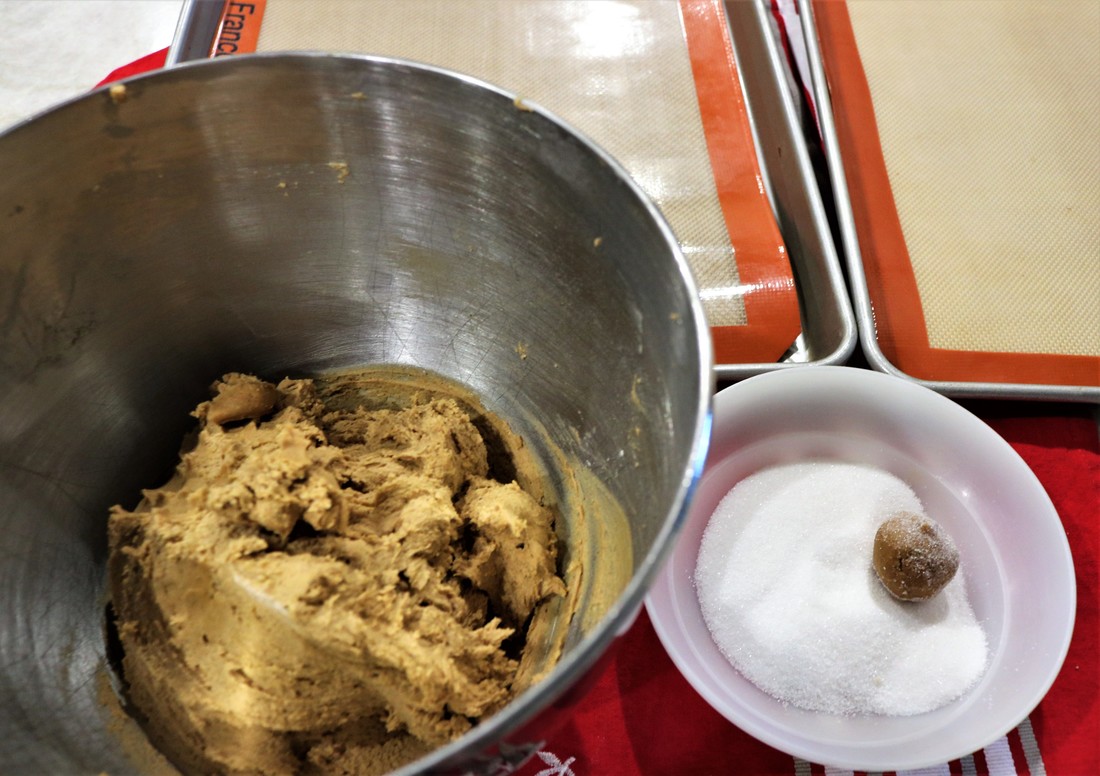
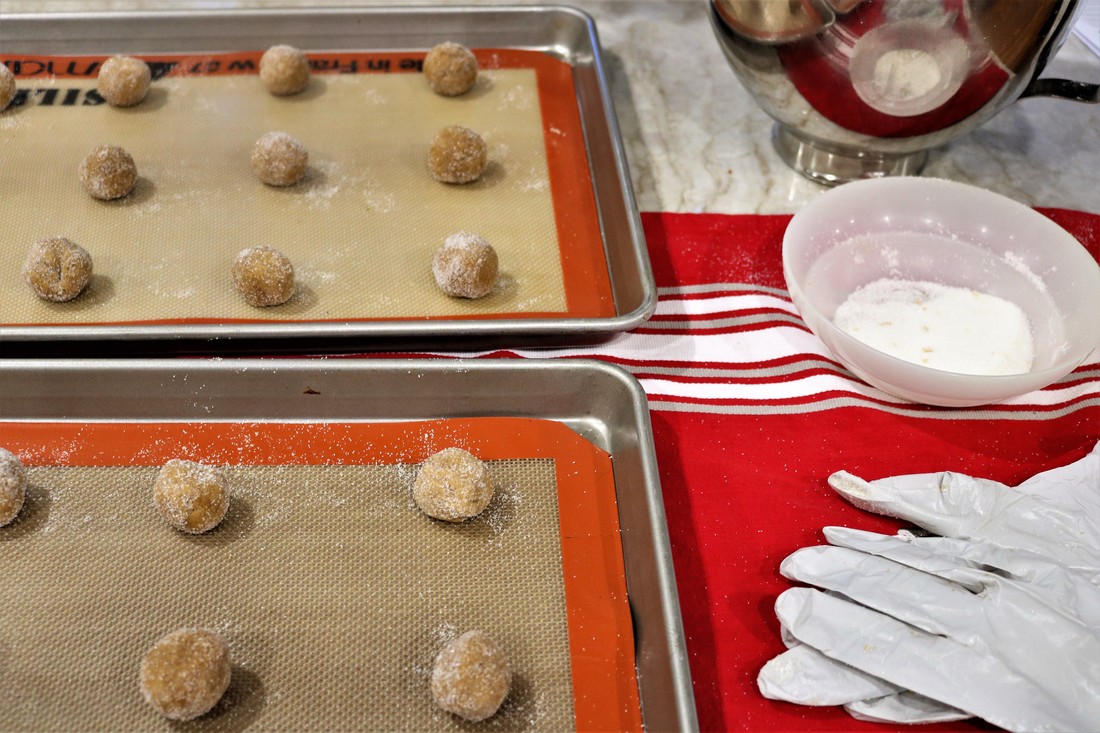
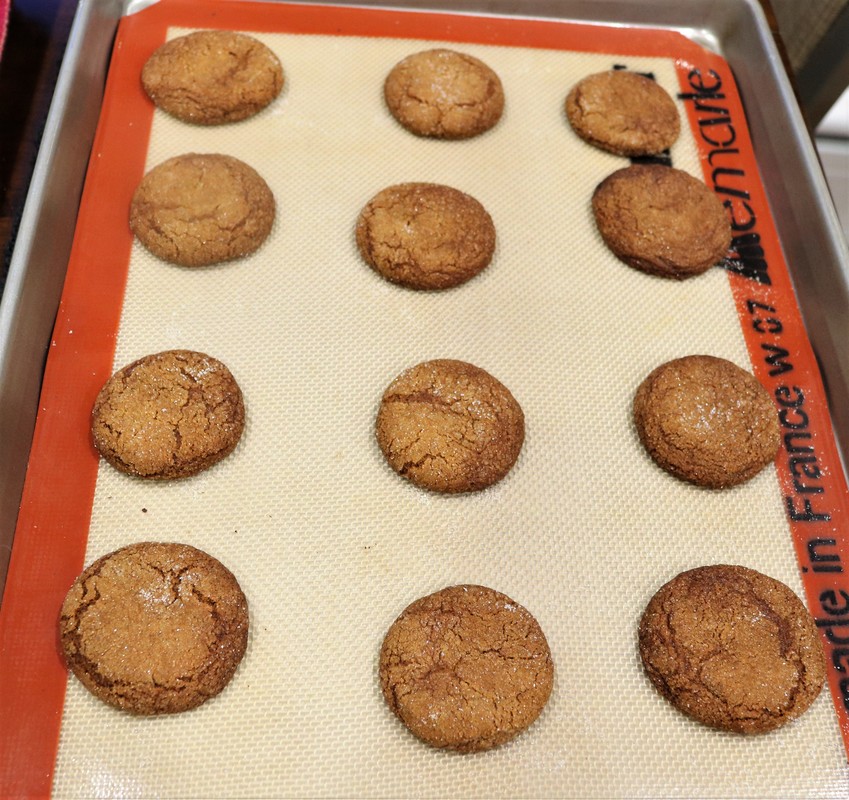
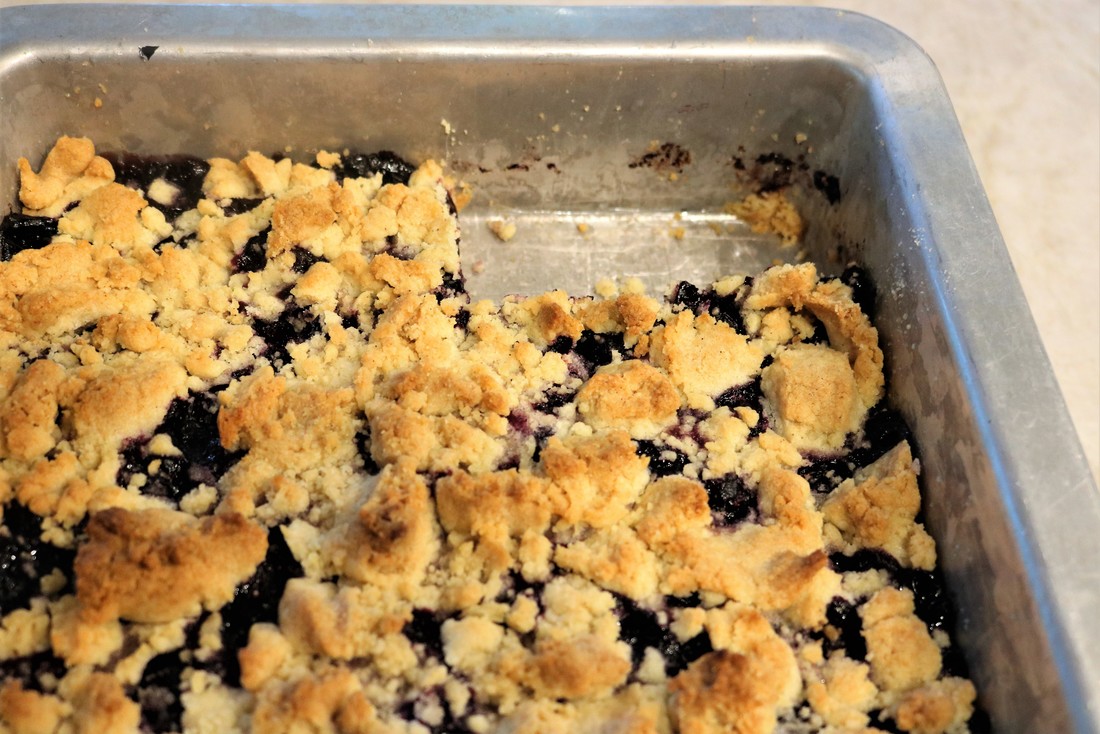
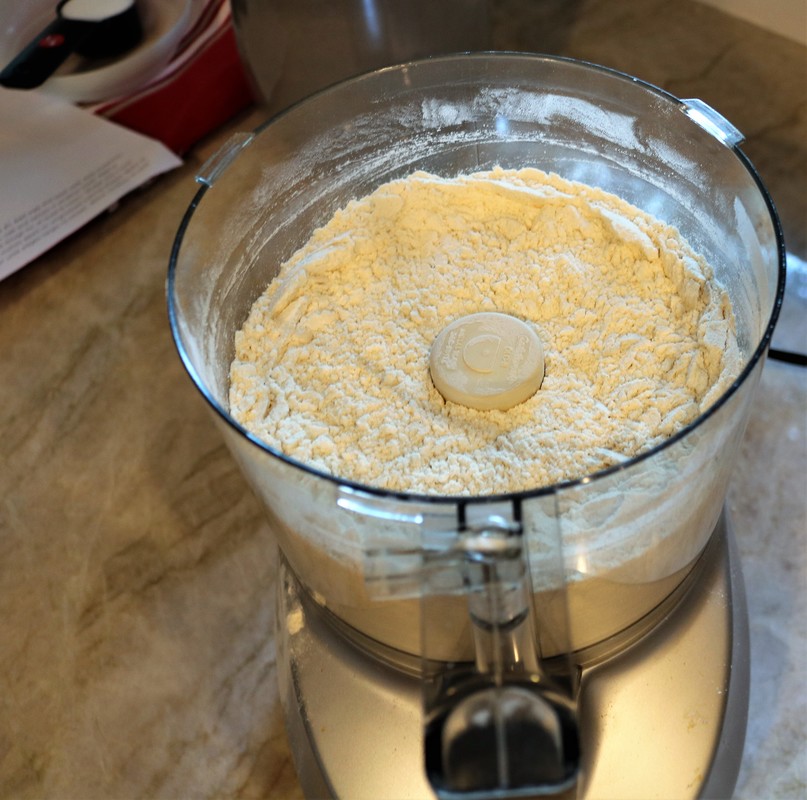
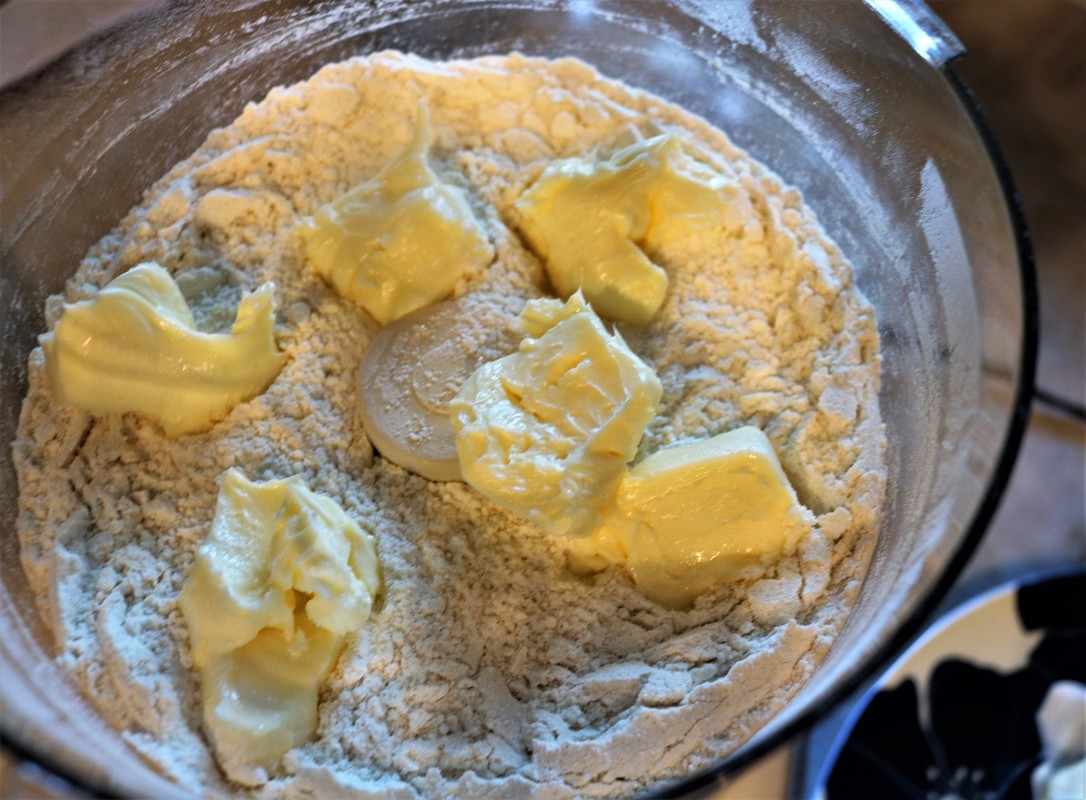
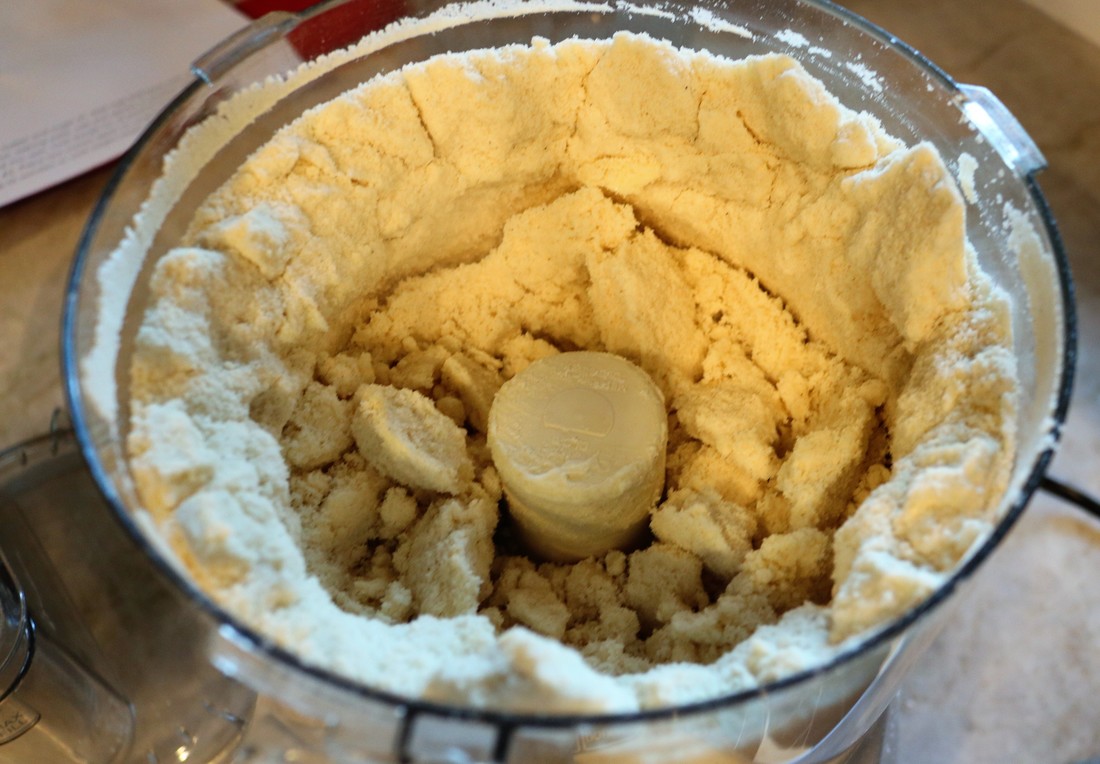
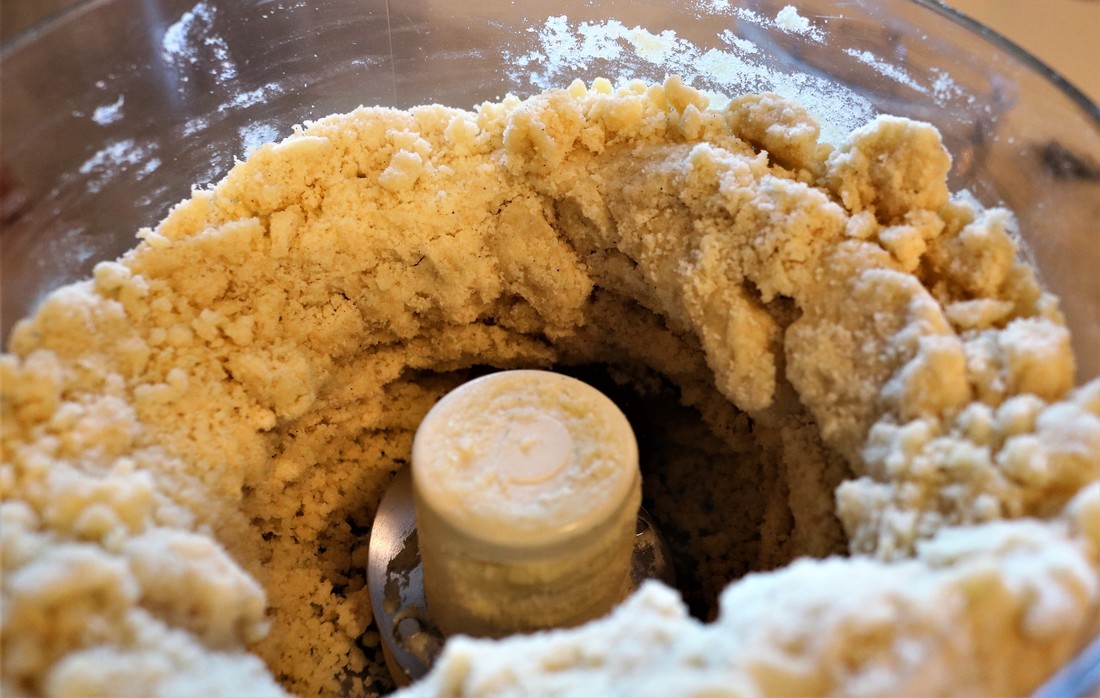
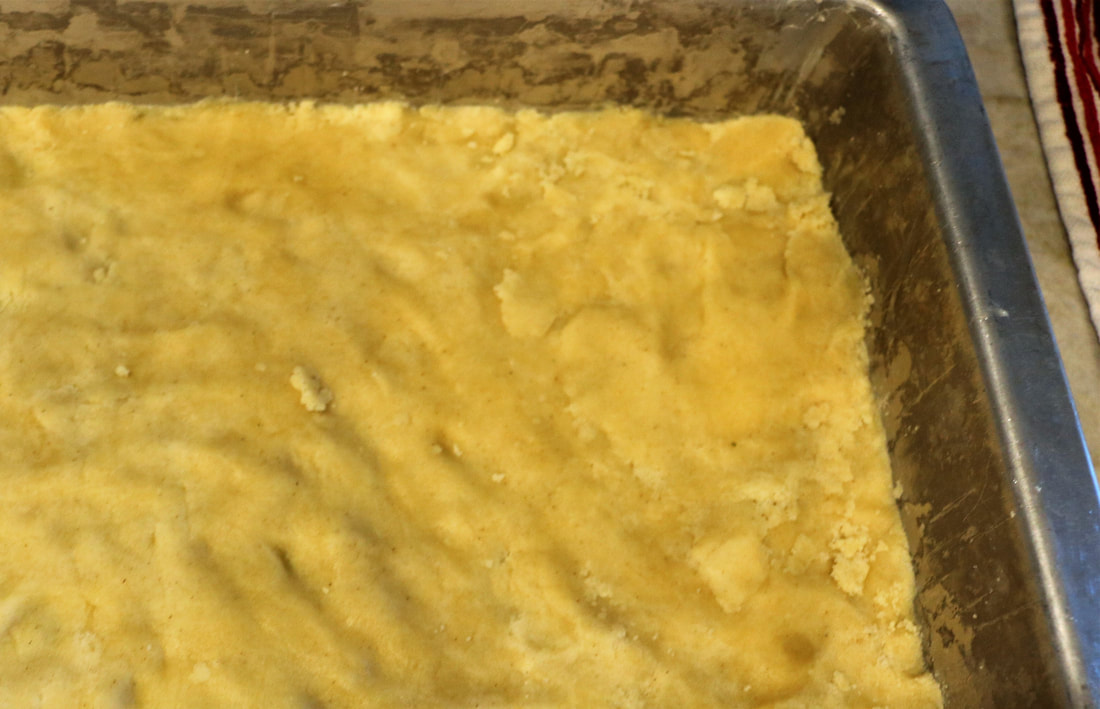
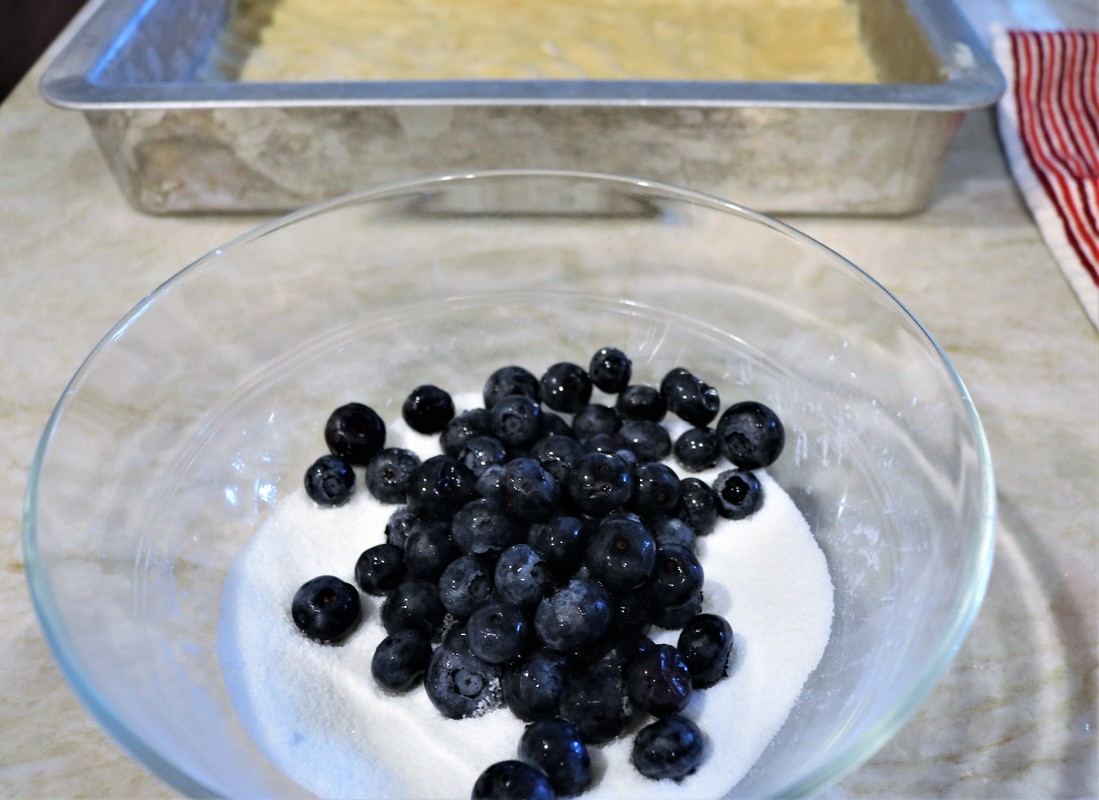
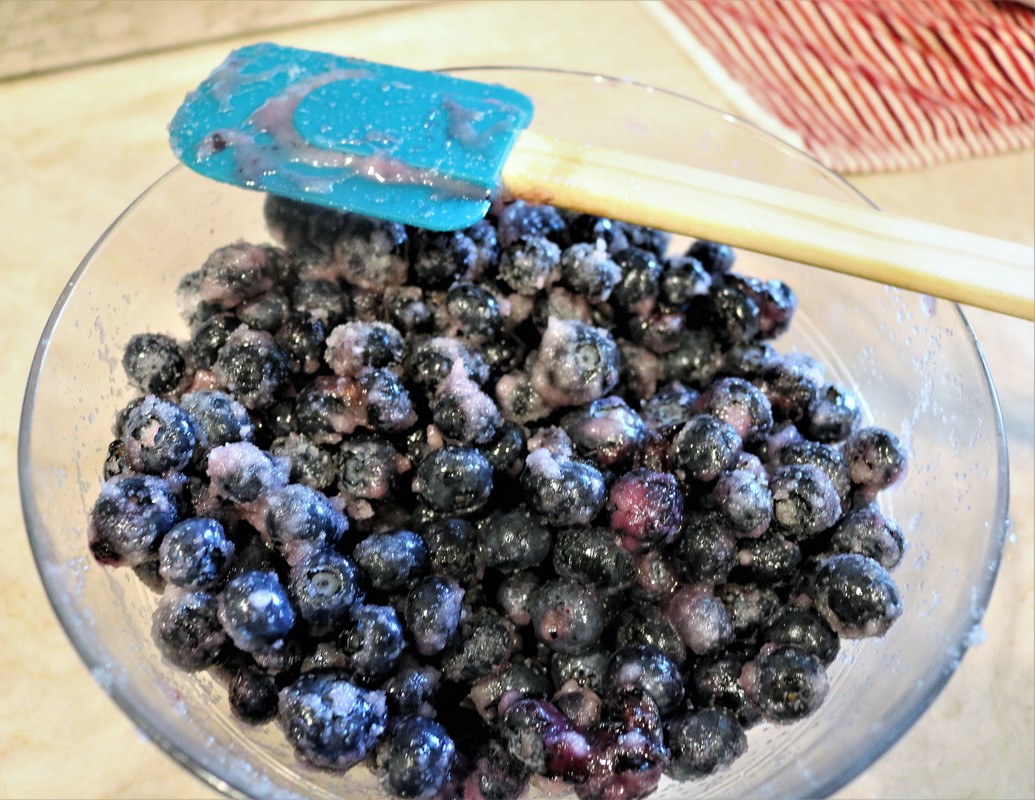
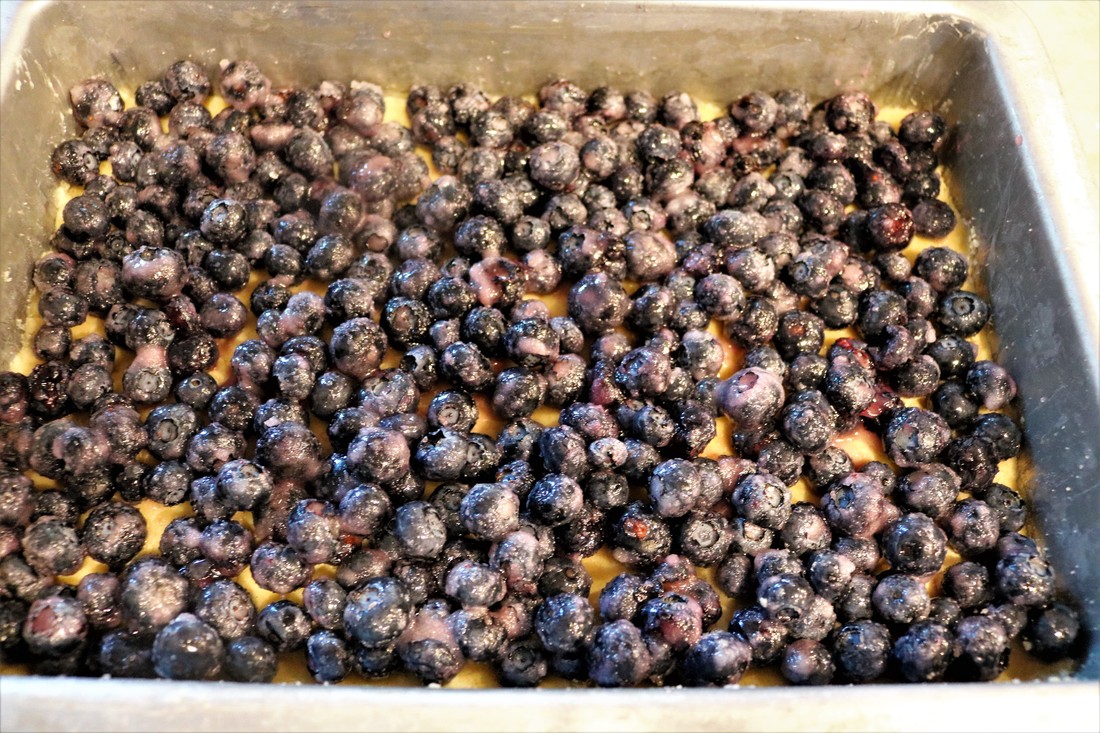
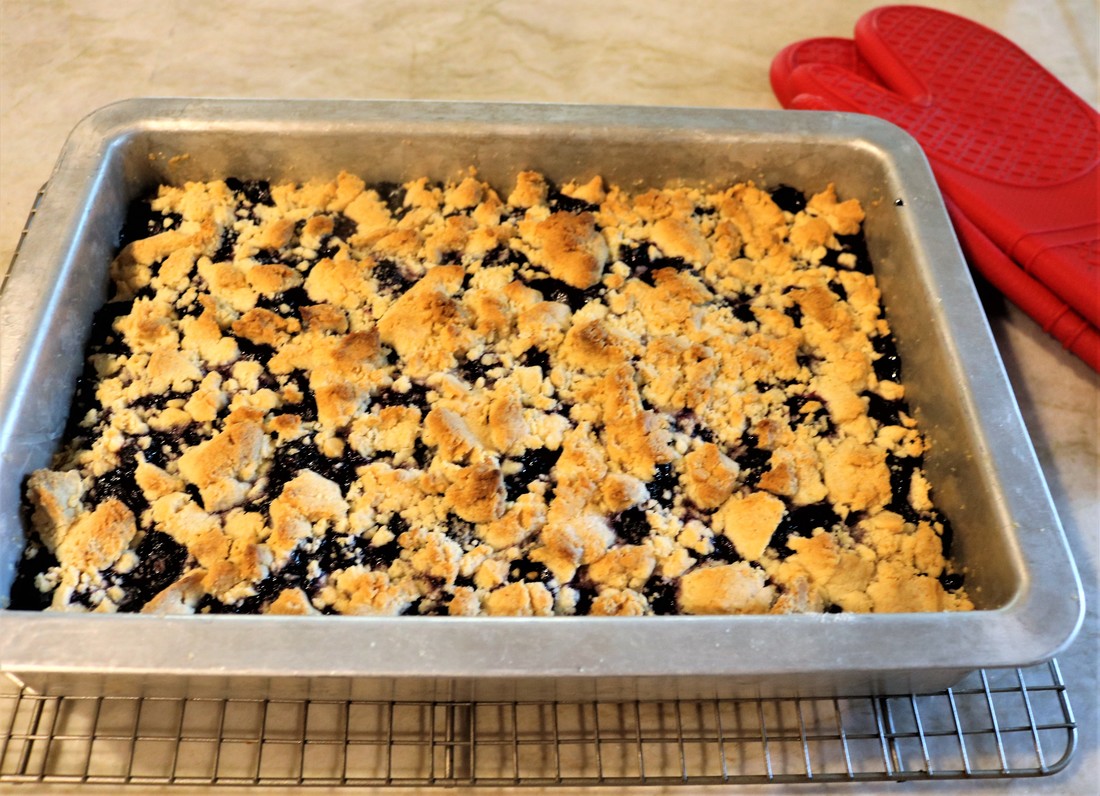
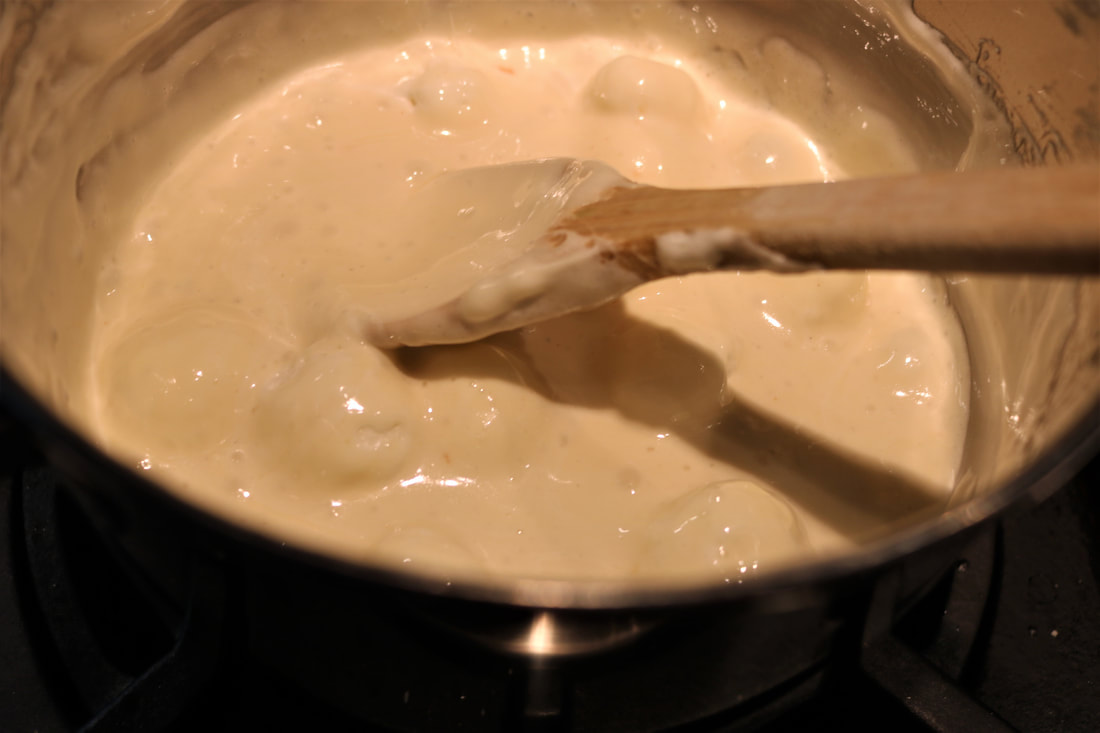
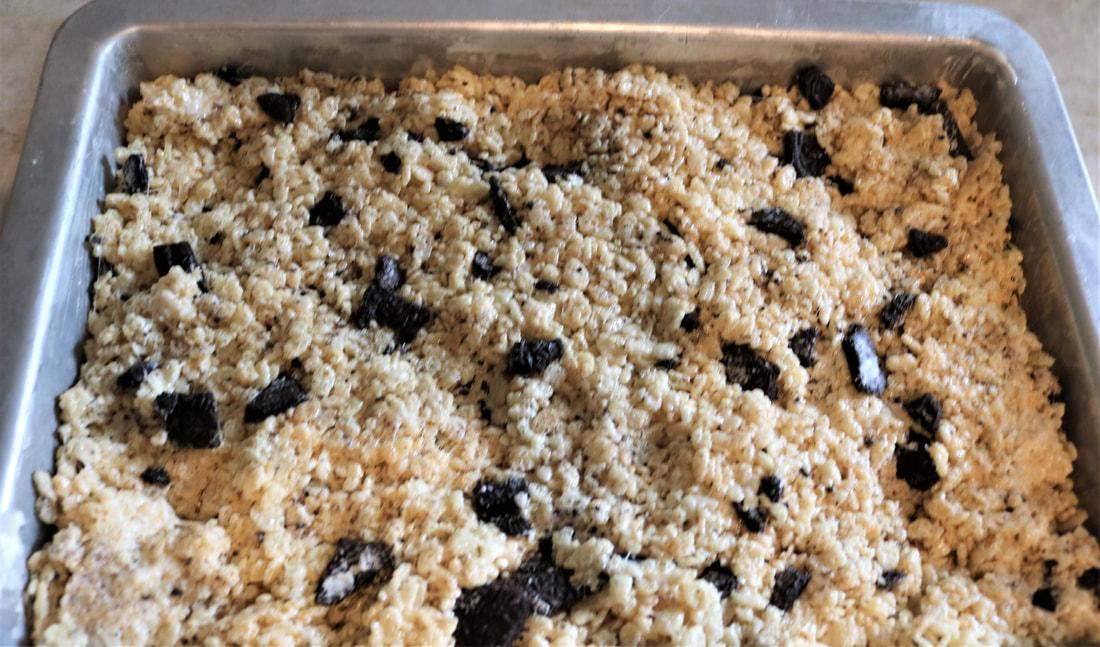
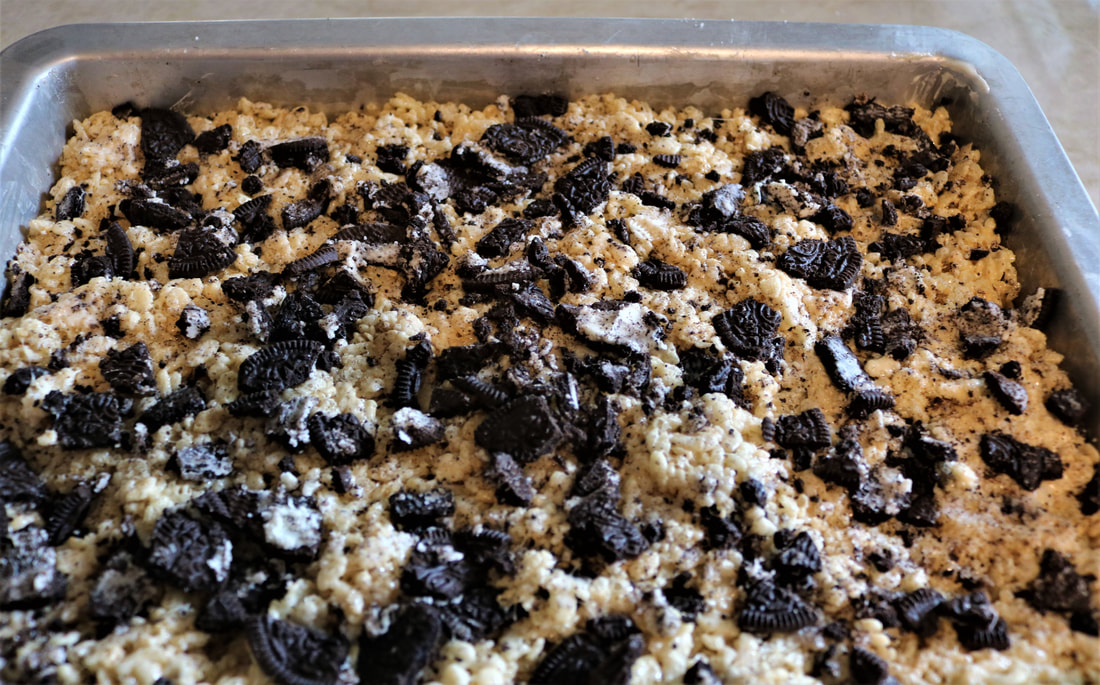
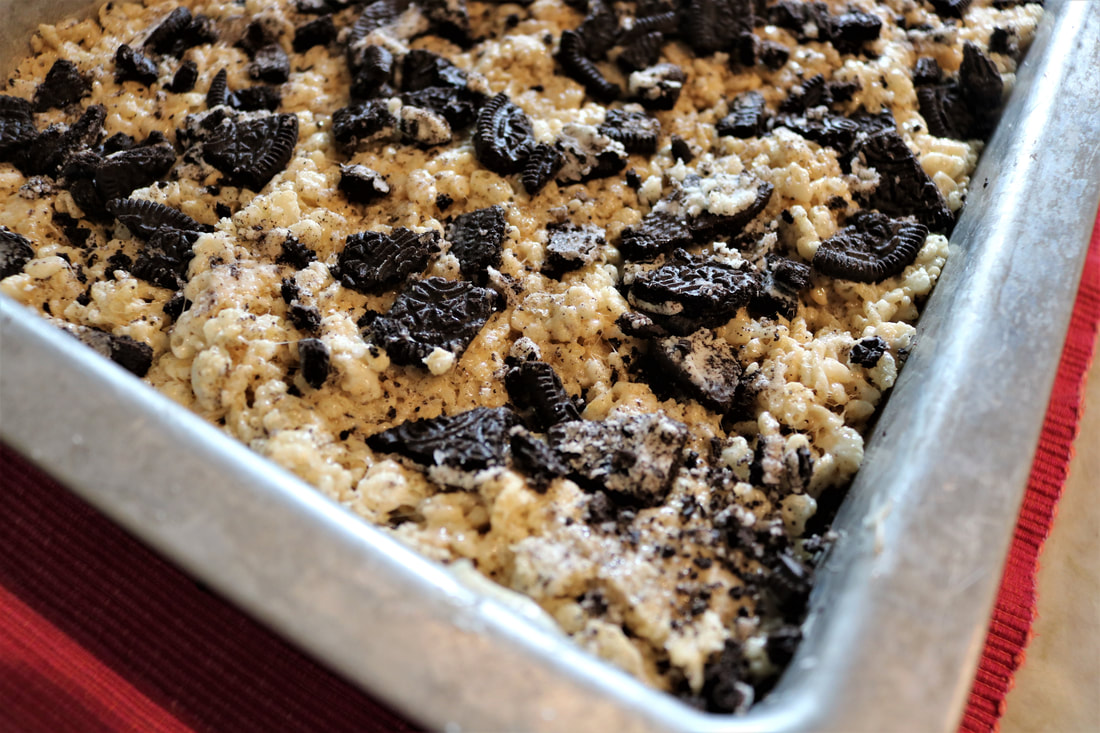
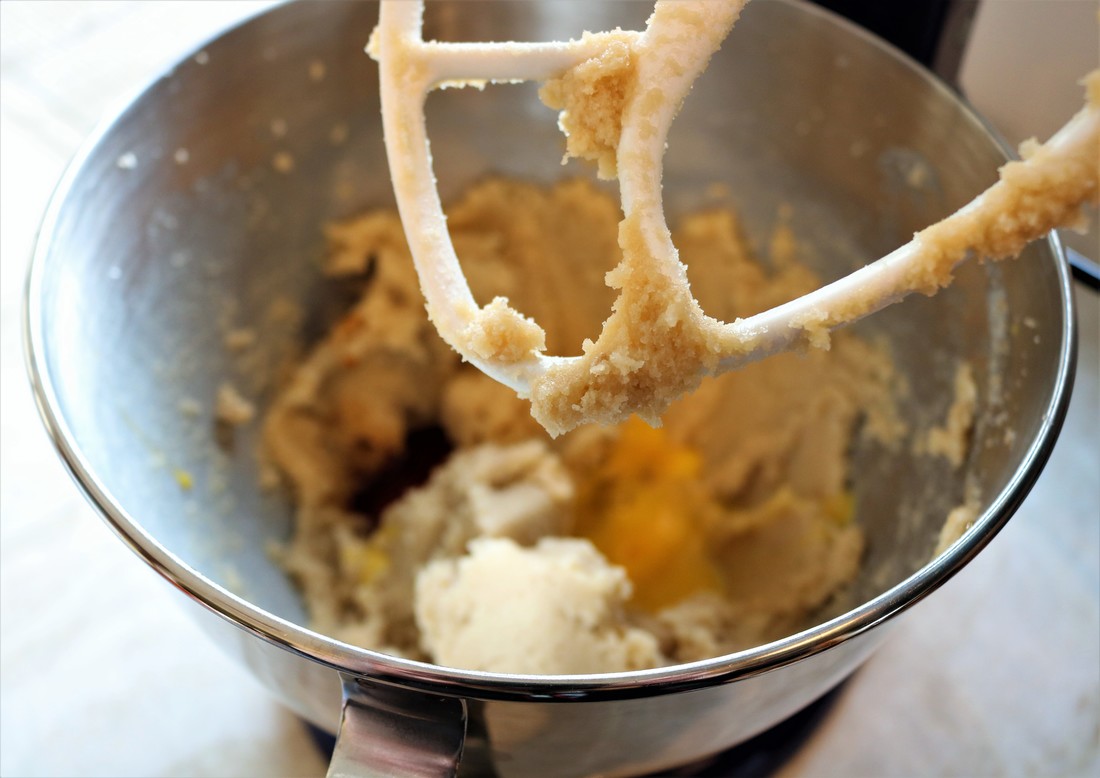
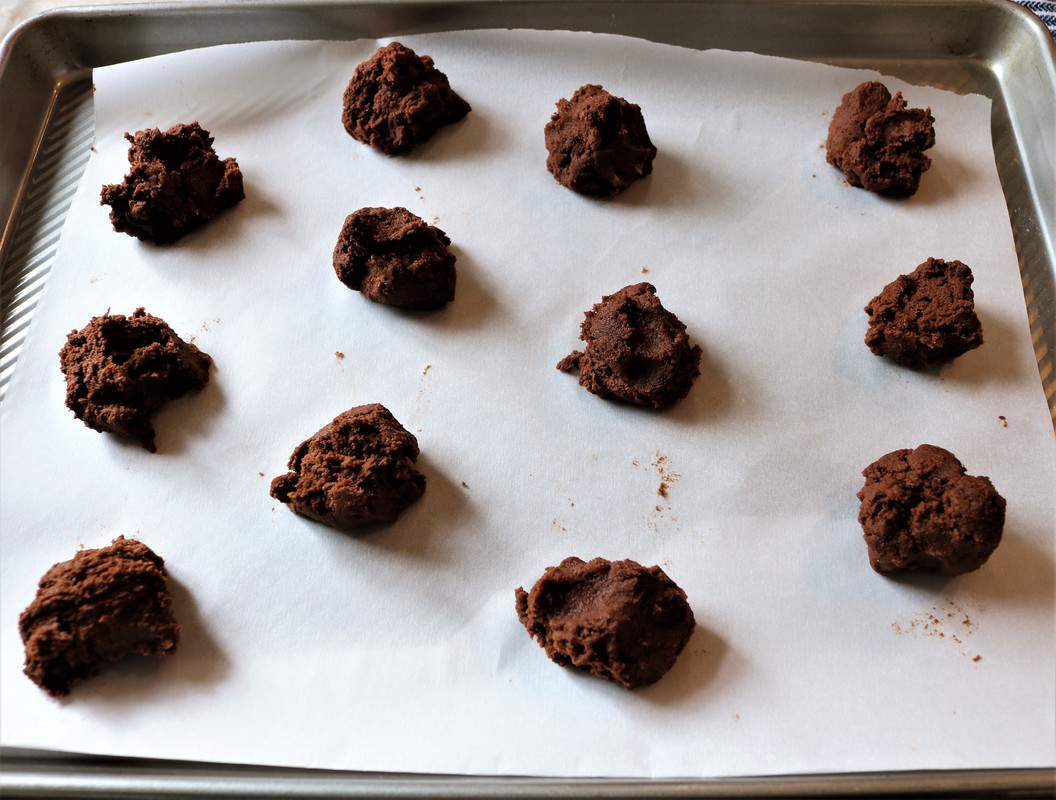
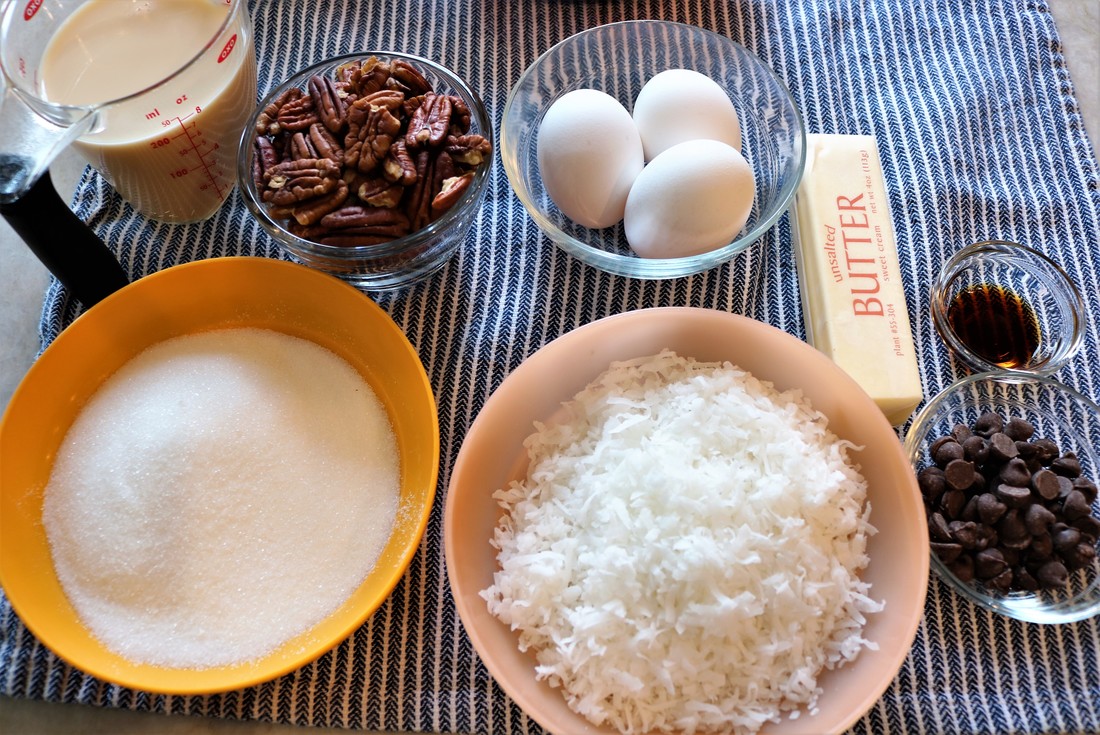
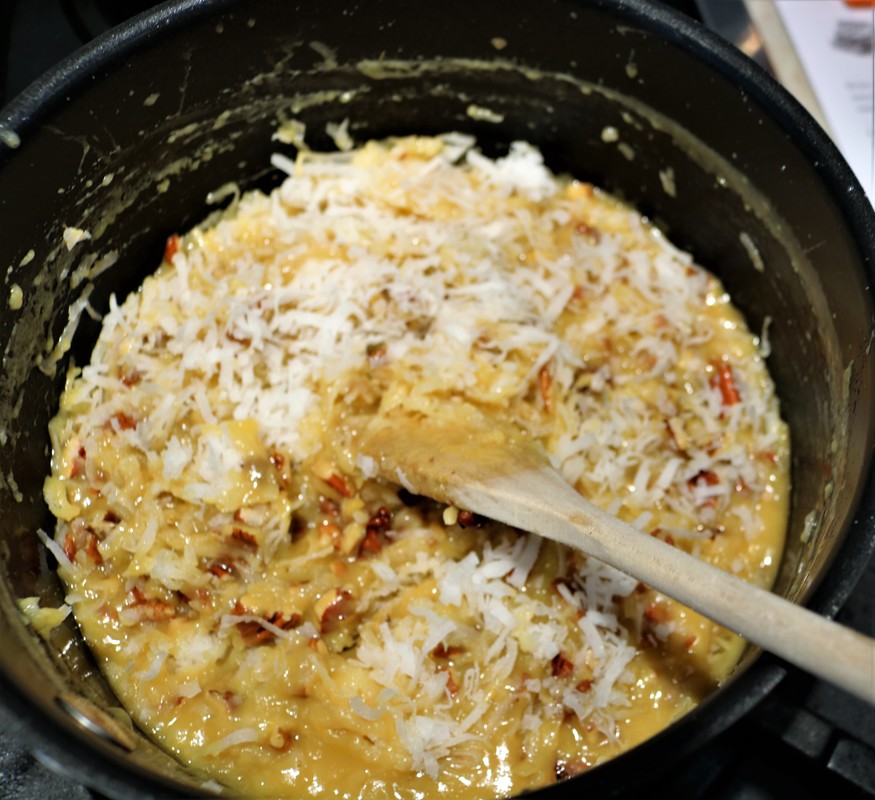
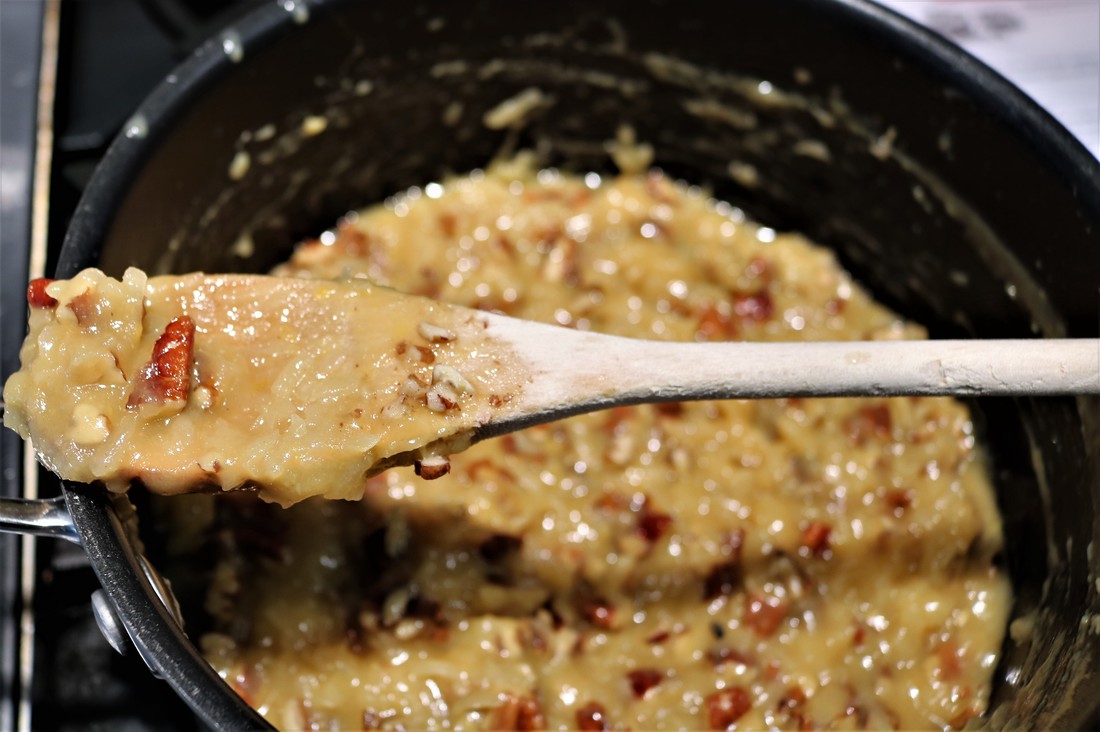
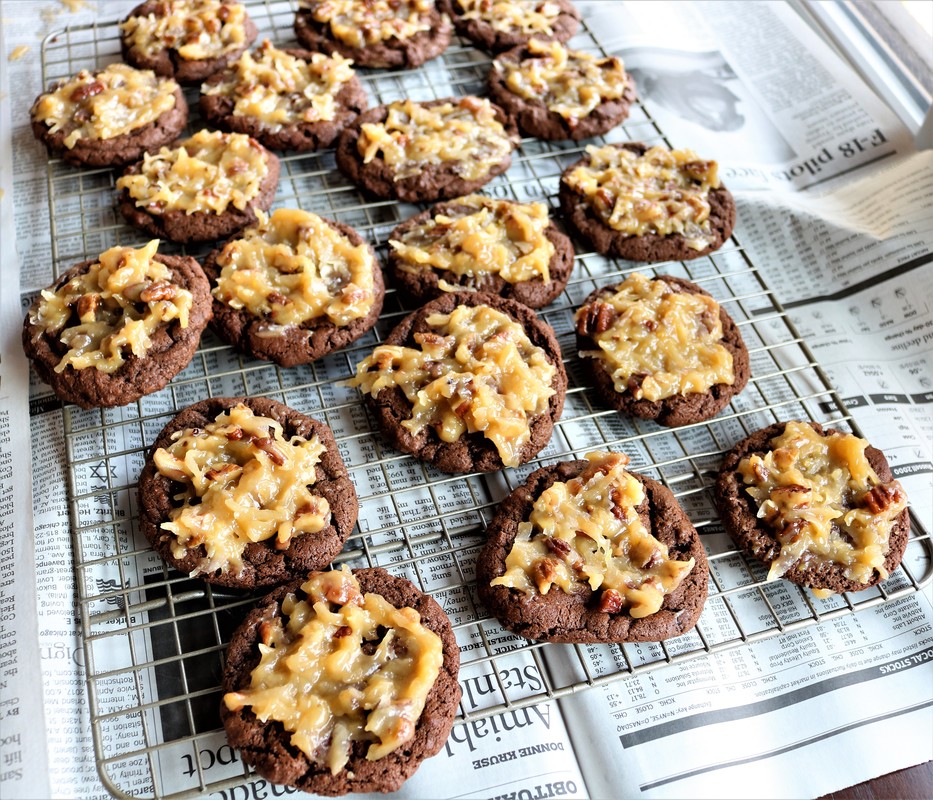
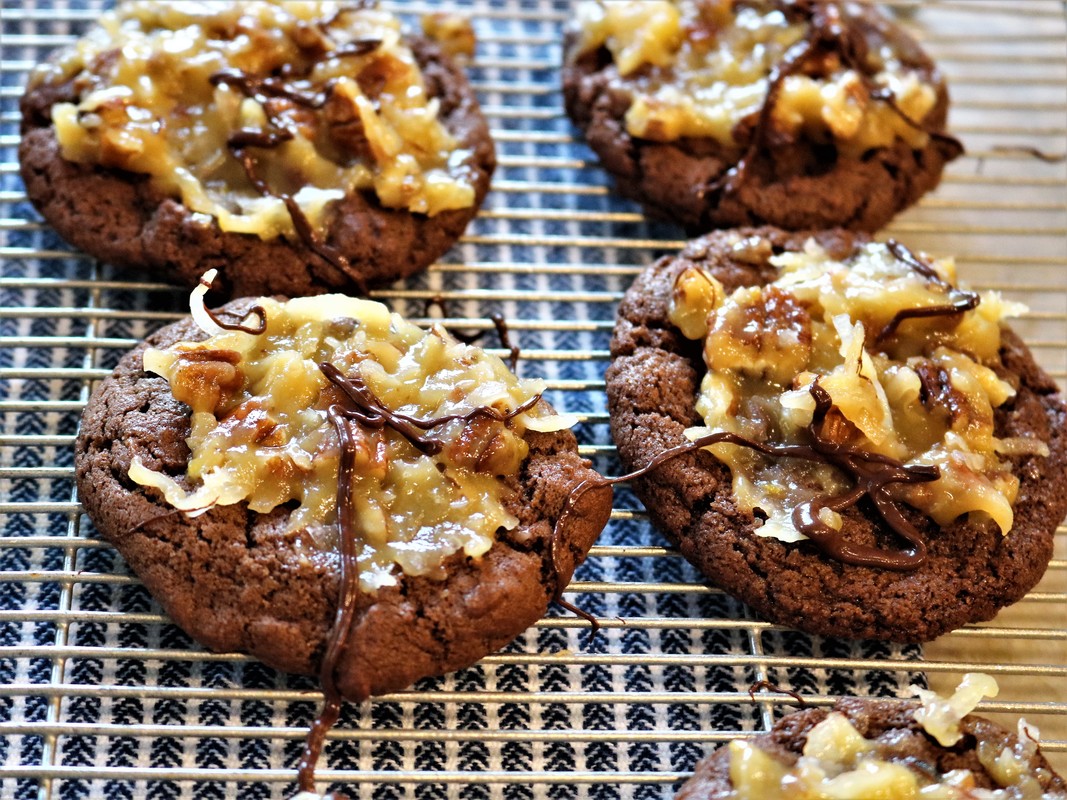
Click on the photos to enlarge them and read the captions.
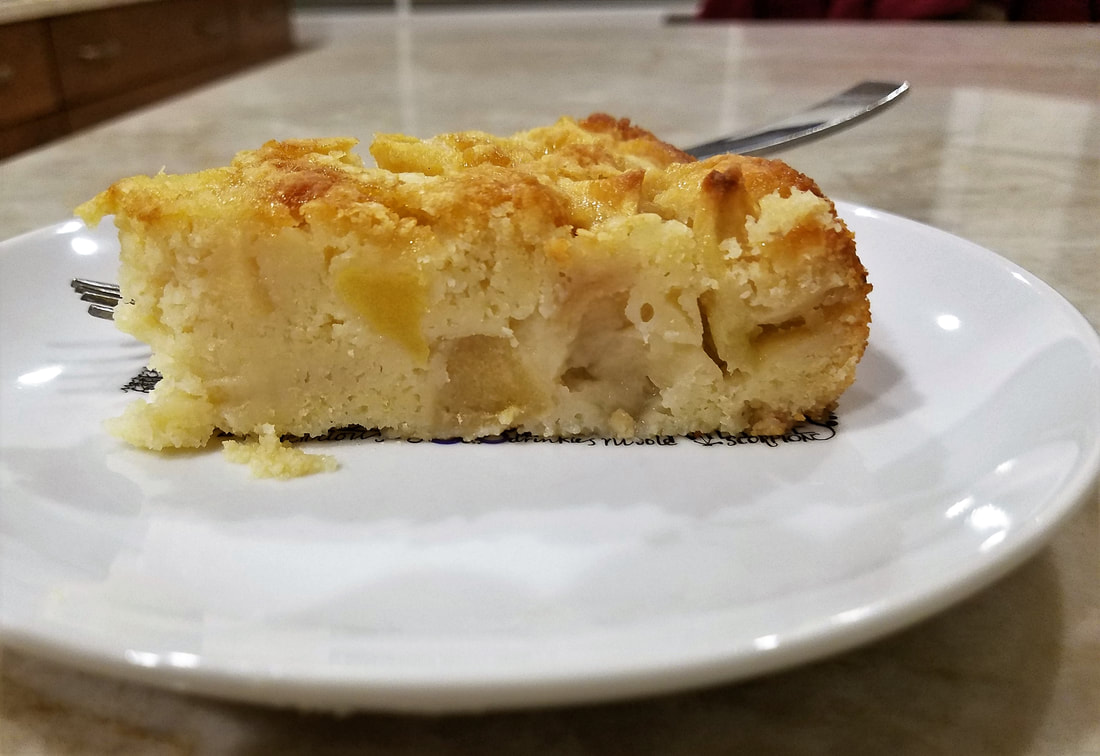
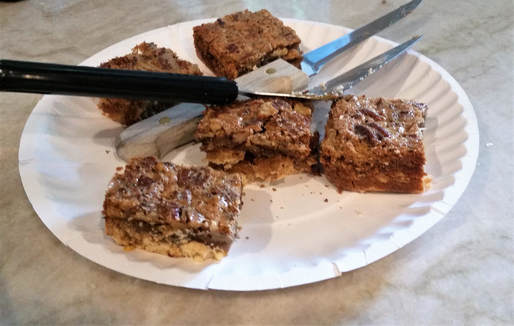
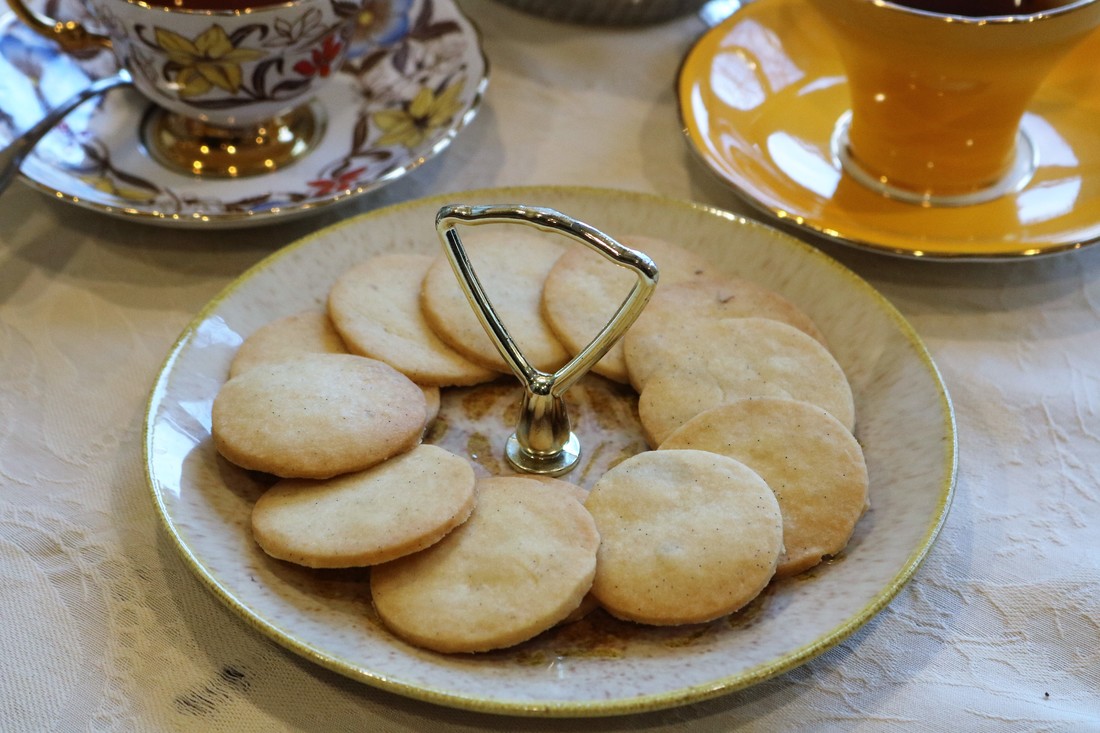
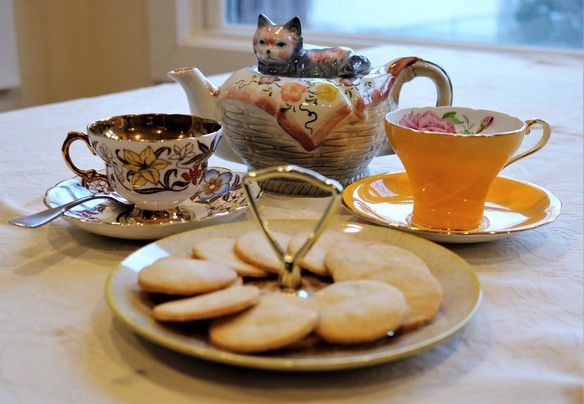
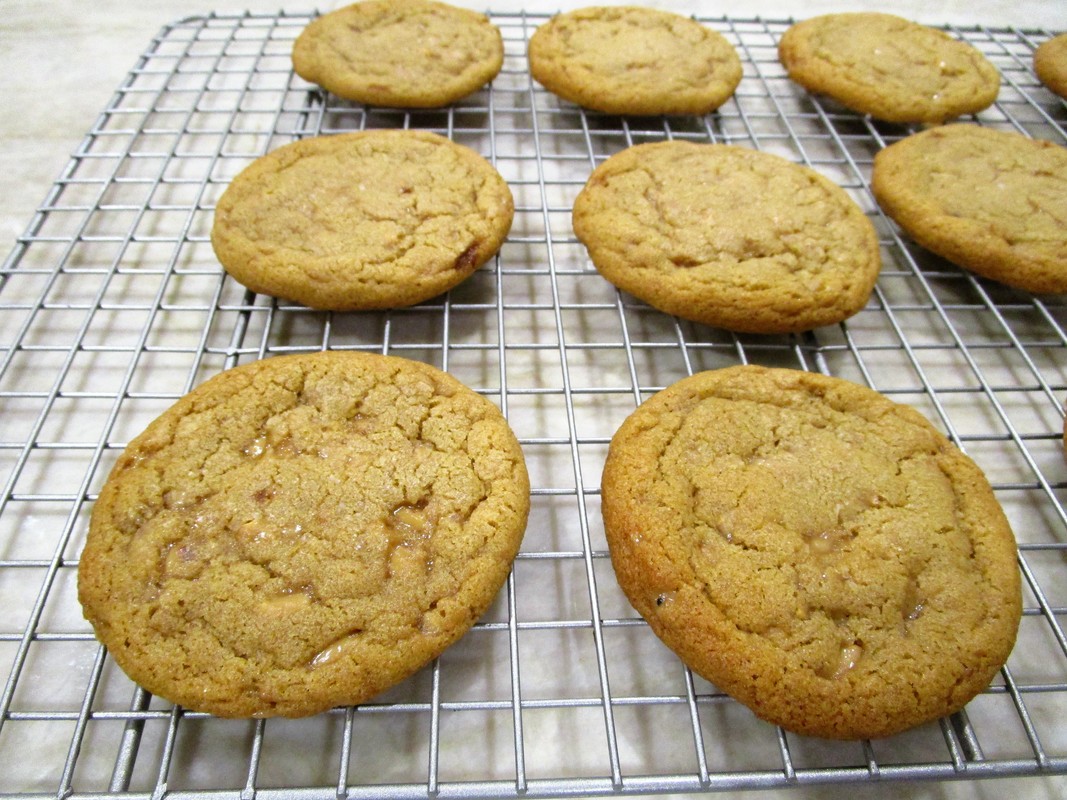
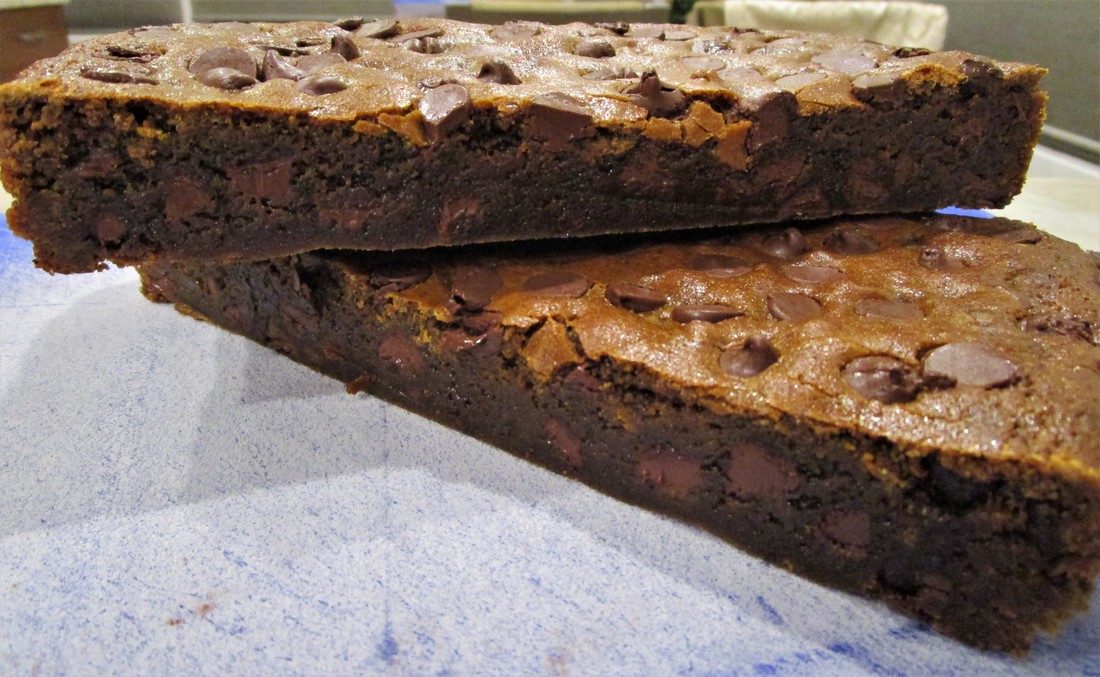
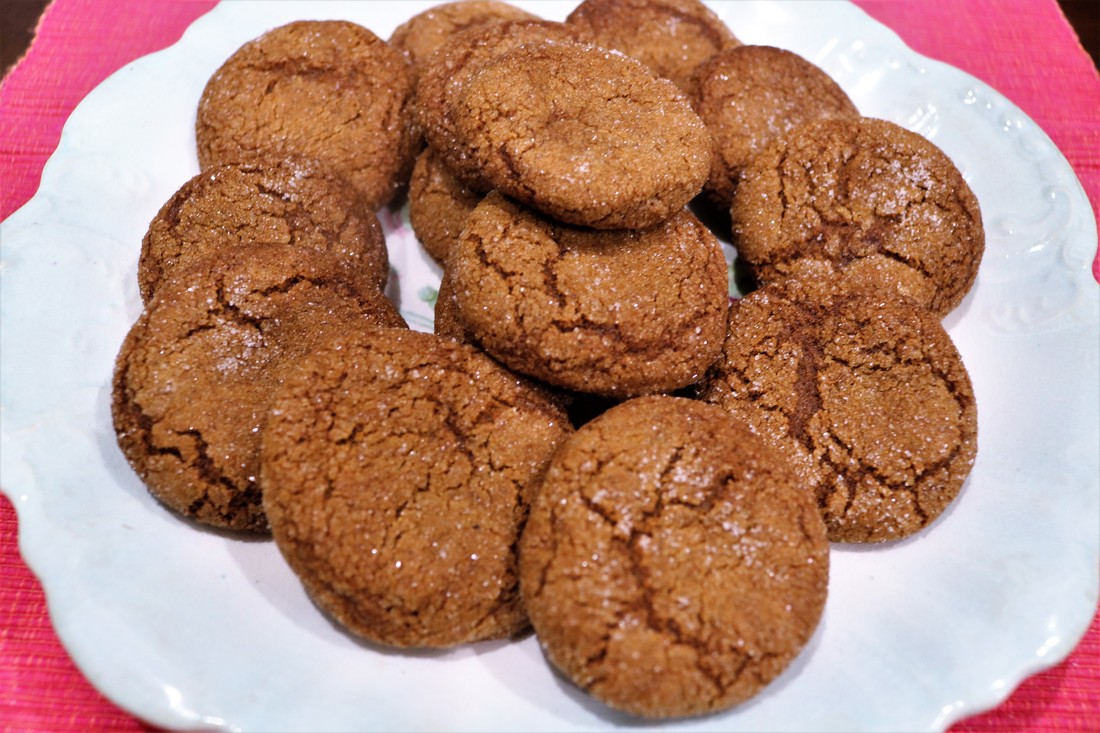
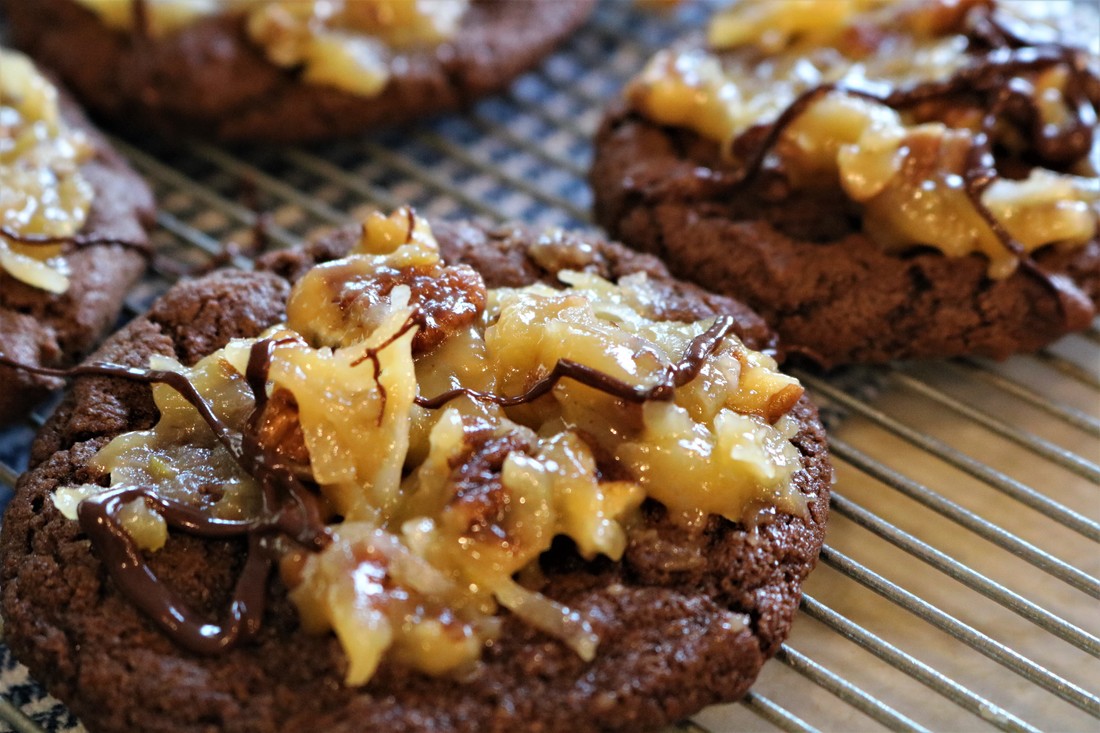
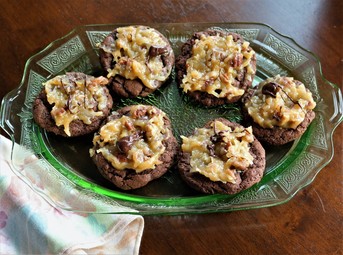
The Verdict: This modest little cake is the perfect dessert for a family meal, or an afternoon snack with a hot beverage, or as an after-school snack. Yum!
| Print the Recipe- French Apple Cake |
French Apple Cake
Recipe source: Dorie Greenspan by way of David Lebovitz
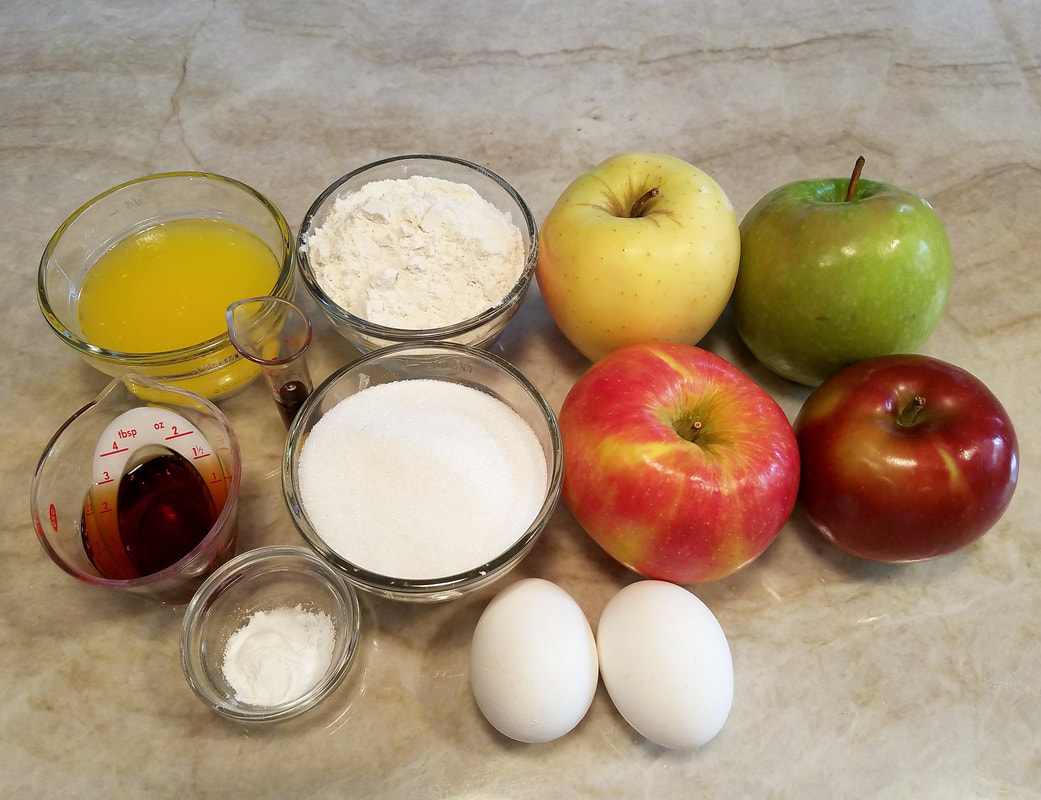
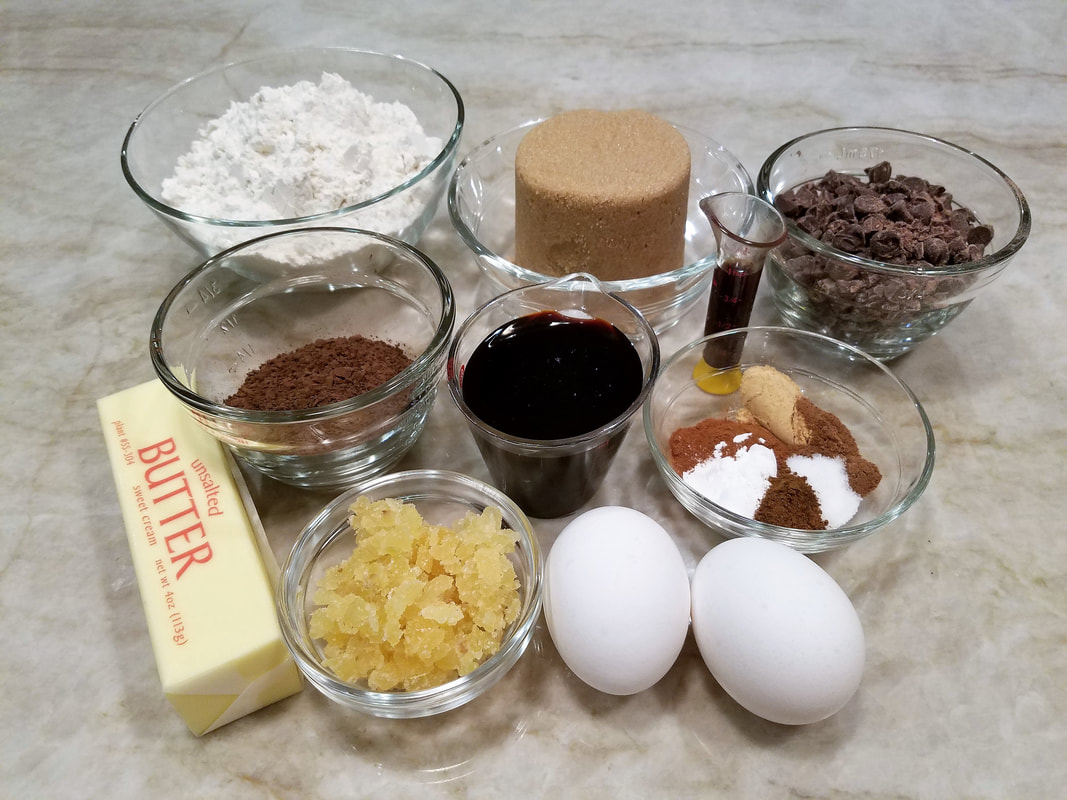
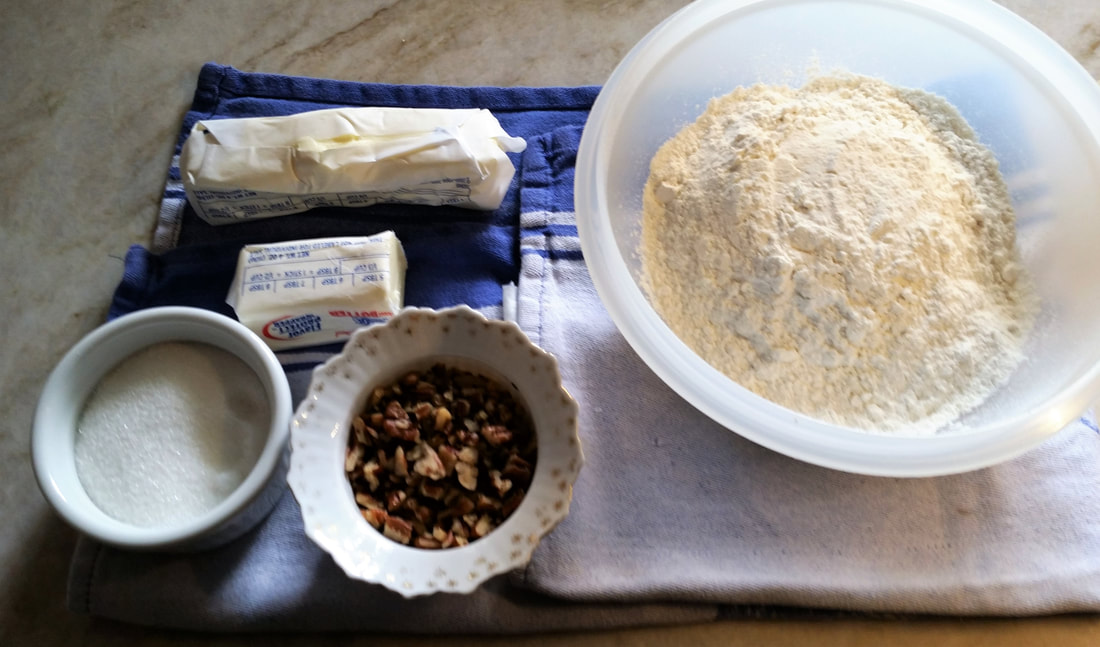
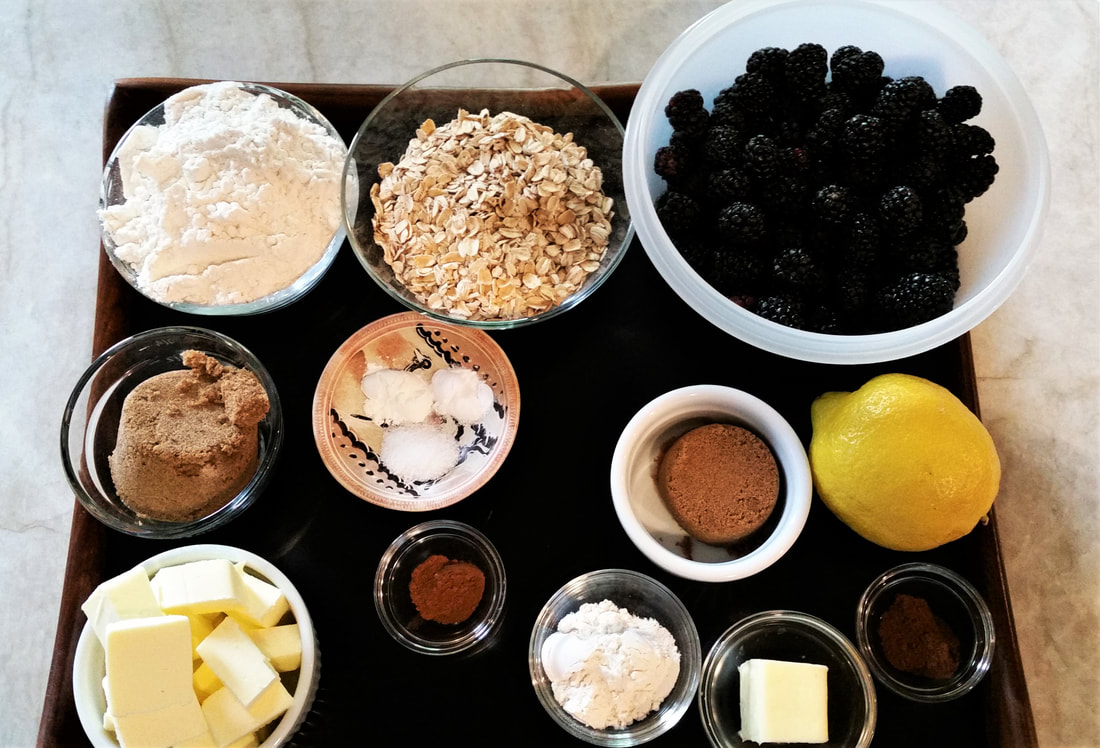
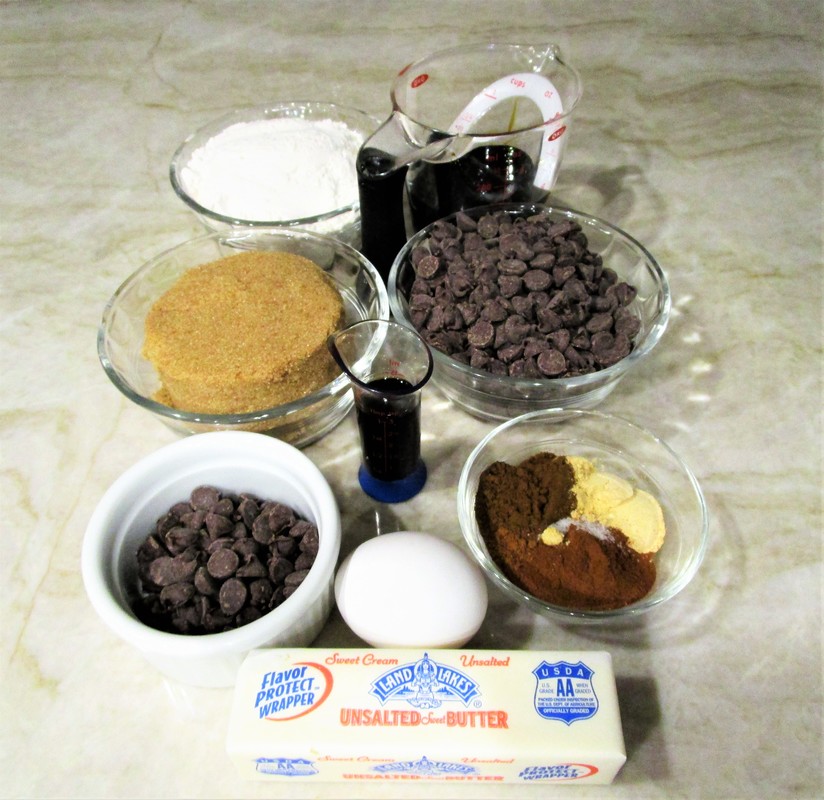
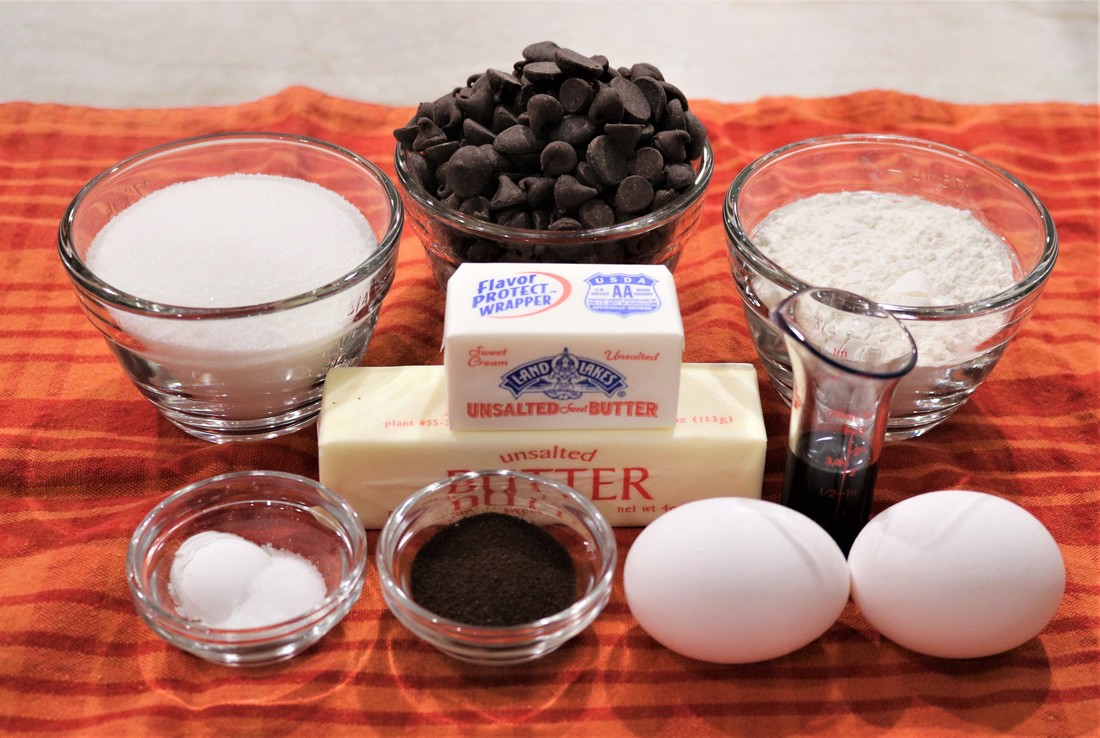
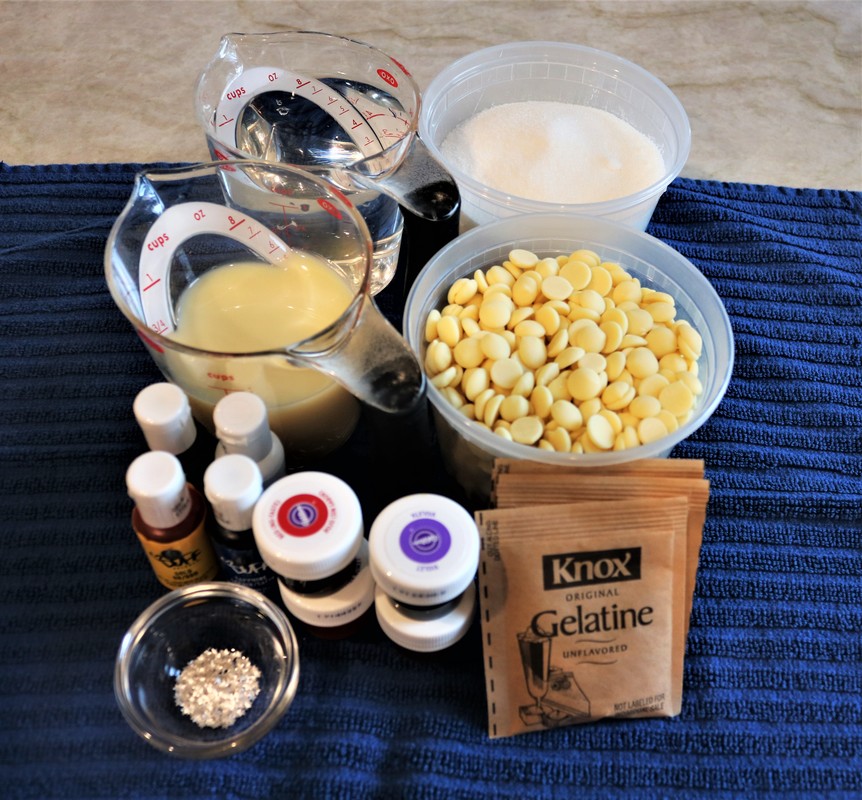
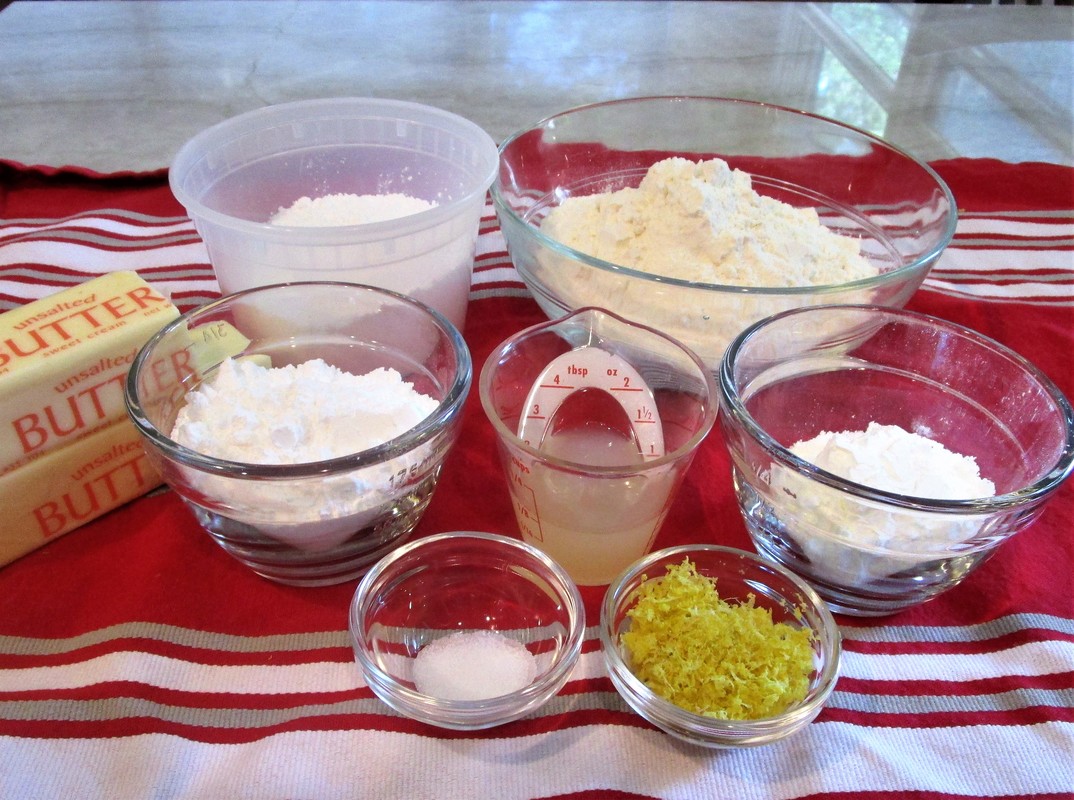
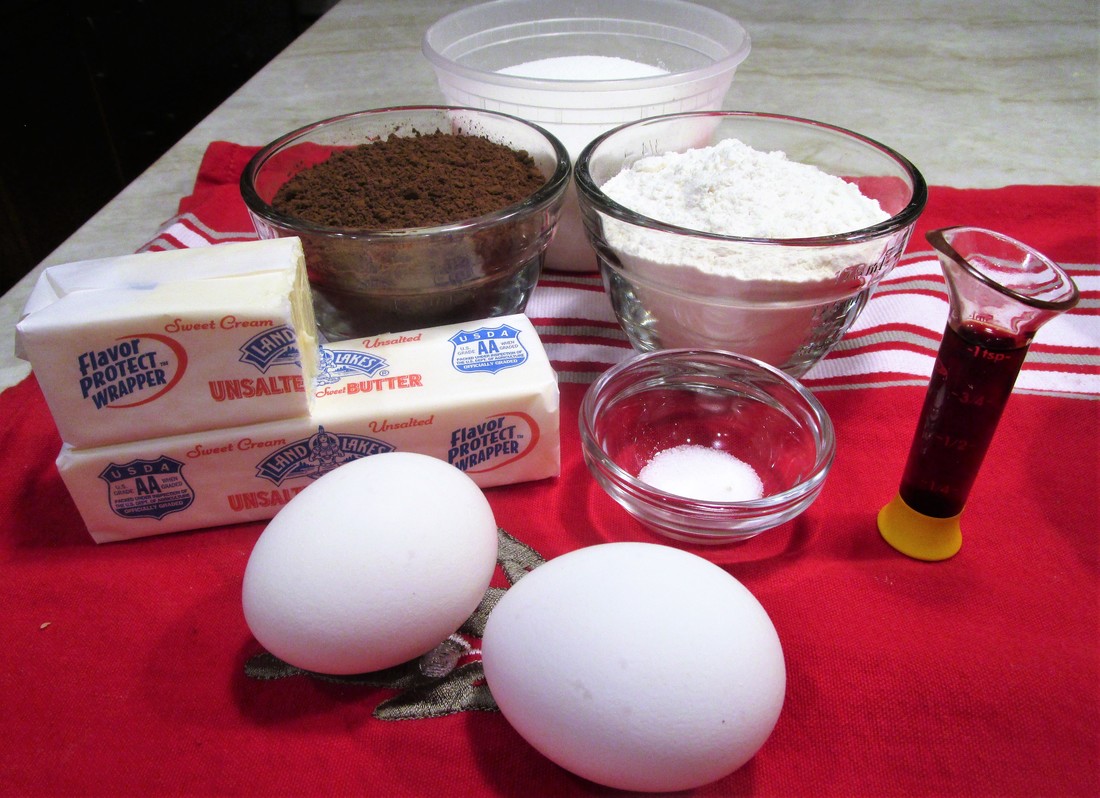
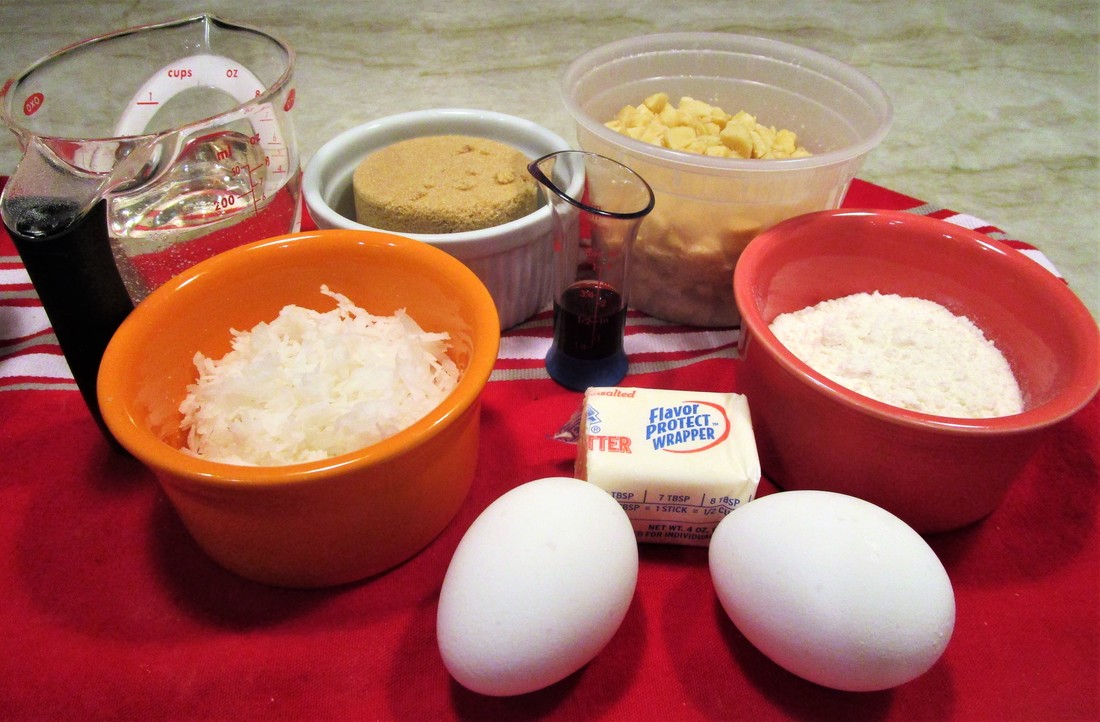
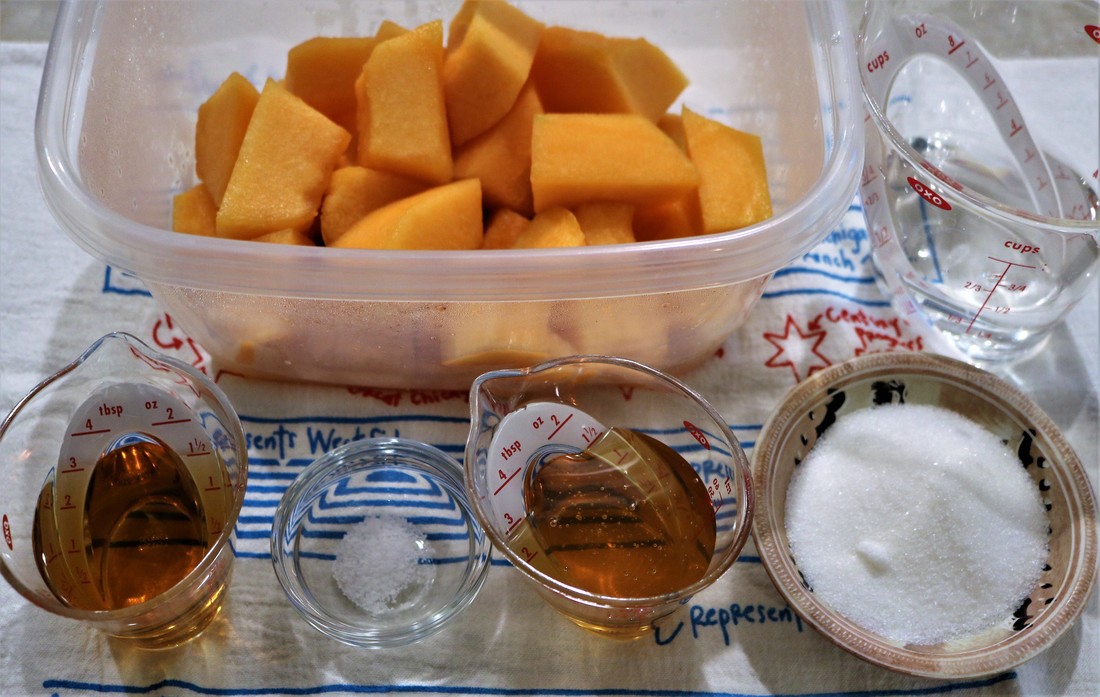
INGREDIENTS:
DIRECTIONS:
Storage: The cake will keep for up to three days covered. Since the top is very moist, it’s best to store it under a cake dome or overturned bowl. Or you can keep it out uncovered for a day and it will be fine if serving the next day.
Recipe source: Dorie Greenspan by way of David Lebovitz
INGREDIENTS:
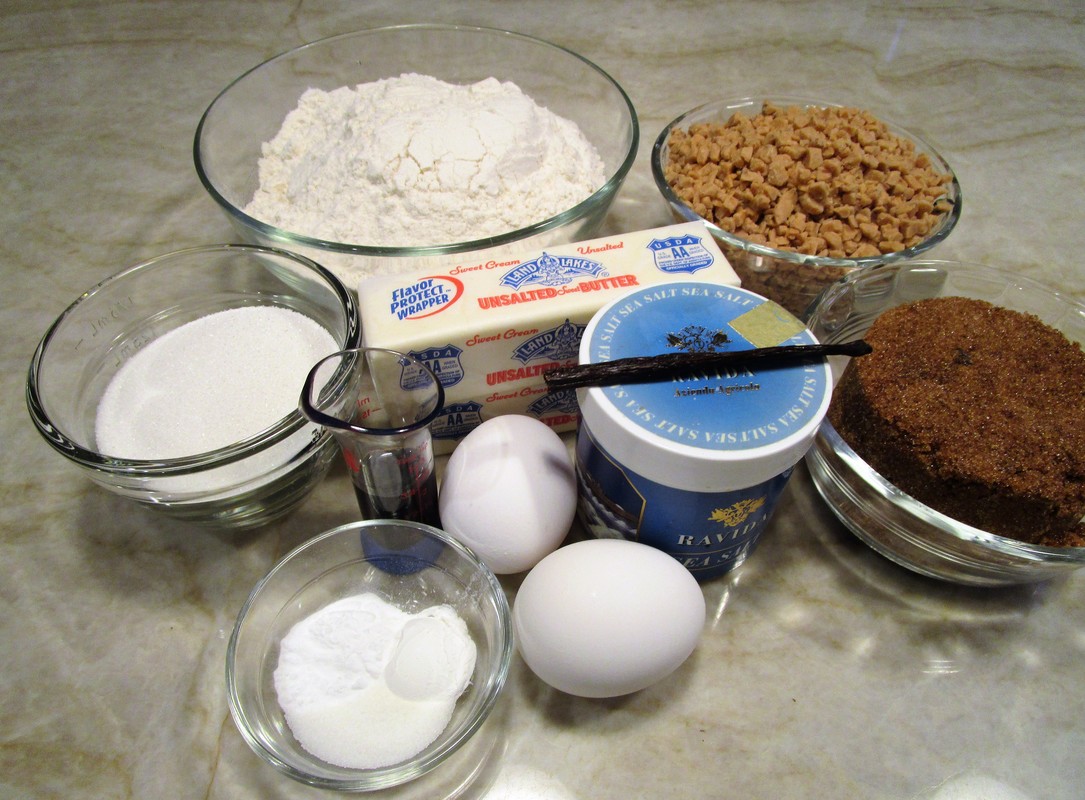
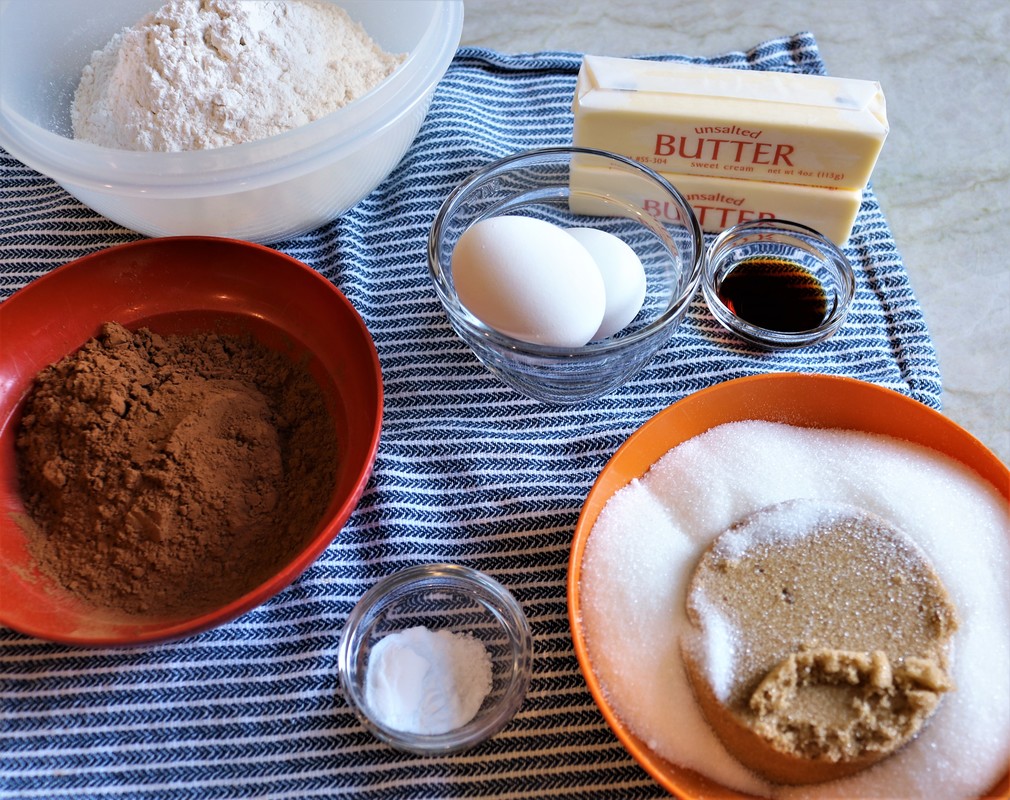
- ¾ cup all-purpose flour
- ¾ teaspoon baking powder
- Pinch of salt
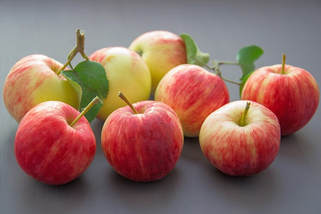
- 4 large apples (a mix of varieties), peeled, cored, and diced in 2-inch pieces
- 2 large eggs
- ¾ cup granulated sugar
- 3 tablespoons dark rum
- ½ teaspoon pure vanilla extract
- 8 tablespoons of butter, melted, and cooled to room temperature, plus extra for greasing pan
- Confectioner's sugar, for garnishing (optional)
DIRECTIONS:
- Preheat oven to 350 degrees.
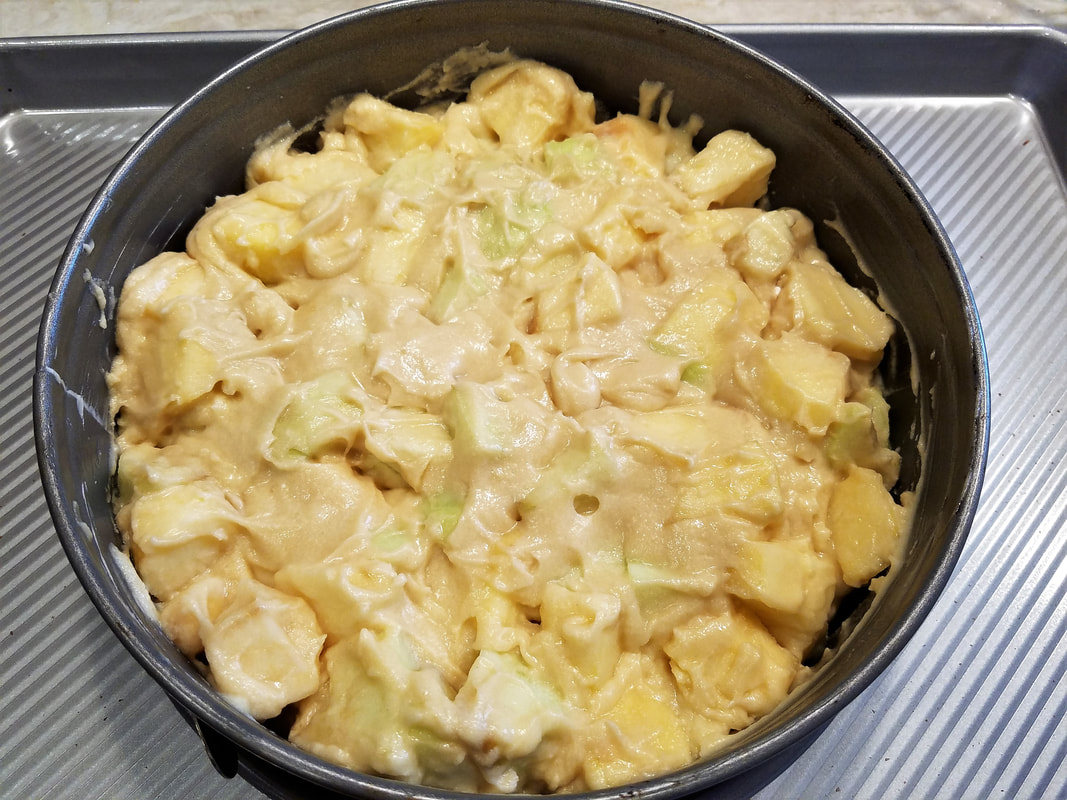
- Heavily butter an 8- or 9-inch springform pan and place it on a baking sheet.
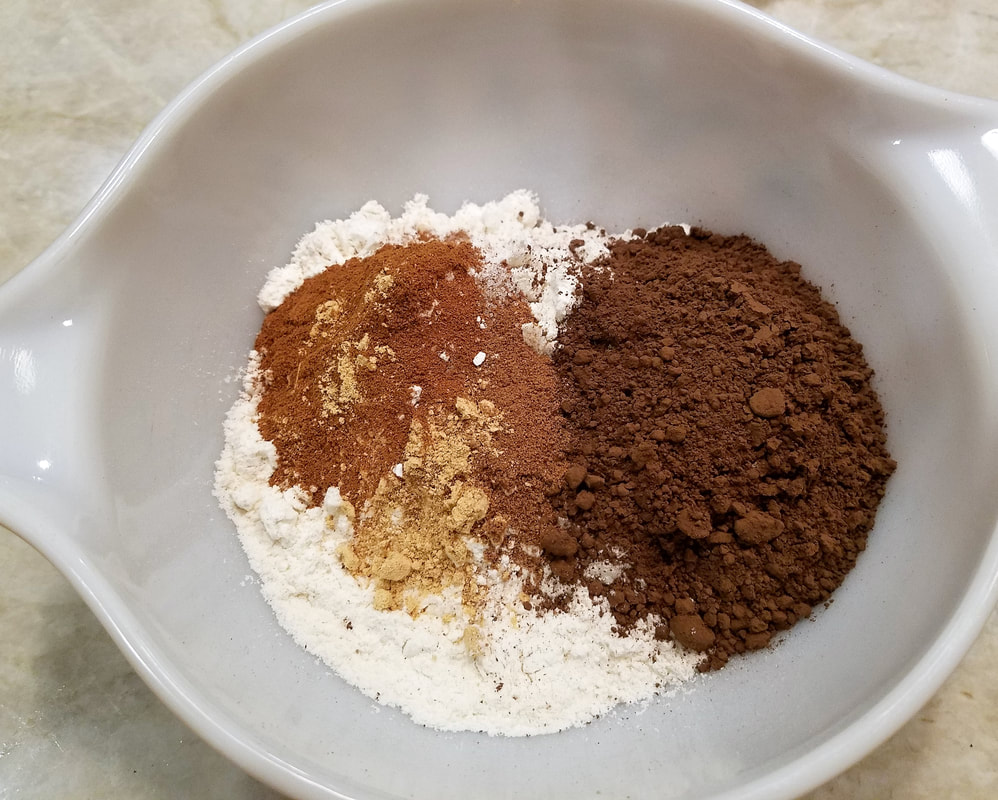
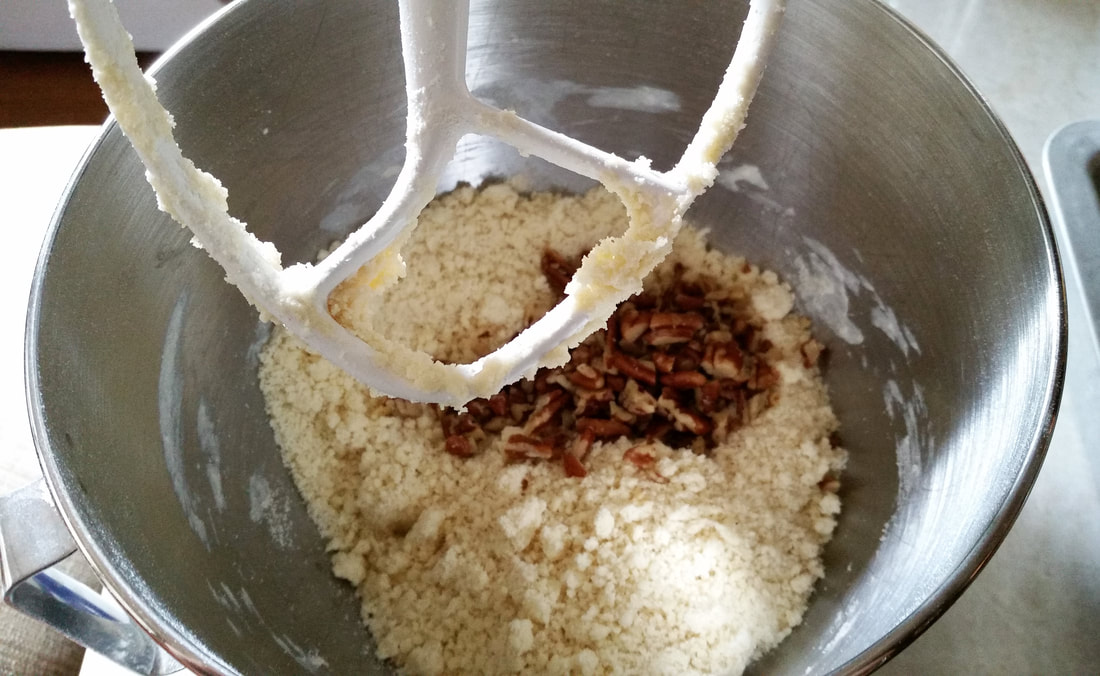
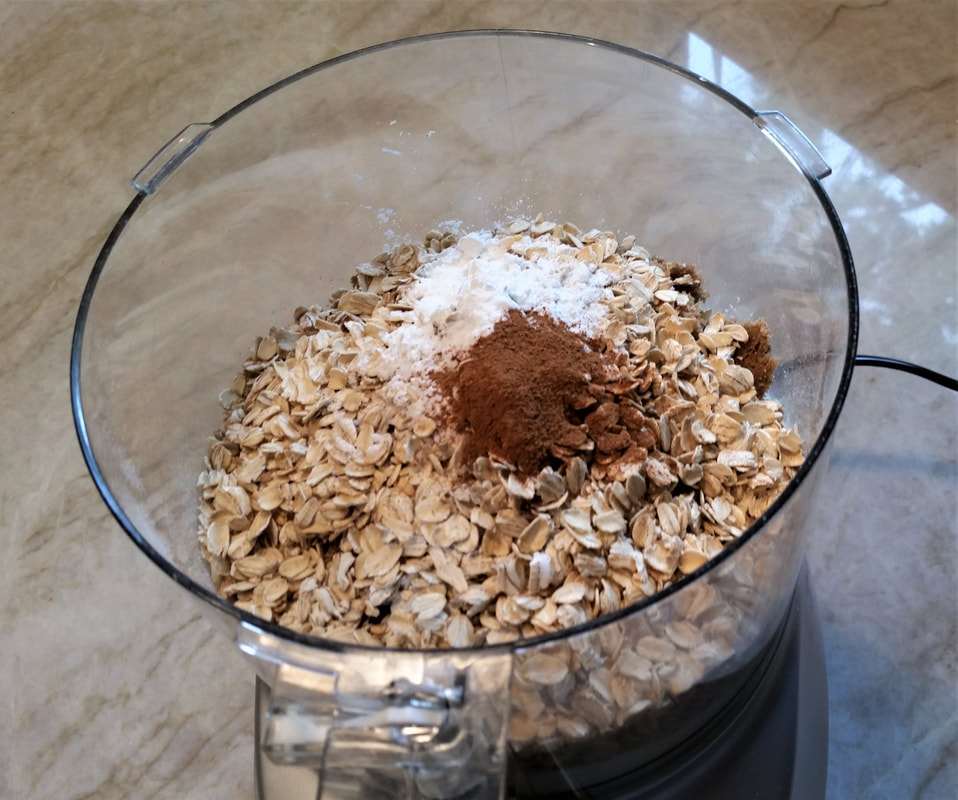
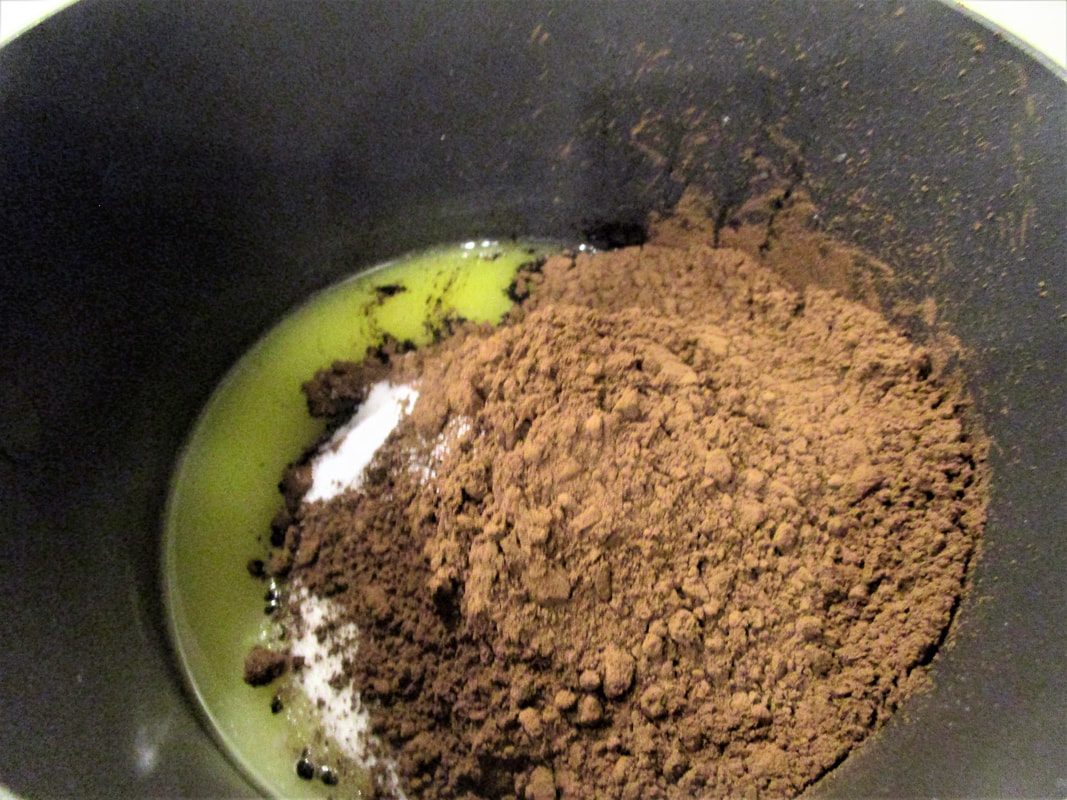
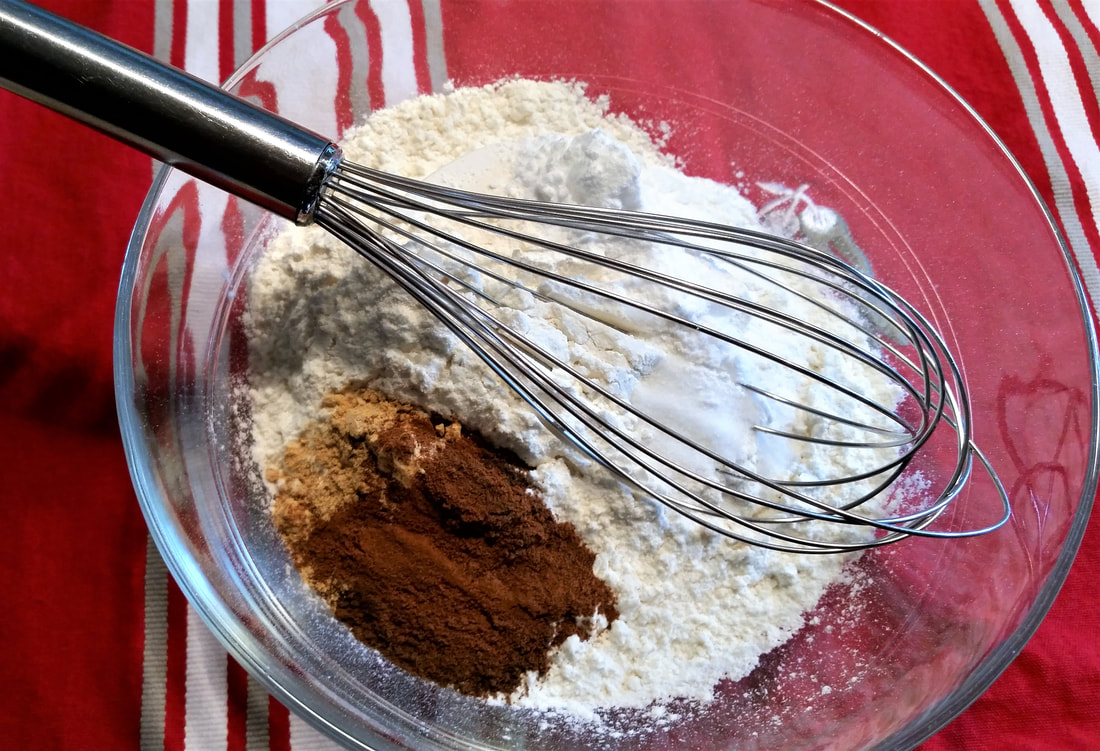
- In a small bowl, whisk together the flour, baking powder, and salt.
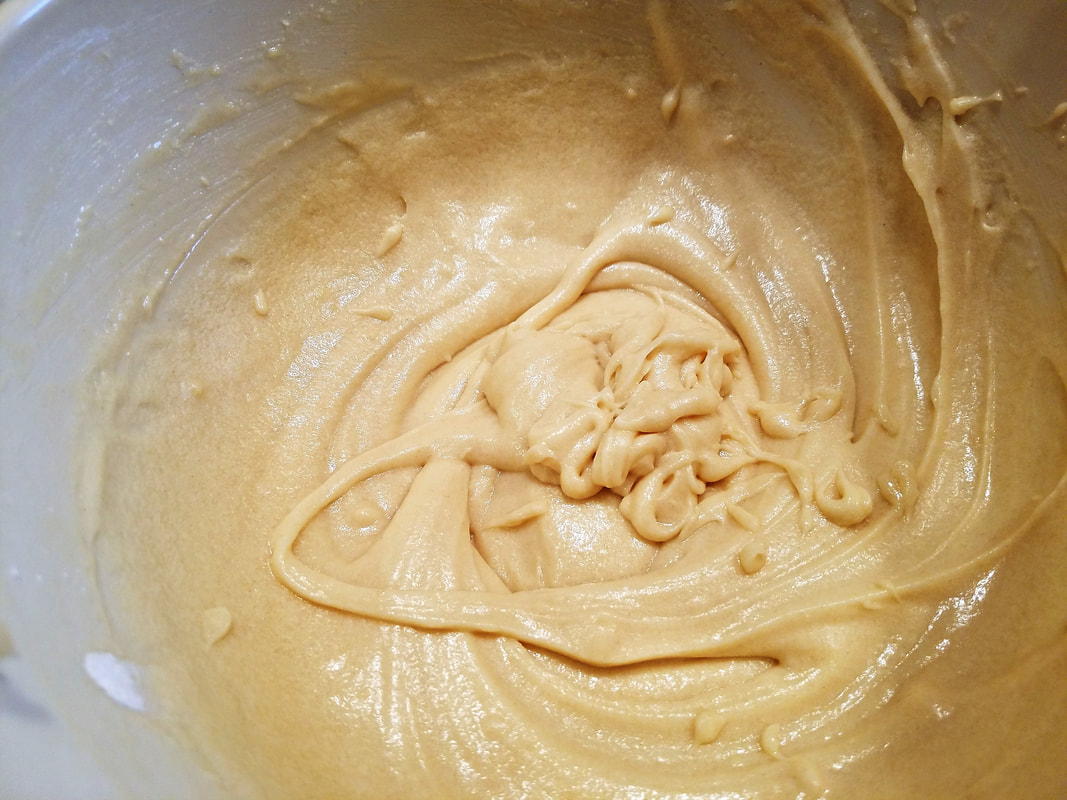
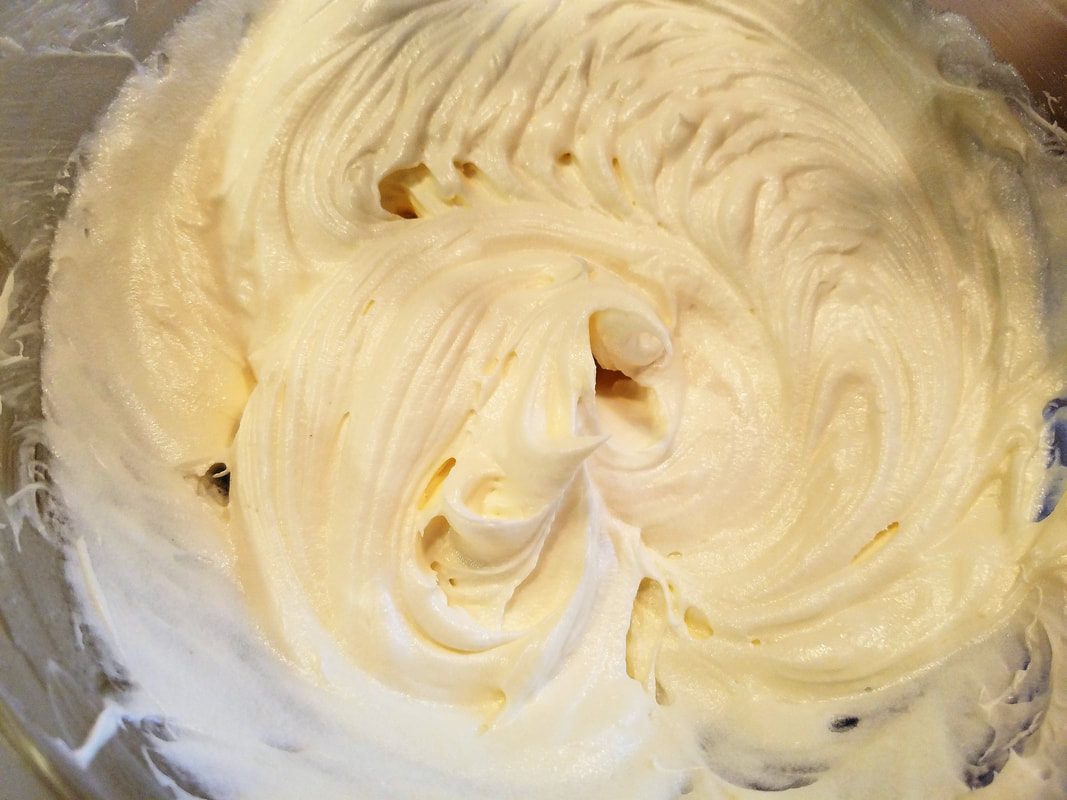
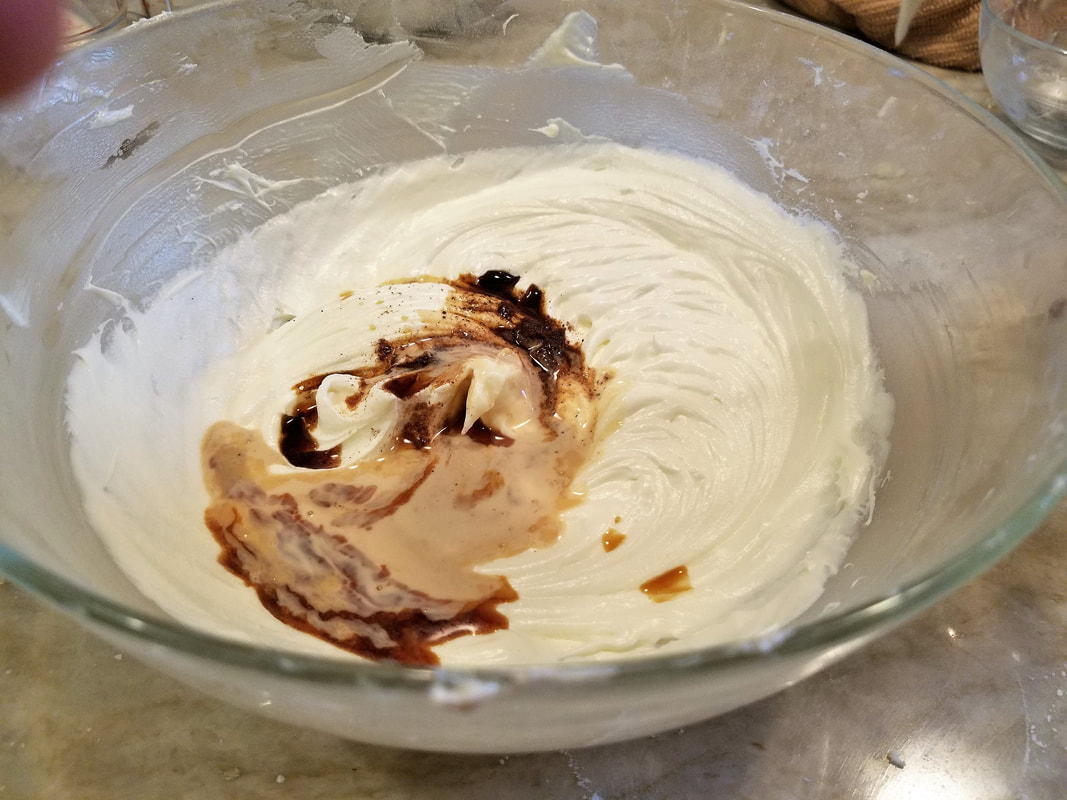
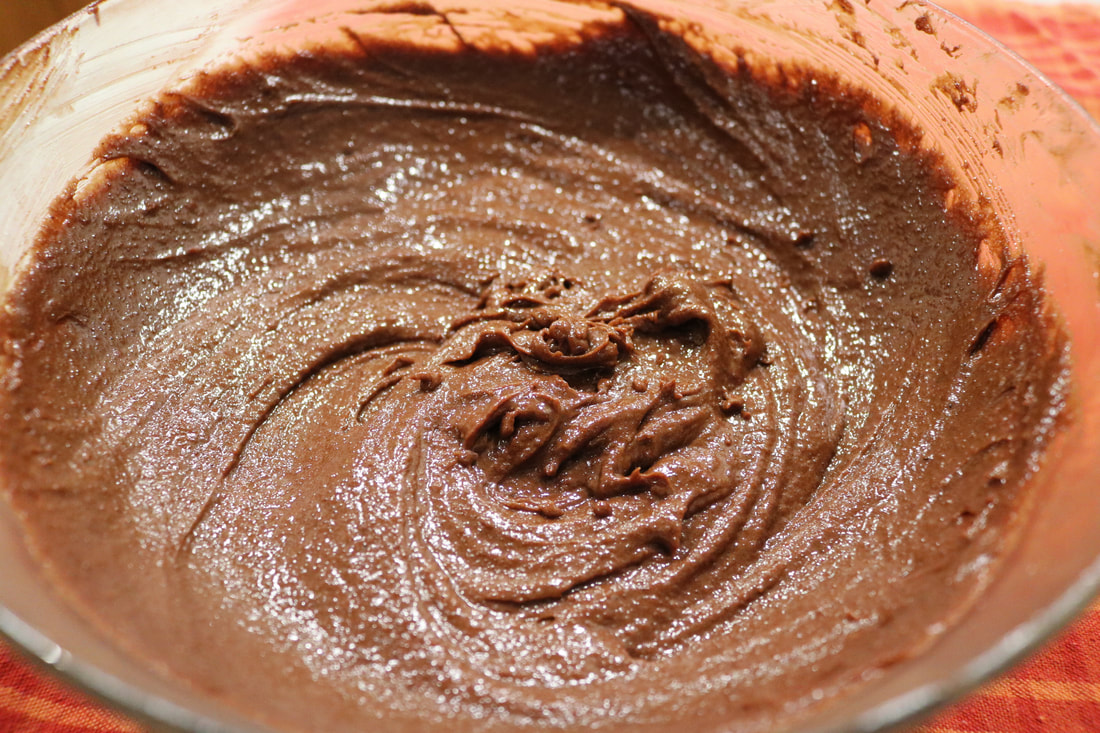
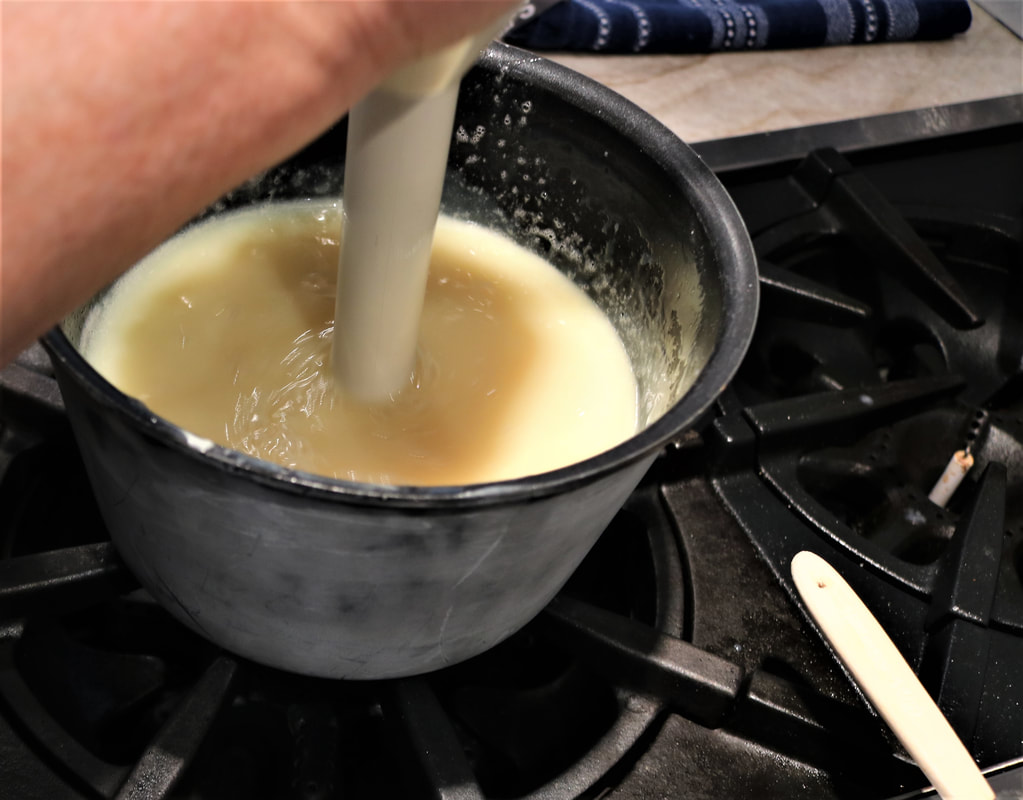
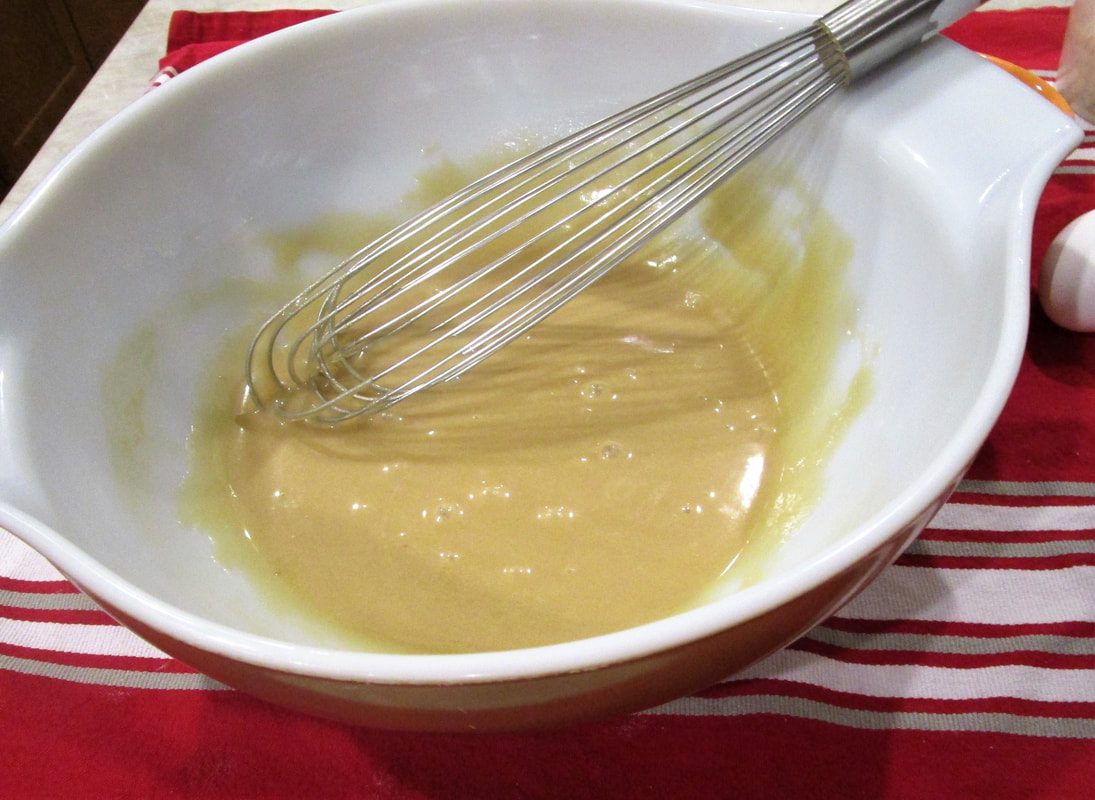
- In a large bowl, beat the eggs until foamy then whisk in the sugar, then rum and vanilla. Whisk in half of the flour mixture, then gently stir in half of the melted butter.
- Stir in the remaining flour mixture, then the rest of the butter. Repeat with remaining butter and flour.
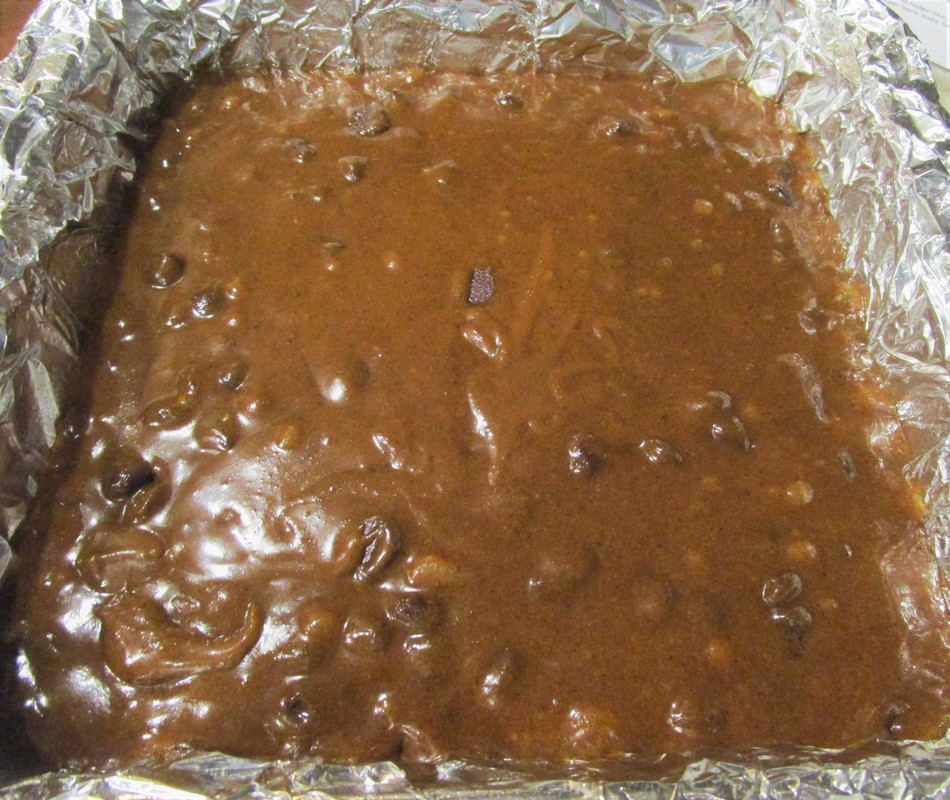
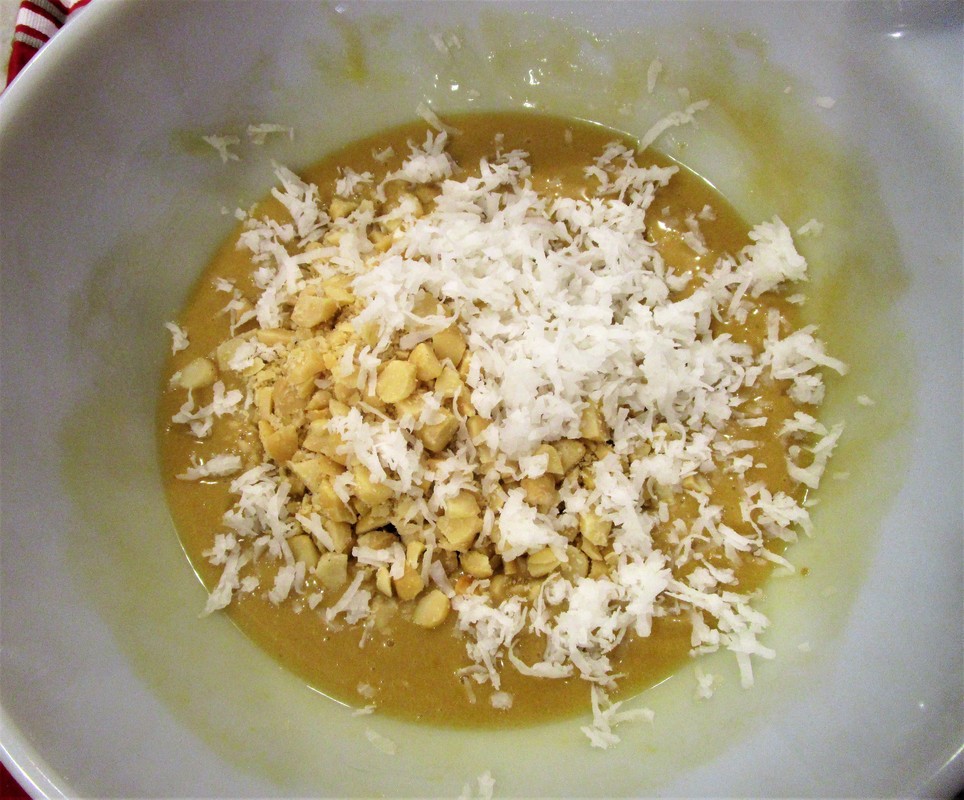
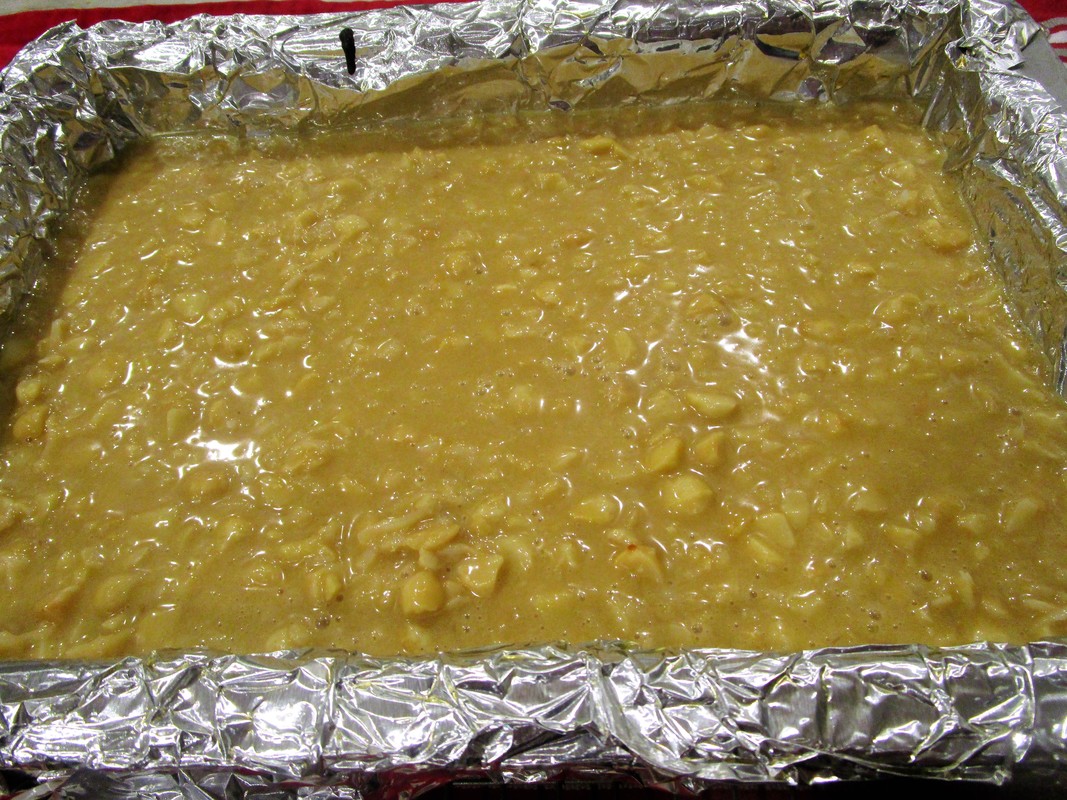
- Fold in the apple cubes until they’re well-coated with the batter and scrape them into the prepared cake pan and smooth the top a little with a spatula.
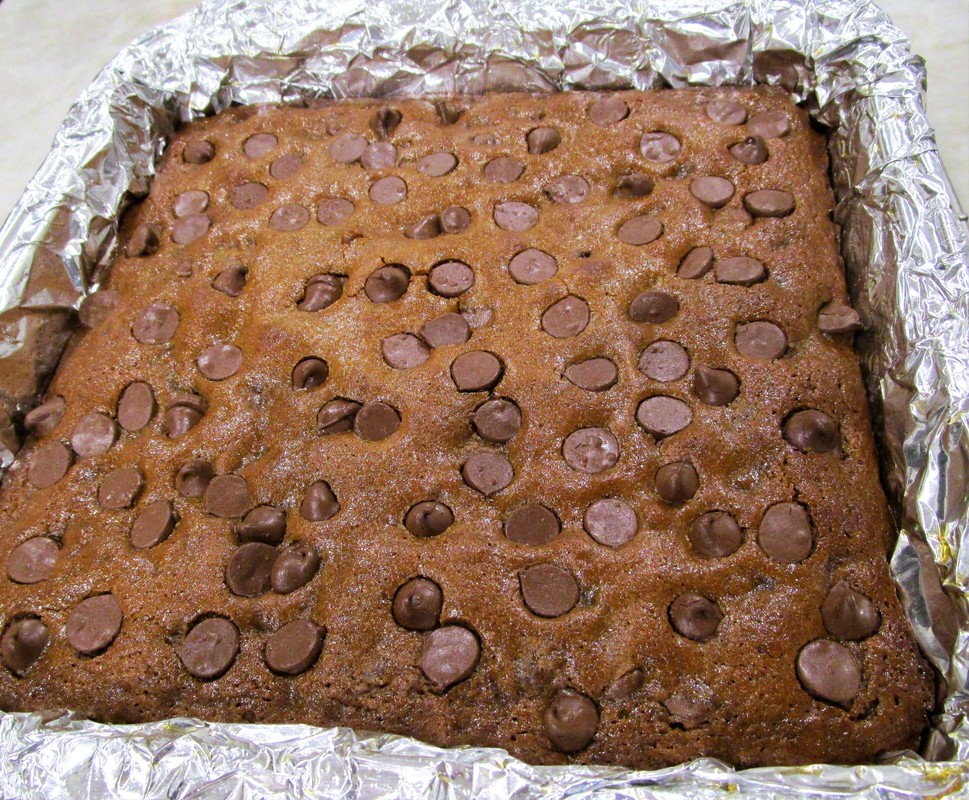
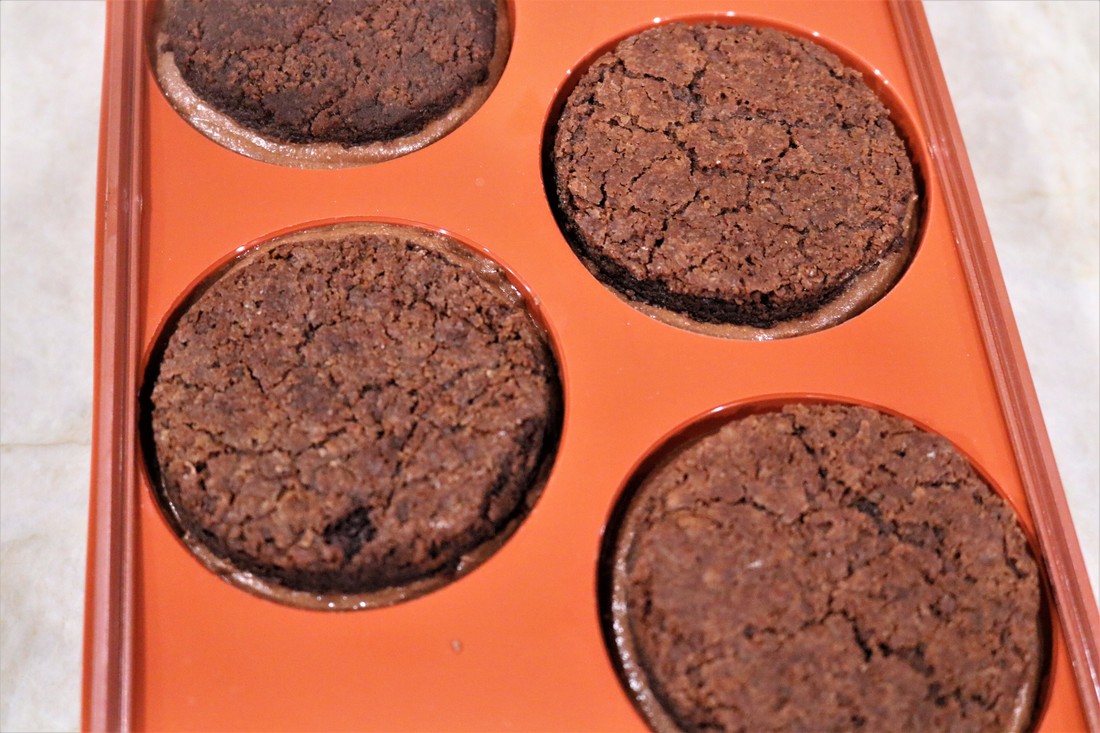
- Bake for about 55-65 minutes or until toothpick inserted into center comes out clean, or with just a few moist crumbs.
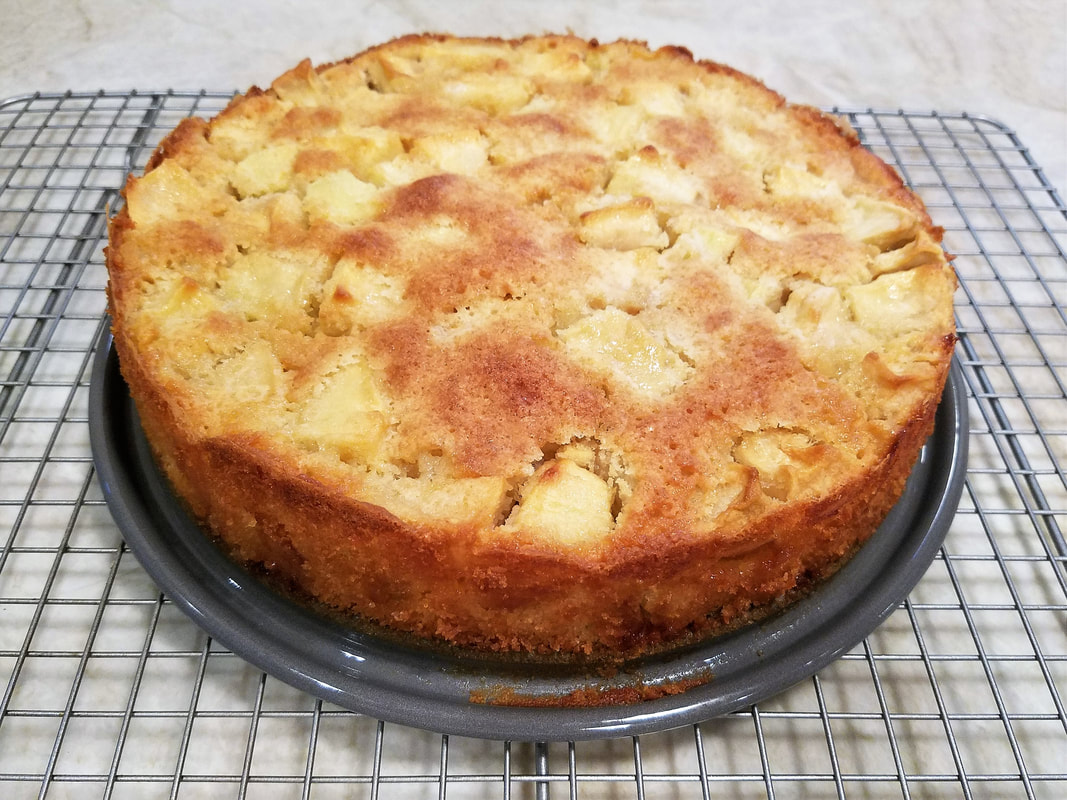
- Let the cake cool for 5 minutes, then run a knife around the edge to loosen the cake from the pan and carefully remove the sides of the cake pan, making sure no apples are stuck to it.
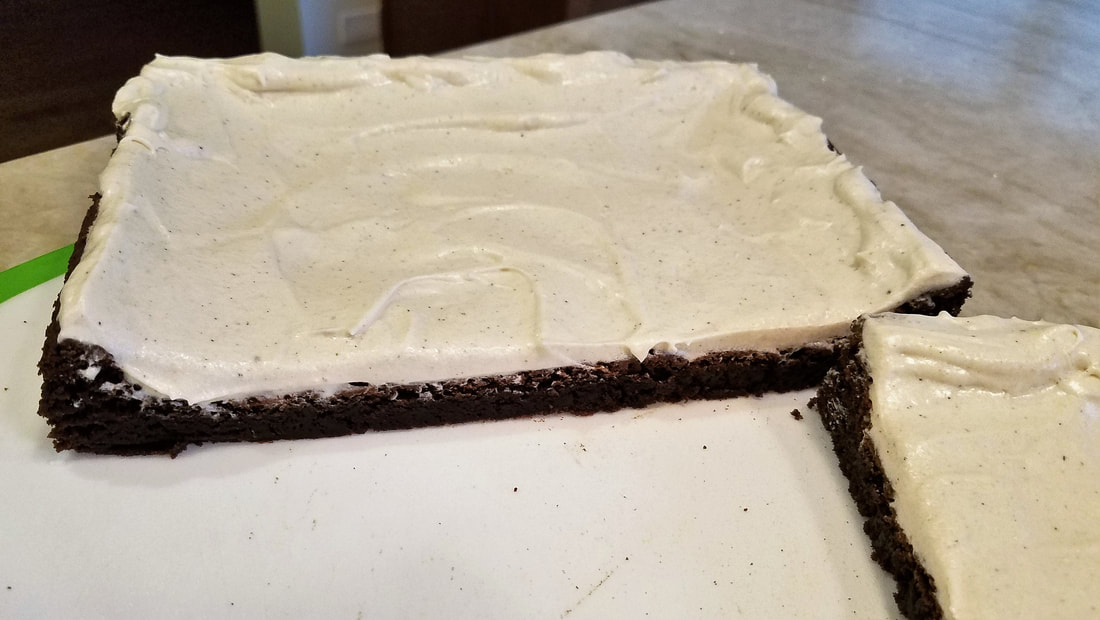
- If desired, dust with confectioner's sugar before serving.
Storage: The cake will keep for up to three days covered. Since the top is very moist, it’s best to store it under a cake dome or overturned bowl. Or you can keep it out uncovered for a day and it will be fine if serving the next day.
Do you have a favorite not-so-fancy dessert in your repertoire? Tell us about it in the Comments.


 RSS Feed