
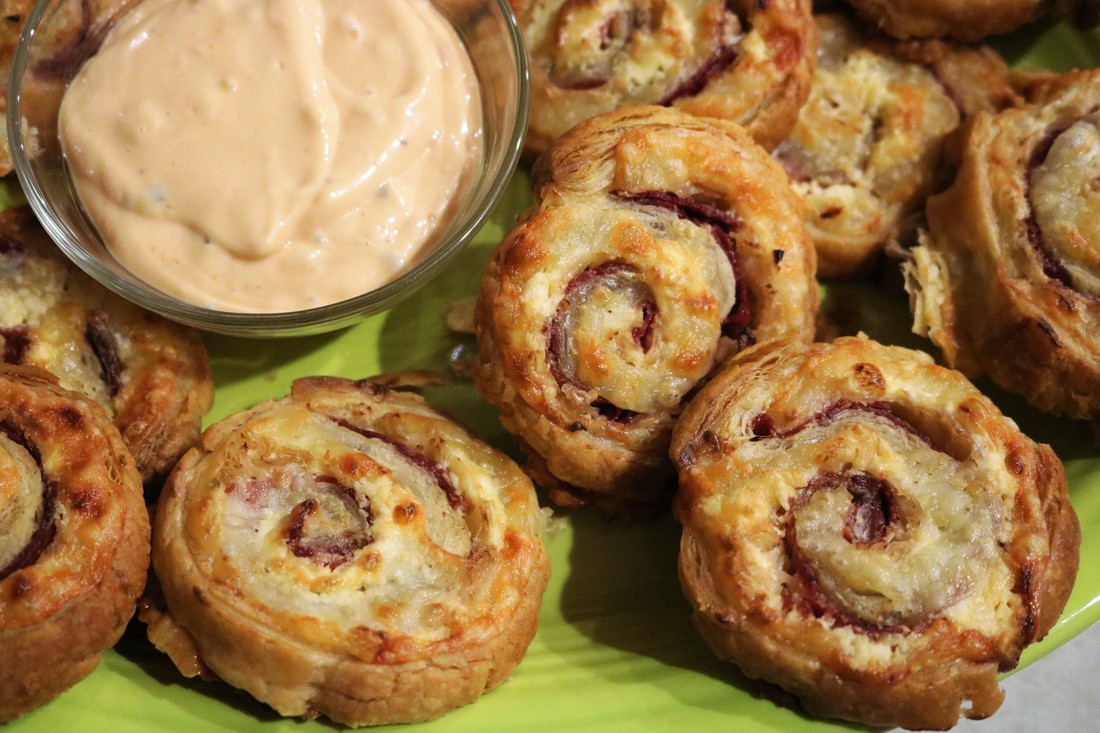
Are you ready for some football ... snacks?! Reuben Pinwheels for the win!
The Occasion: Whenever you’re ready for a little nosh, that’s the perfect occasion for these Reuben Pinwheels. Perfect for serving when, let’s say, there may be a big deal sports game on the teevee, or an awards show, or an international event featuring daring feats of athletic prowess. When it’s time to upgrade your snacks from chips and dips, this recipe scores a touchdown every time.
|
The Playlist: Well, I couldn’t get the exact song I wanted but this one is pretty close. If you can overlook the references to ‘Monday night’ and a certain TV network, we’ll be right on track. Turn it up!
|
|
The Recipe: Spicy Southern Kitchen is an excellent food blog which posts gorgeous food pix and well-produced recipe videos that appear all over my Facebook feed. Always mesmerized by Christin’s tasty-looking food, I finally decided to try one of her recipes for myself. So glad I did!
What Makes It Special? Warm appetizers are always nicer than cold apps, in my opinion, and this one features bold, savory flavors in a finger food format. What’s not to like about that?!
Serve With: Beer and other snacks. Although some New Yorkers enjoy Dr. Brown’s Cel-Ray soda with their corned beef, so you do you.
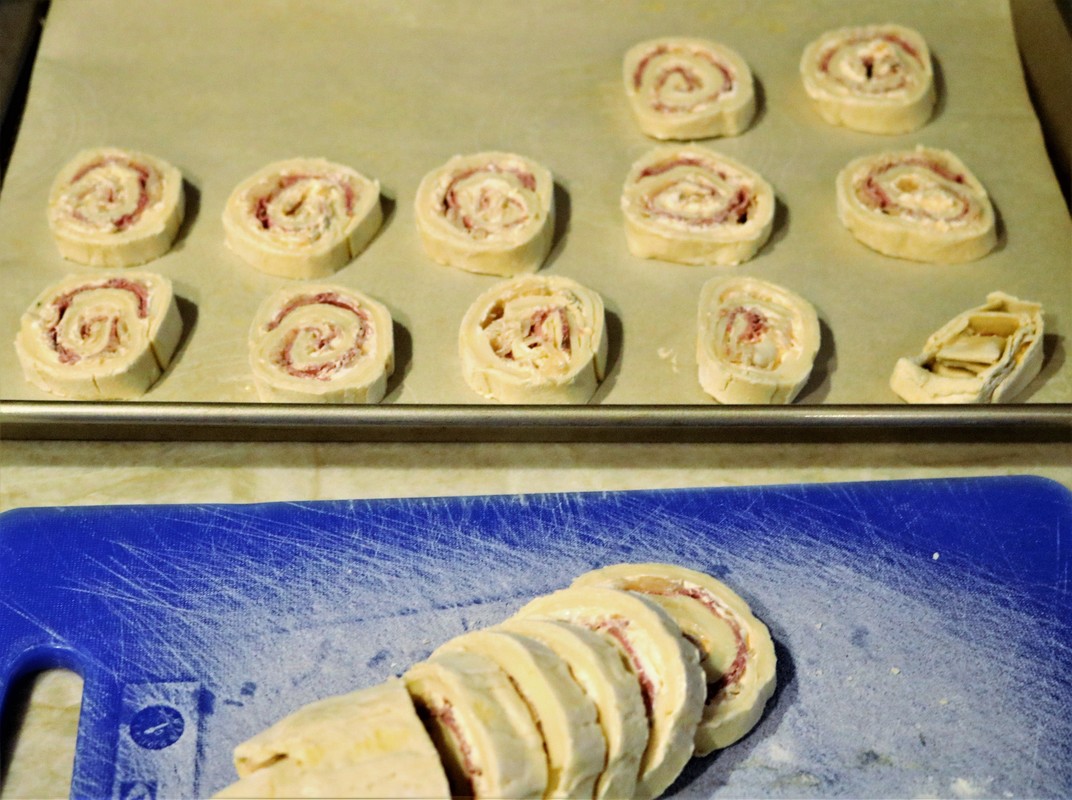
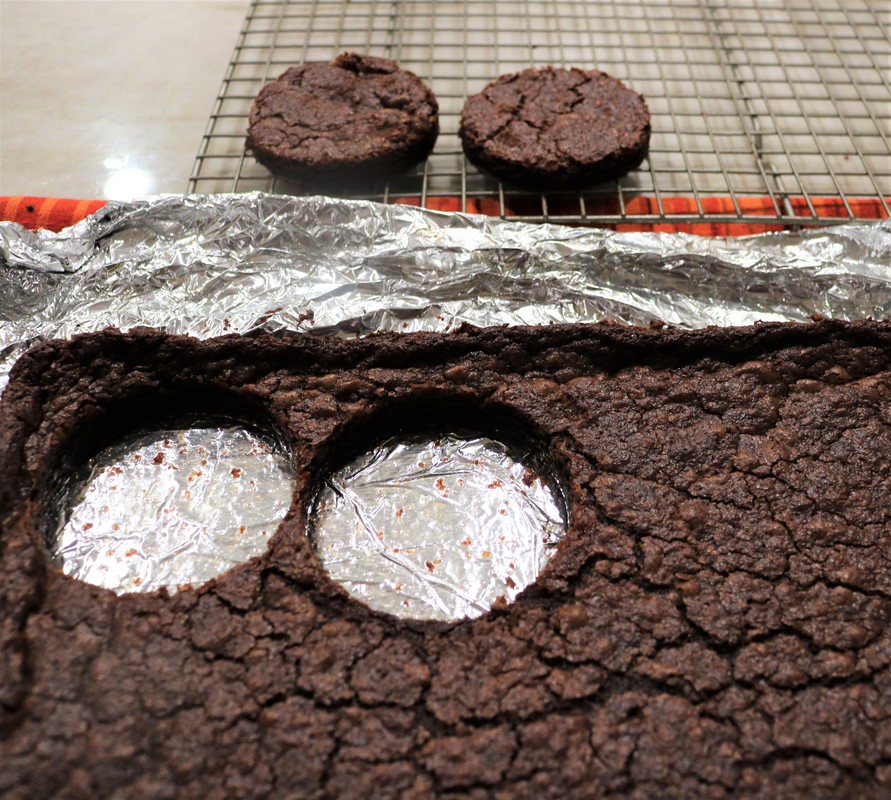
Click on the photos to enlarge them and read the captions.
Serve With: Beer and other snacks. Although some New Yorkers enjoy Dr. Brown’s Cel-Ray soda with their corned beef, so you do you.
Click on the photos to enlarge them and read the captions.


| Print The Recipe- Reuben Pinwheels |
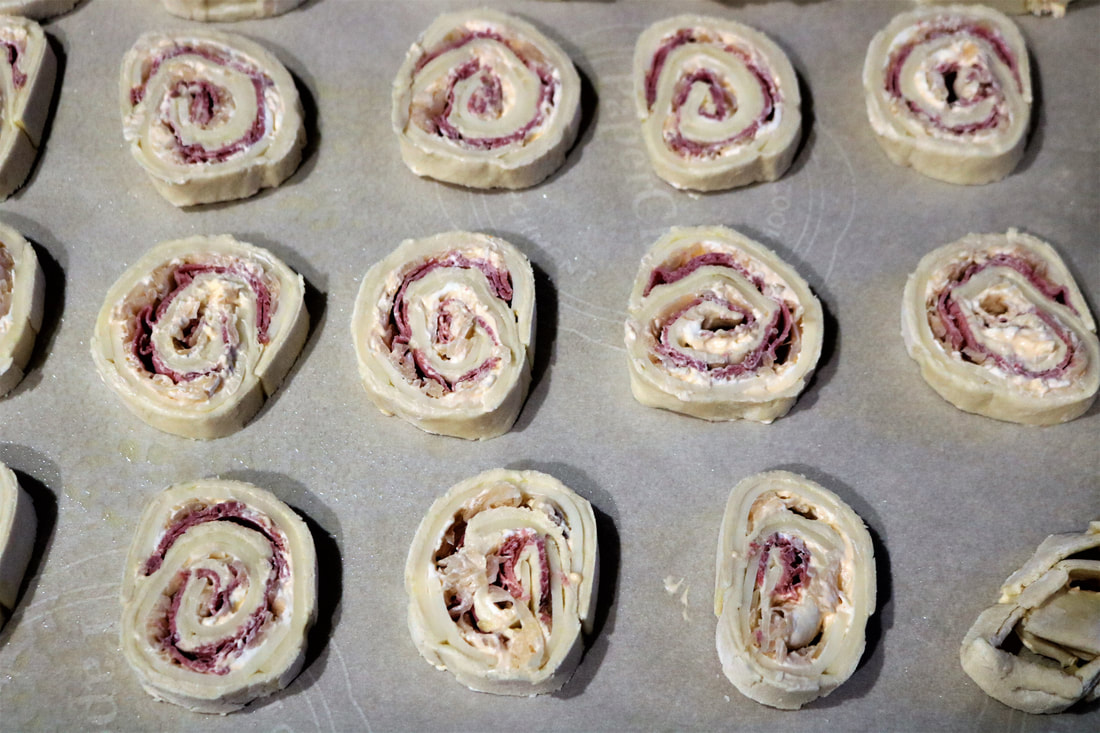
The Verdict: Double up on the corned beef and we’ve got ourselves a winner! We really enjoyed the Reuben Pinwheels, but following the recipe as posted we tasted mostly cheese. Not that there’s anything wrong with a cheese puff, mind you, but for full Reuben impact I recommend adding several more slices of meat to the roll-ups. Otherwise, this is a delightfully easy, deliciously tasty snack or light meal. Enjoy!
Reuben Pinwheels
Recipe source: Spicy Southern Kitchen
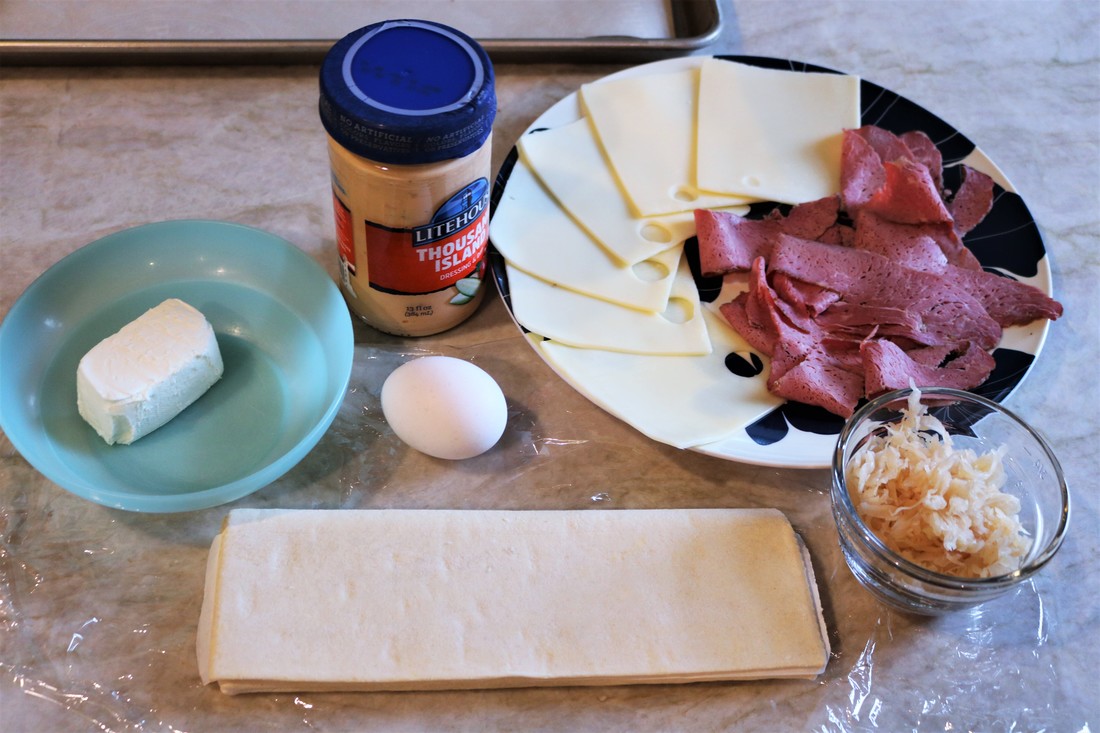
INGREDIENTS:
DIRECTIONS:
Recipe source: Spicy Southern Kitchen
INGREDIENTS:
- 1 sheet puff pastry, thawed
- 1 egg
- 2 ounces cream cheese, softened
- 2 tablespoons Thousand Island dressing
- 6 slices Swiss cheese
- 1/2 cup sauerkraut, squeezed in paper towels to remove liquid
- 6 slices deli-sliced corned beef (Note: Use more meat if desired, up to 12 slices)
- 1/2 teaspoon caraway seeds, optional
- More Thousand Island for serving
DIRECTIONS:
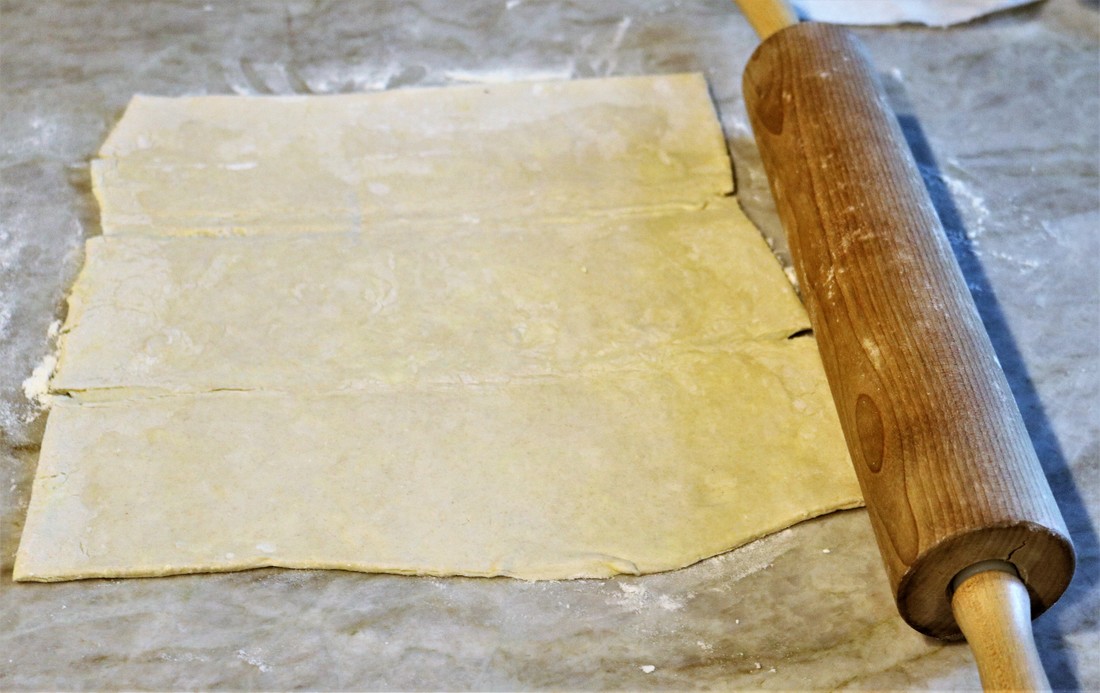
- On a lightly floured surface, use a rolling pin on the puff pastry to flatten creases and extend the size just a little bit in all directions.
- Whisk egg with 1 tablespoon of water and lightly brush the top surface of puff pastry with the egg mixture.
- Keeping a half-inch border on all edges, lay slices of swiss cheese on top of puff pastry, overlapping slightly. You may need an extra slice or two to cover the space.
- In a bowl, mix together cream cheese and Thousand Island dressing. Spread on top of cheese layer.
- Evenly place sauerkraut on top of cream cheese layer.
- Lay corned beef slices on top of sauerkraut.
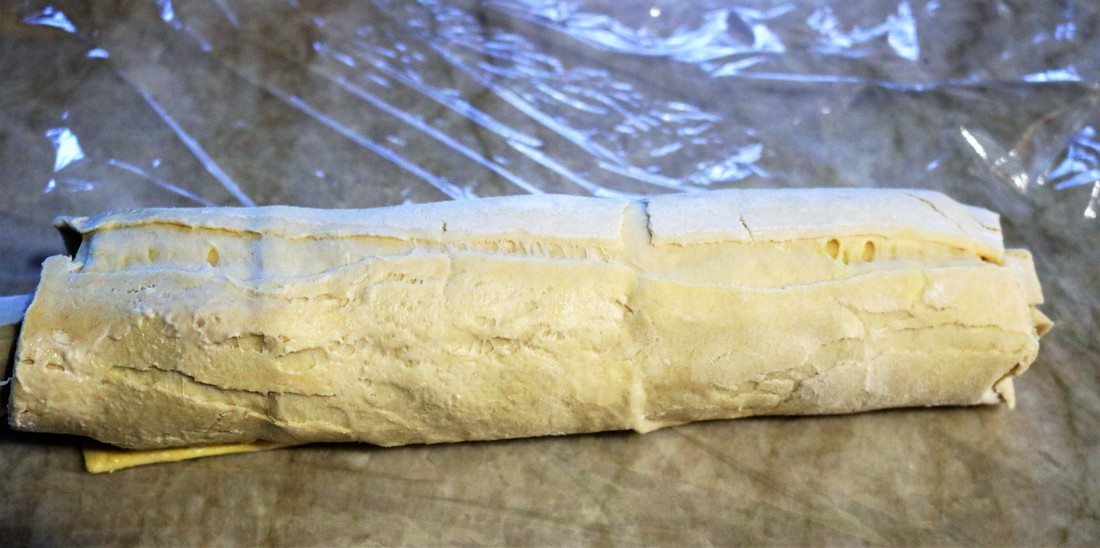
- Starting at one end, roll the pastry up jellyroll style, keeping a fairly tight roll. Brush the far edge of pastry with egg wash and press to seal it to the roll.
- Wrap in plastic wrap and chill it in the freezer for 20 minutes. (Or refrigerate for 1-2 hours.)
- Preheat oven to 400 degrees F.
- Line a baking sheet with parchment paper and give it a light spritz with cooking spray.
- Cut the pastry roll into 16-18 thin slices and place them on the baking sheet.
- Sprinkle with caraway seeds, if using.
- Bake for 20-24 minutes, or until golden.
- Serve with extra Thousand Island dressing for dipping.

What's your favorite Game Day snack? Share the details in the Comments, please!


 RSS Feed