
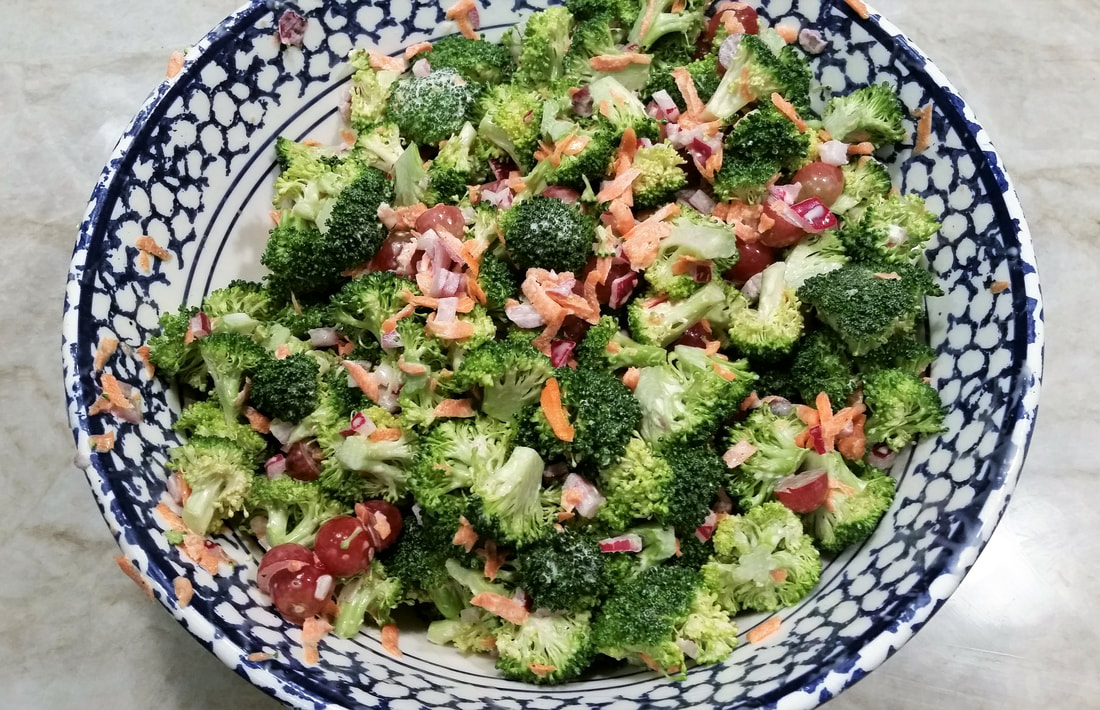
Possibly the VERY BEST broccoli salad in the world. Hyperbole? Not really
Can you believe we’re halfway through January already? Seems like just yesterday we were eating Christmas cookies and wishing each other Happy New Year. I do love the holiday season with the big family meals and celebration toasts and all the festive, fattening treats, but by the time we get to the New Year I am so ready to get back into a day-to-day routine, with normal meals and just the regular amount of chaos.
If you too are ready for some Normal – or maybe Normal but Better – then you’re going to want to know about this amazing broccoli salad. Sounds kind of blah, right? Nah. This salad is surprisingly addictive, is perfect for make-ahead occasions, and gets even better a few days down the road.
If you too are ready for some Normal – or maybe Normal but Better – then you’re going to want to know about this amazing broccoli salad. Sounds kind of blah, right? Nah. This salad is surprisingly addictive, is perfect for make-ahead occasions, and gets even better a few days down the road.

The Occasion: Pick one. Marinated Broccoli Salad will work for almost anything. Make a batch on Sunday and it’ll serve as a side dish for several family meals. (This recipe makes a lot.)
Make it for a party or potluck. It’s best when made a day ahead of when you plan to serve it. It’ll keep and remain tasty for about a week, it just won’t look quite as pretty.
Make it for a party or potluck. It’s best when made a day ahead of when you plan to serve it. It’ll keep and remain tasty for about a week, it just won’t look quite as pretty.
The Recipe: The broccoli salad recipe comes to us from Foodie with Family, a blog that can be seen as “… an homage to all things food, family, and travel related.” Rebecca, the blogger, has a wide range of recipes and a special fondness for canning. Check it out!
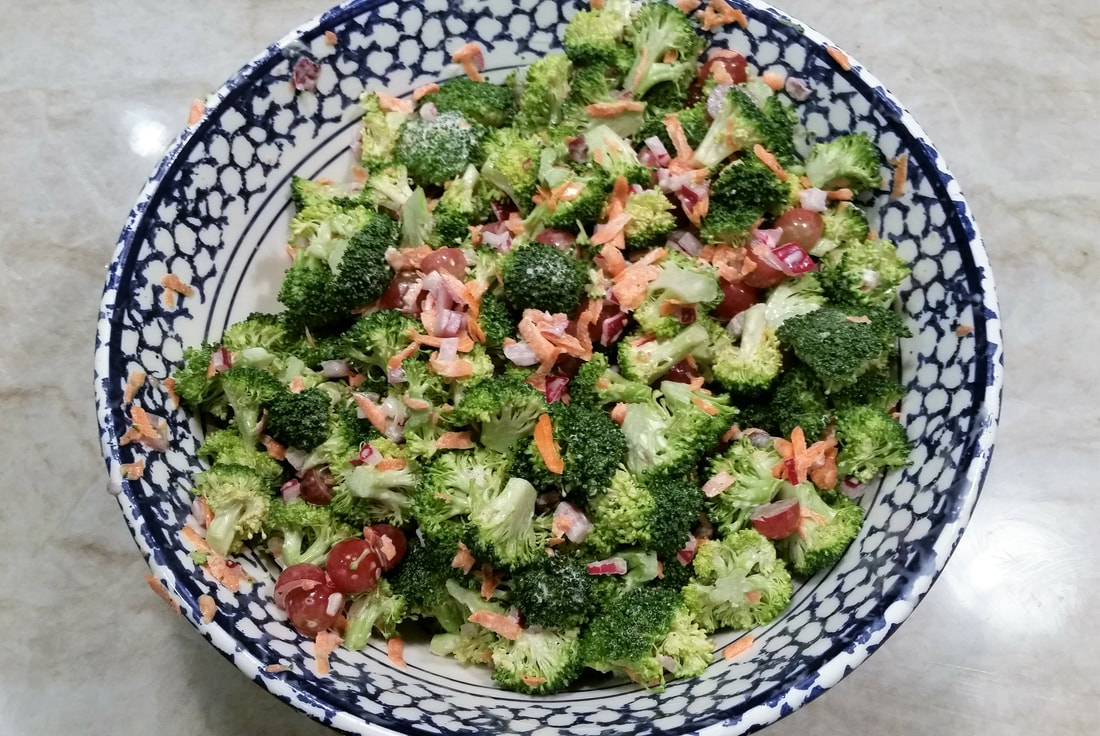
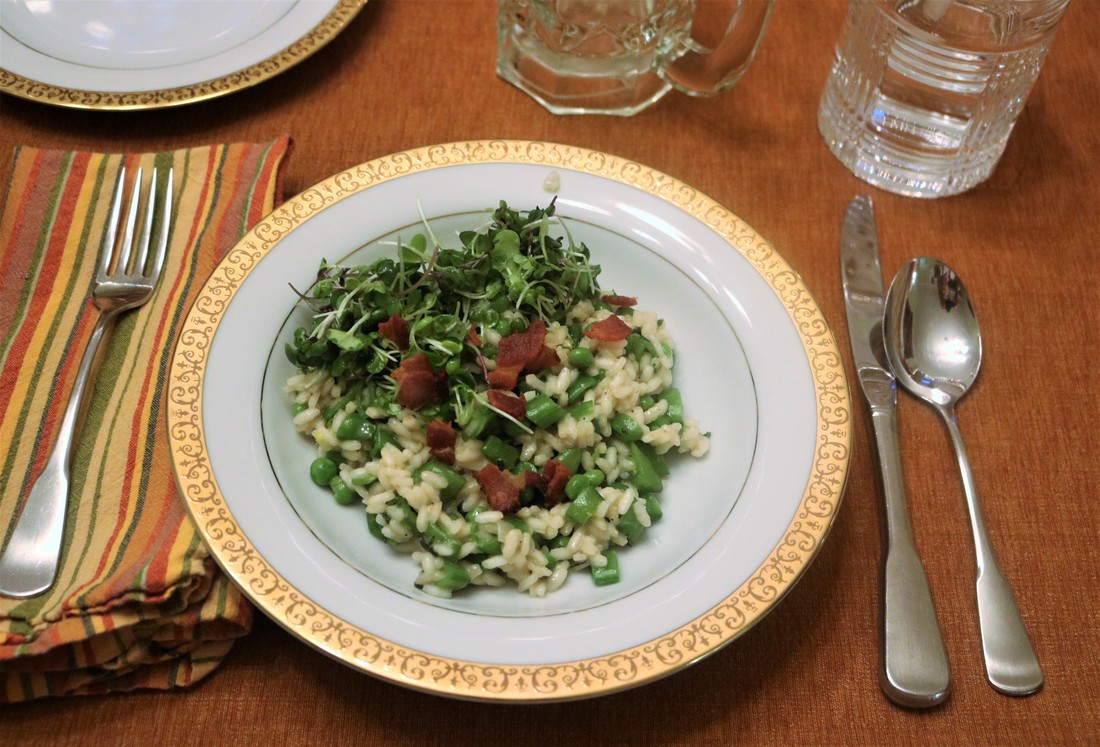
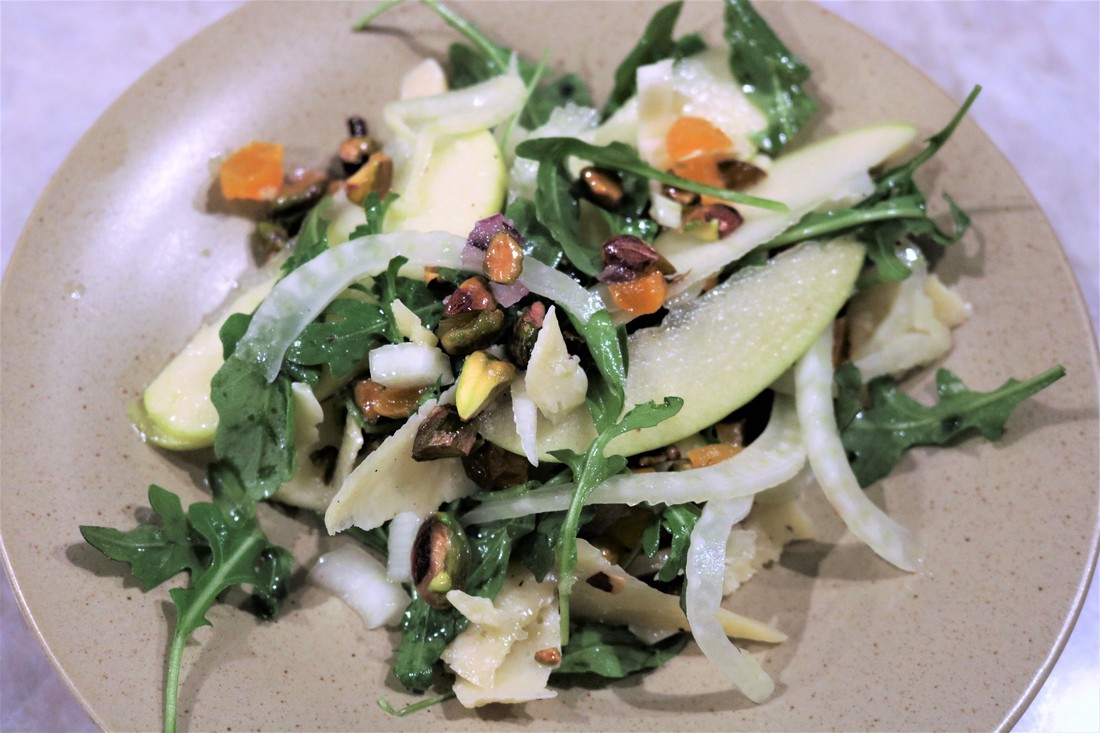
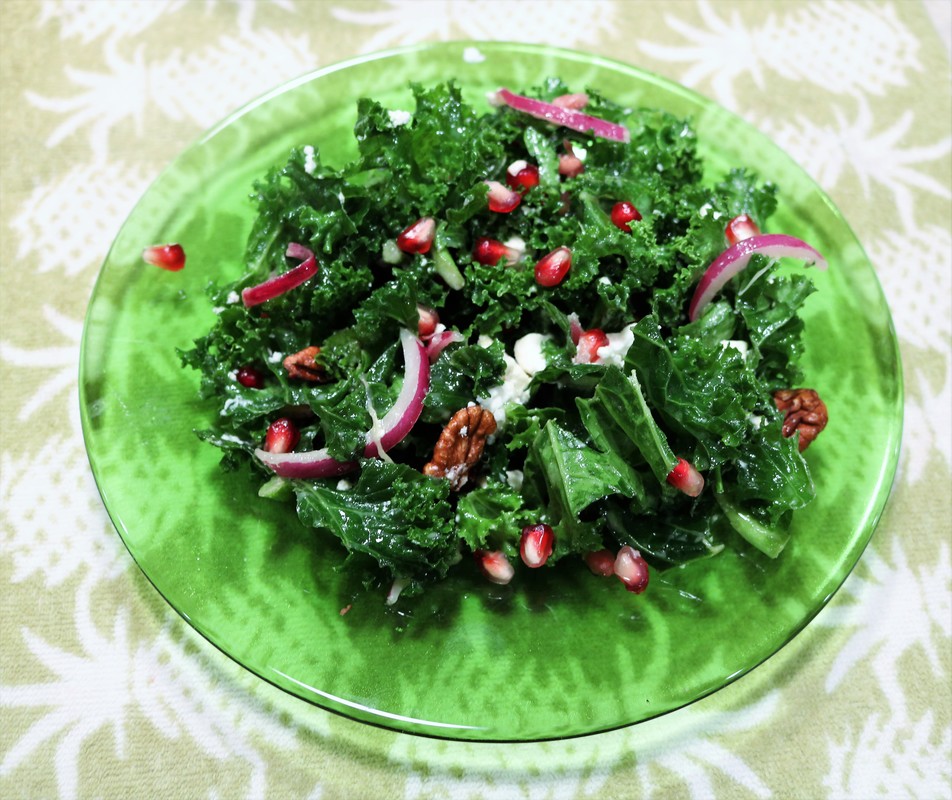
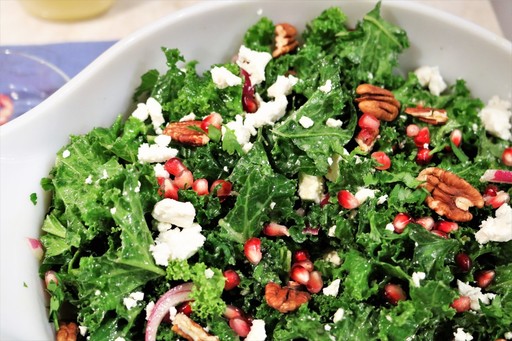
What Makes it Special? The unexpected combo of broccoli and grapes simply works. The sweet/tangy dressing and pickled onions add some nice zing to the mix as well.
What Makes it Special? The unexpected combo of broccoli and grapes simply works. The sweet/tangy dressing and pickled onions add some nice zing to the mix as well.
|
The Playlist: Regular readers know I usually try to match the playlist to the recipe, often riffing off the title or a key ingredient. Well, friends, I just wasn’t happy with the ‘broccoli’ tunes out there – and yes, there are quite a few of them – so we’ll take a different tack today.
|
|
Here’s a new release that’s got me dancing in the kitchen. It’s a classic Bob Marley and the Wailers tune reinterpreted as a house music track by DJs JUDE & FRANK. Give it a listen and see if you’re inspired to shake a tailfeather.
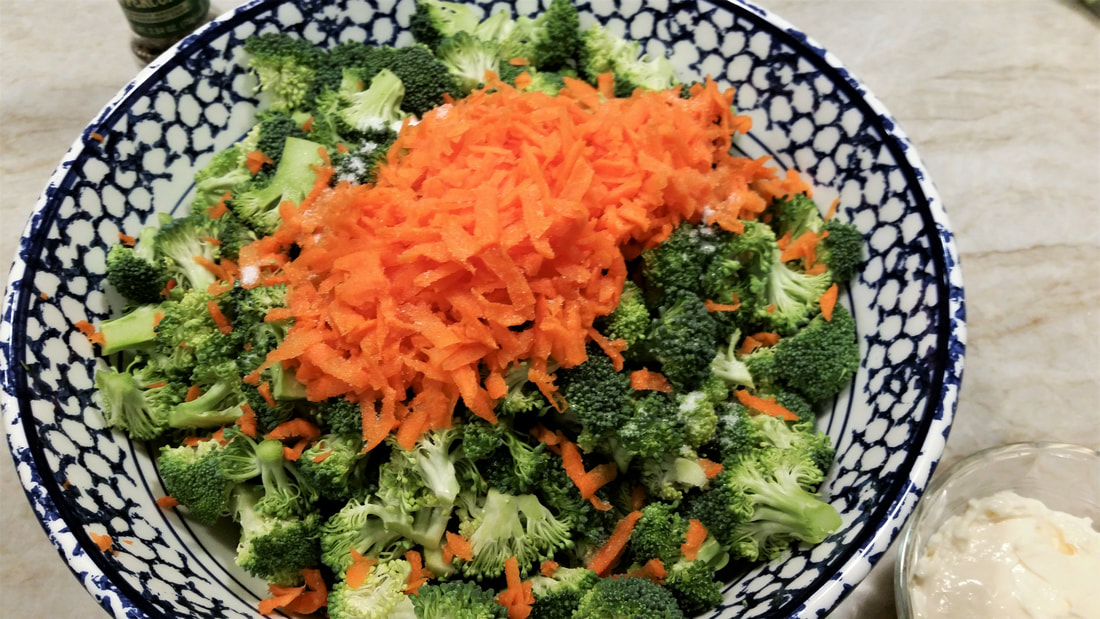
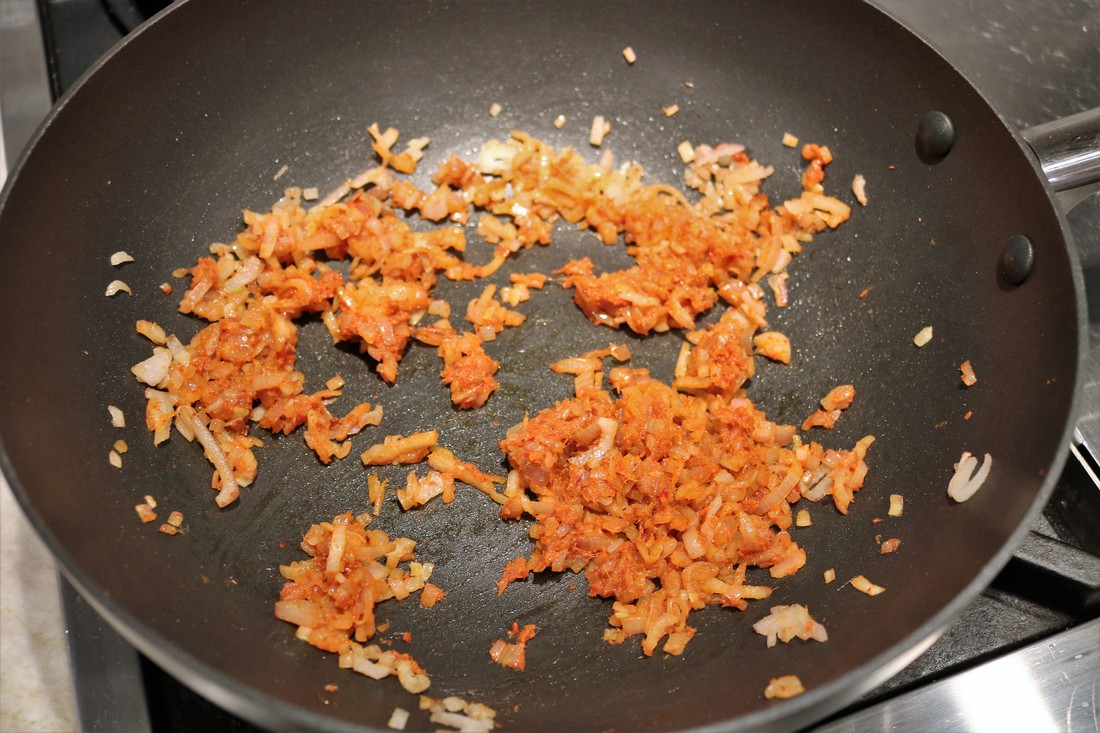
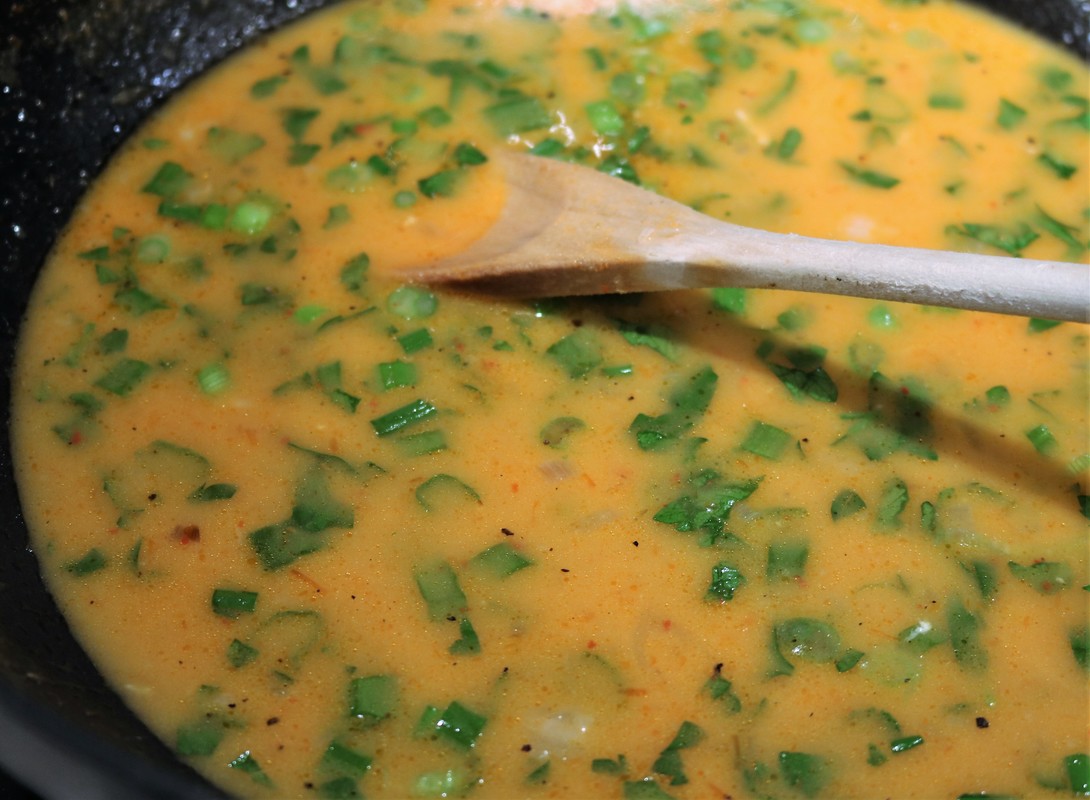
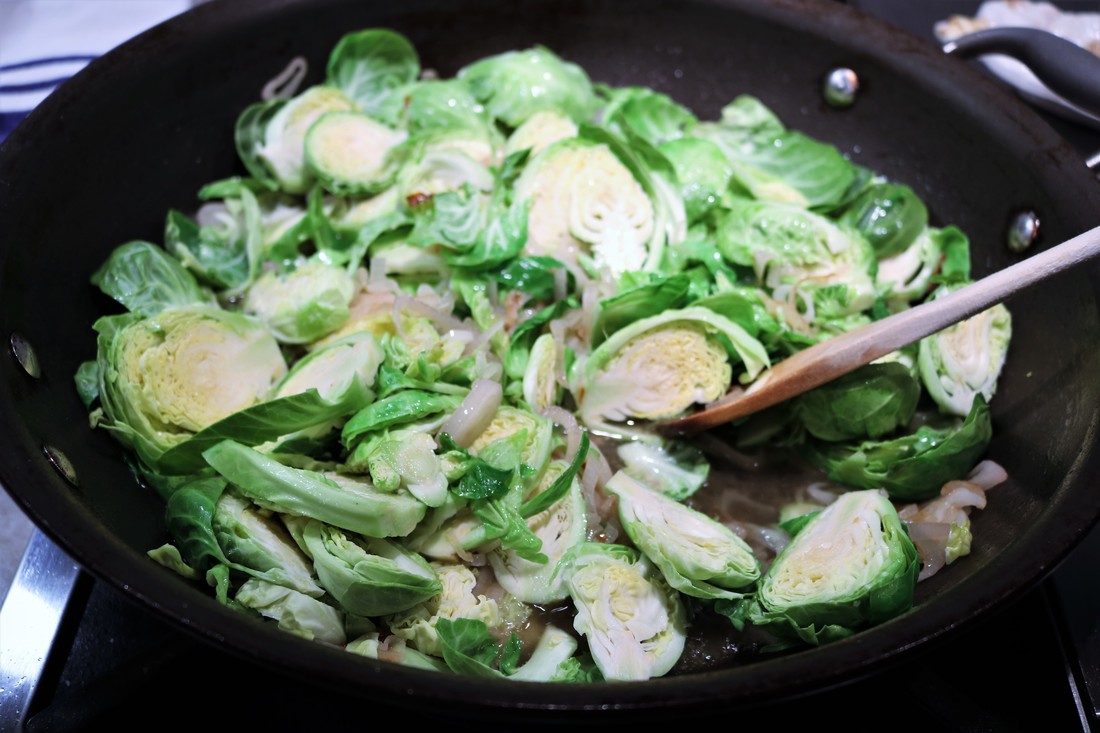
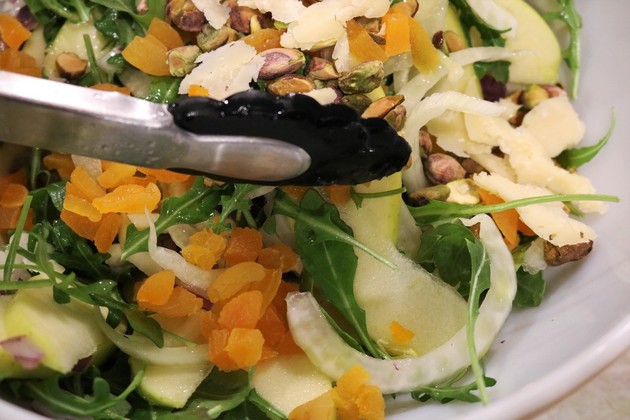
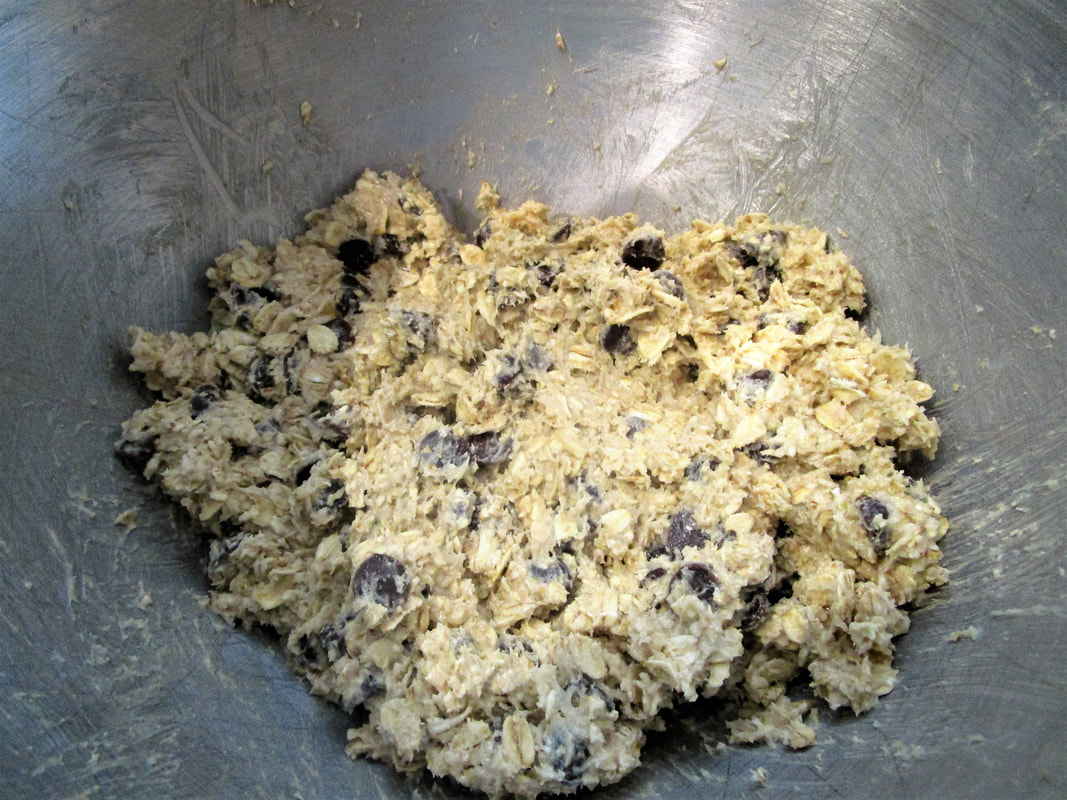
Kitchen Tips: When it comes time to mix the salad ingredients together, I like to put on gloves and do it by hand. There’s a lot of stuff and you really want the mayo on top to get friendly with the vinegar and onions on the bottom. If you prefer to use a spoon, make sure you’re working in a large enough bowl (or aluminum foil pan) so you can dig in there with gusto.
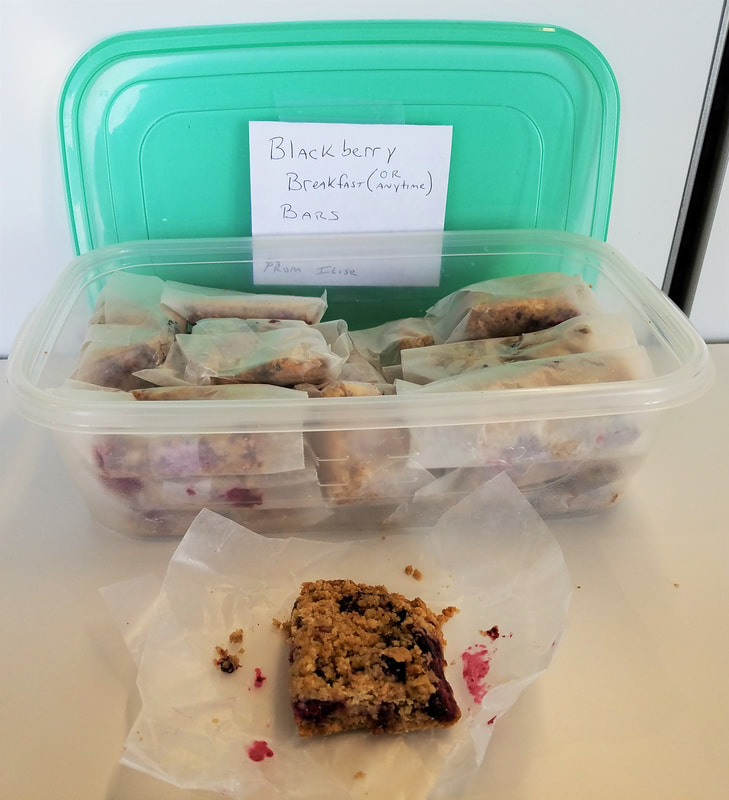
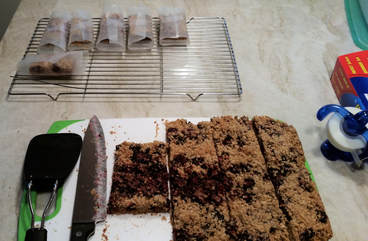
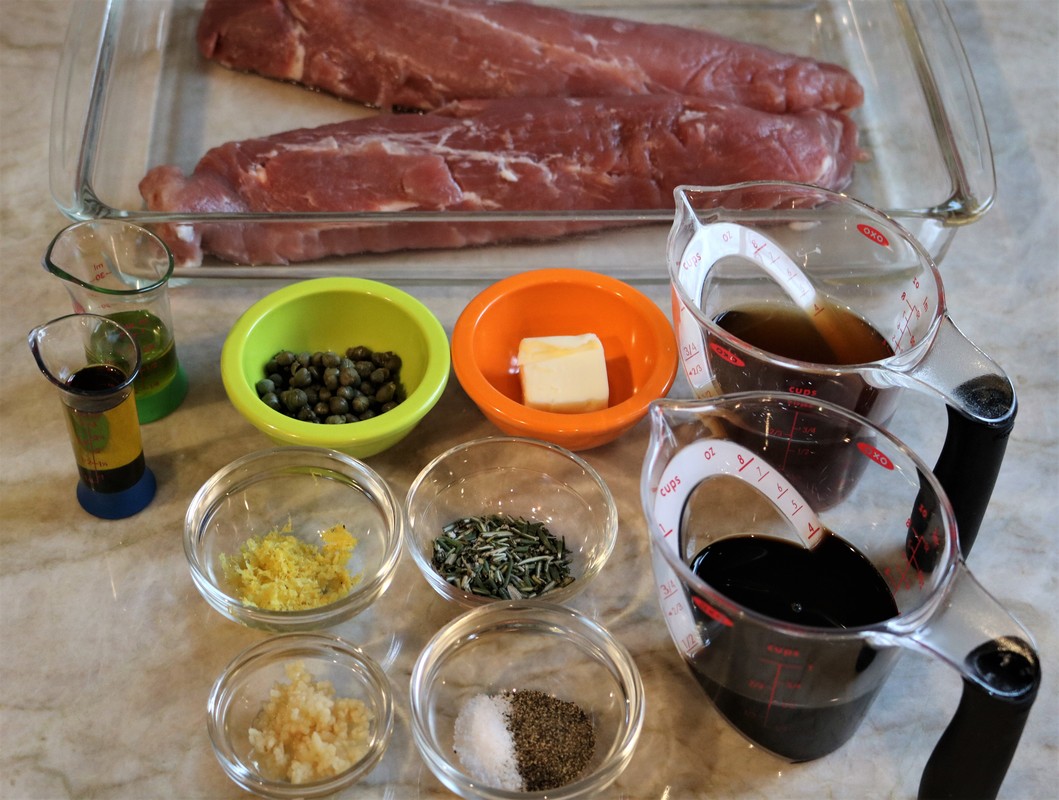
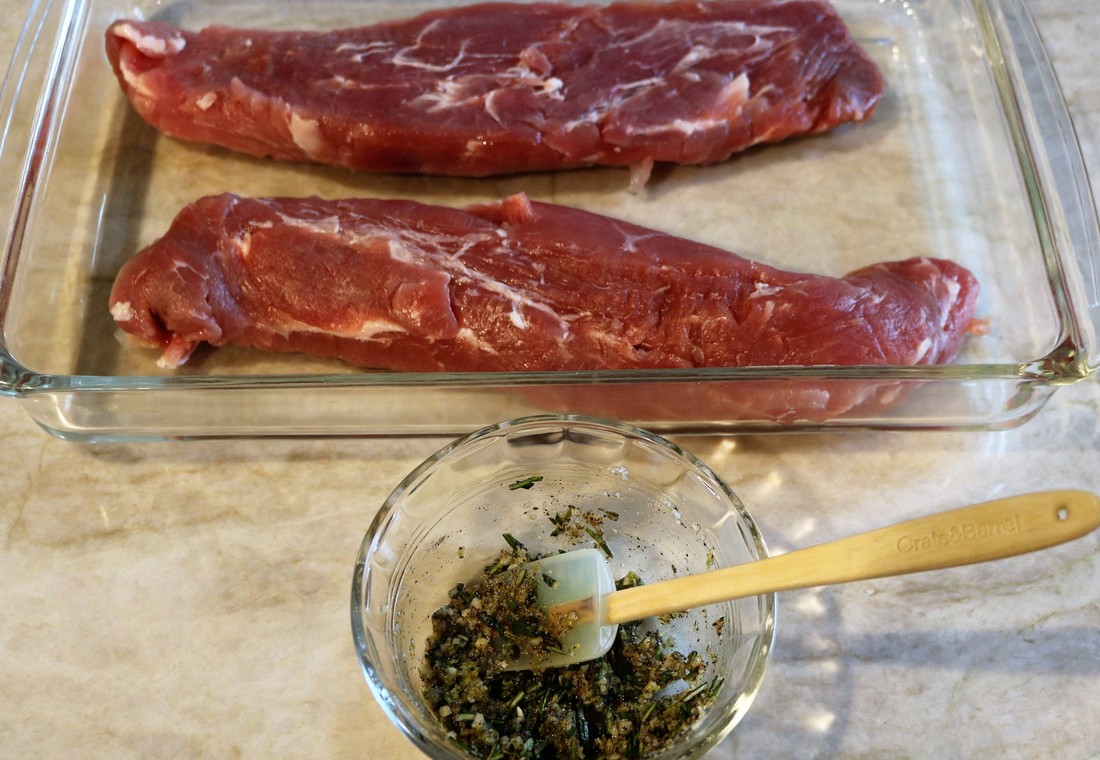
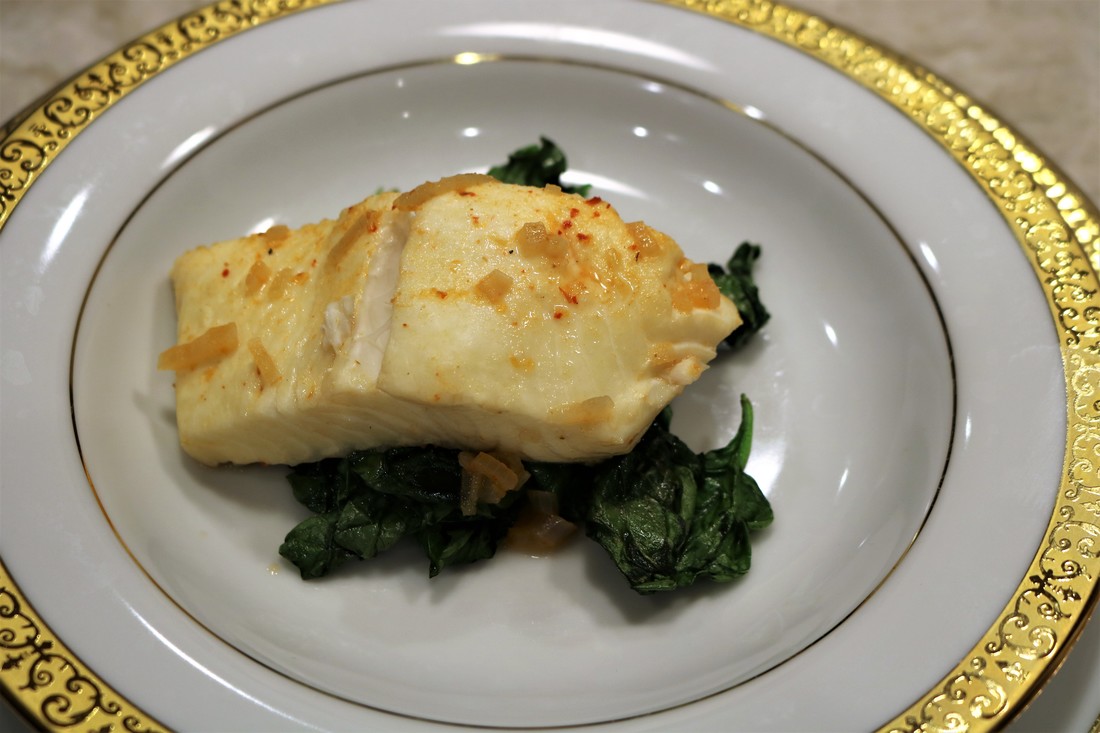
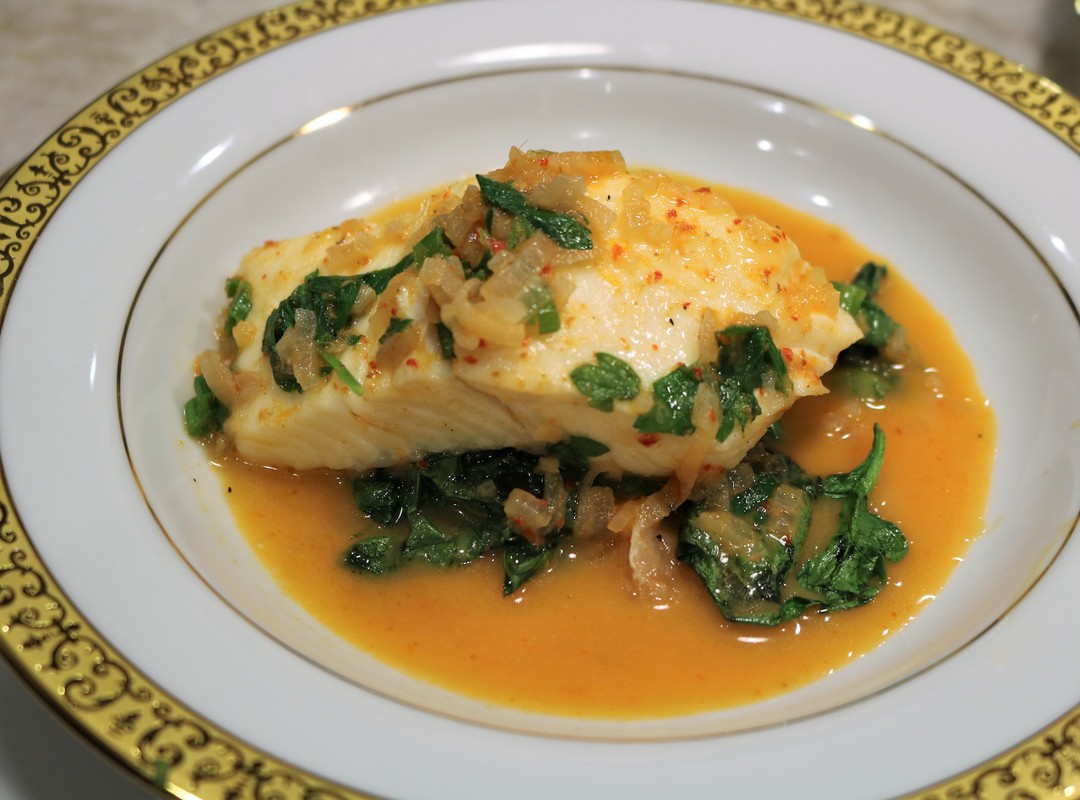
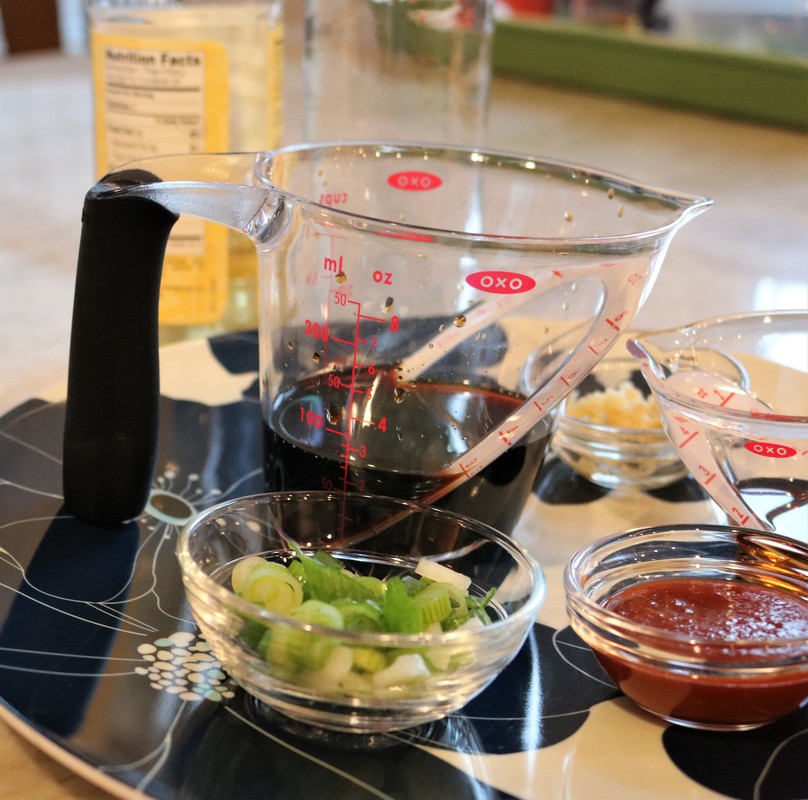
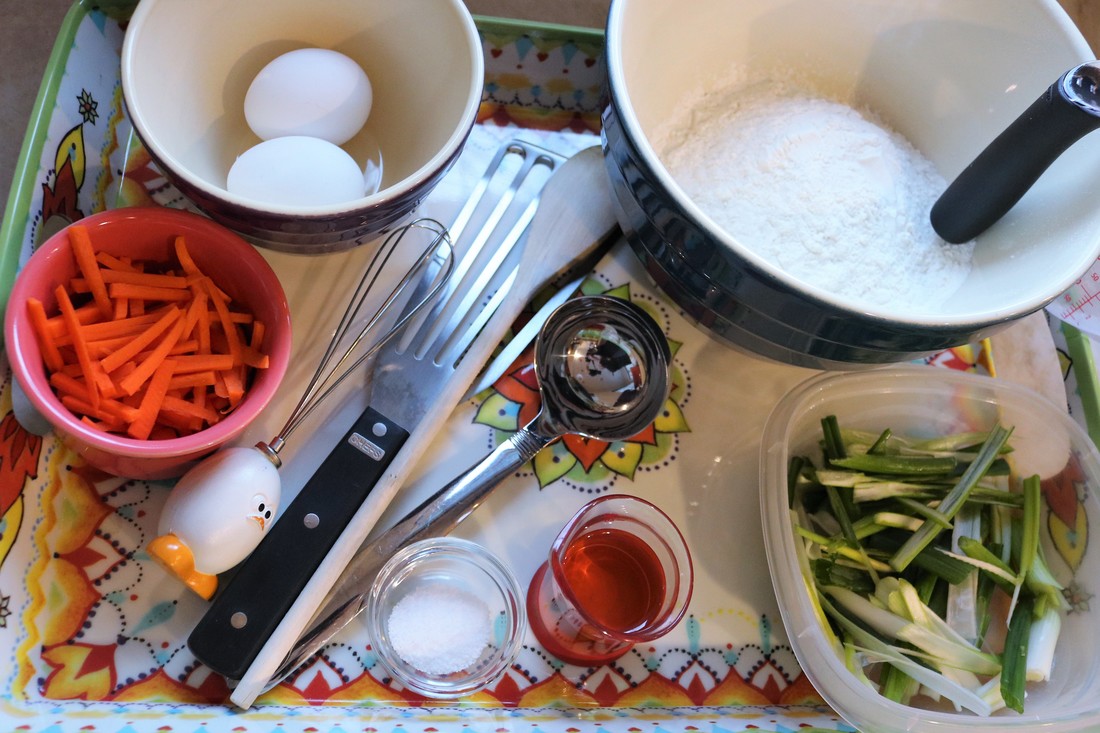
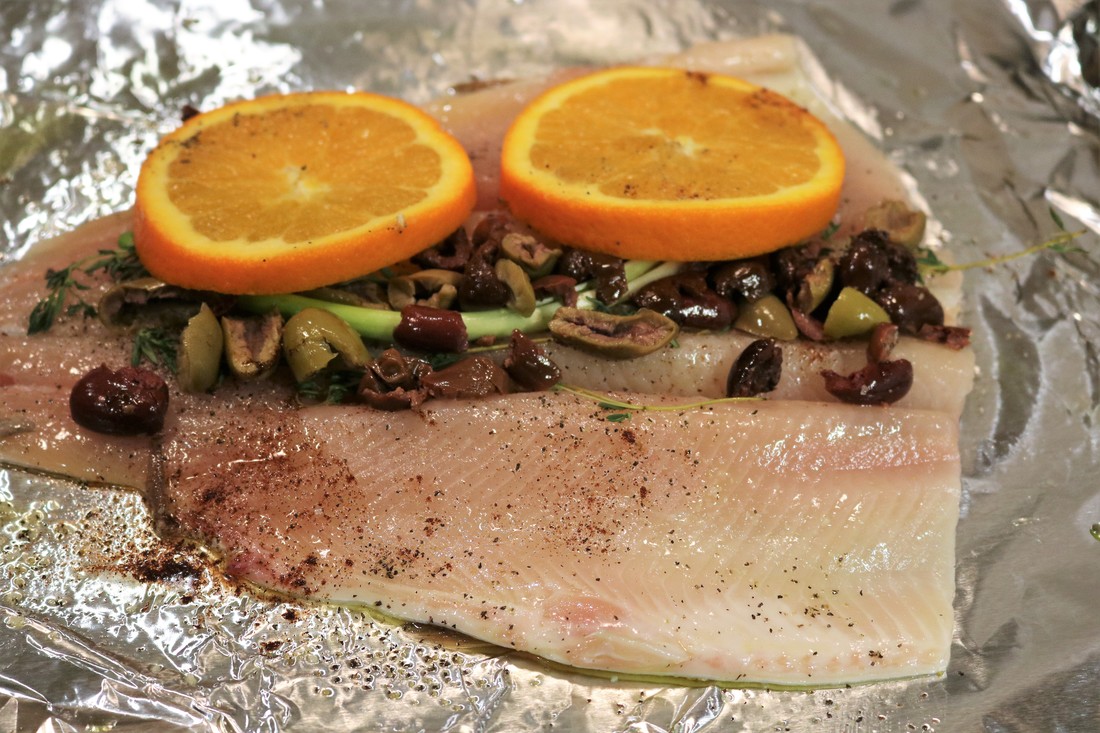
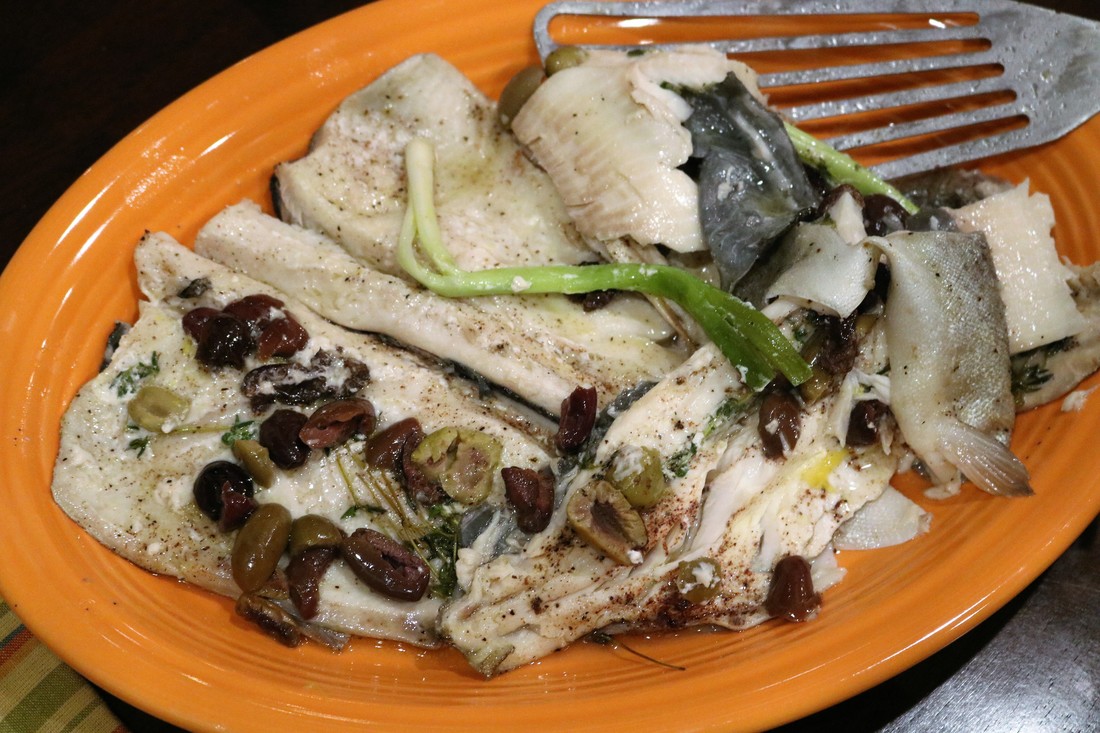
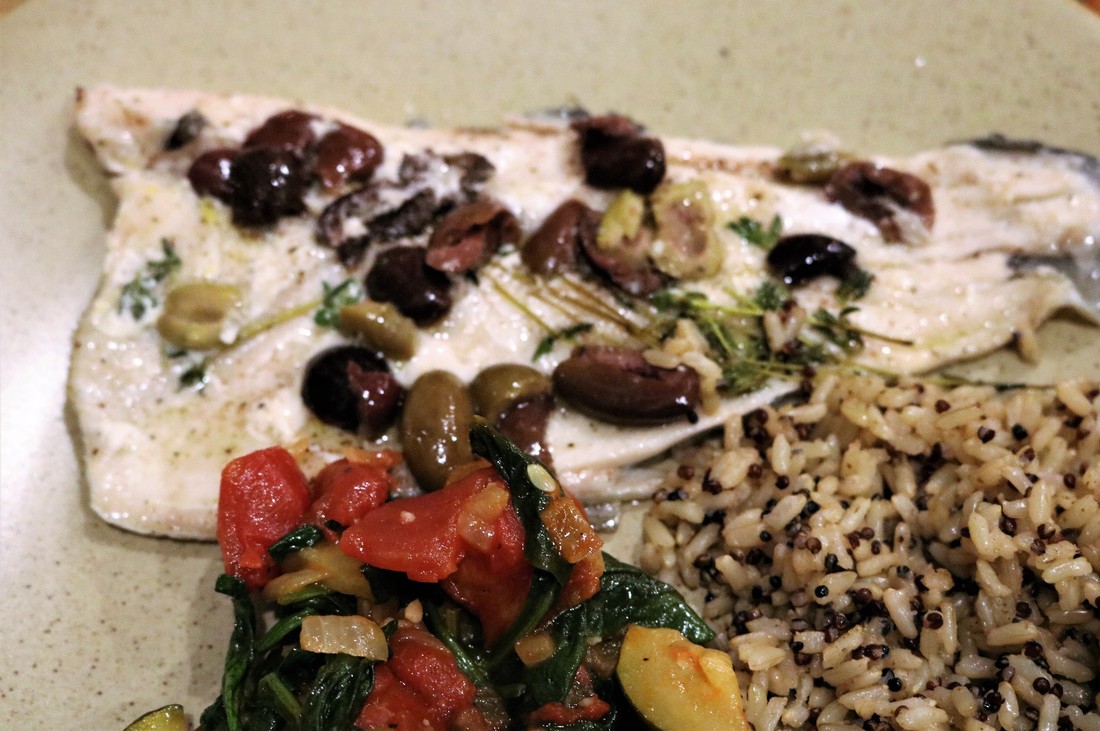
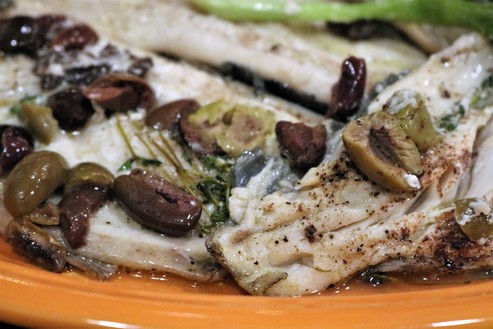
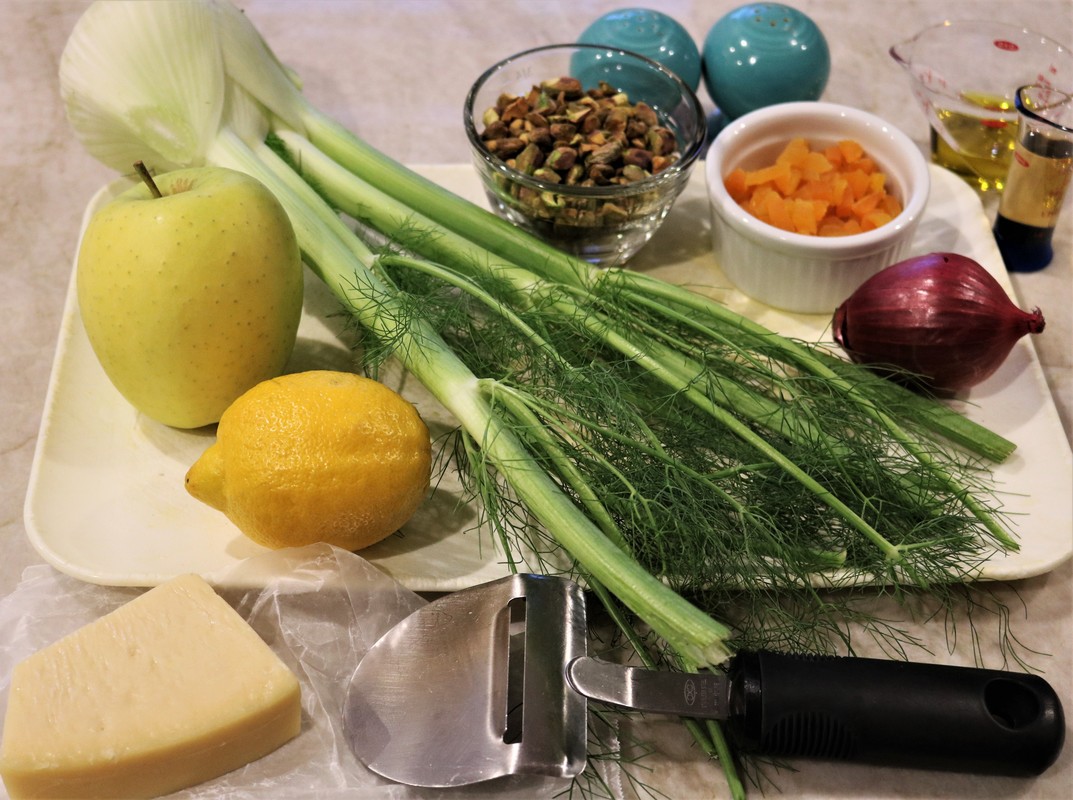
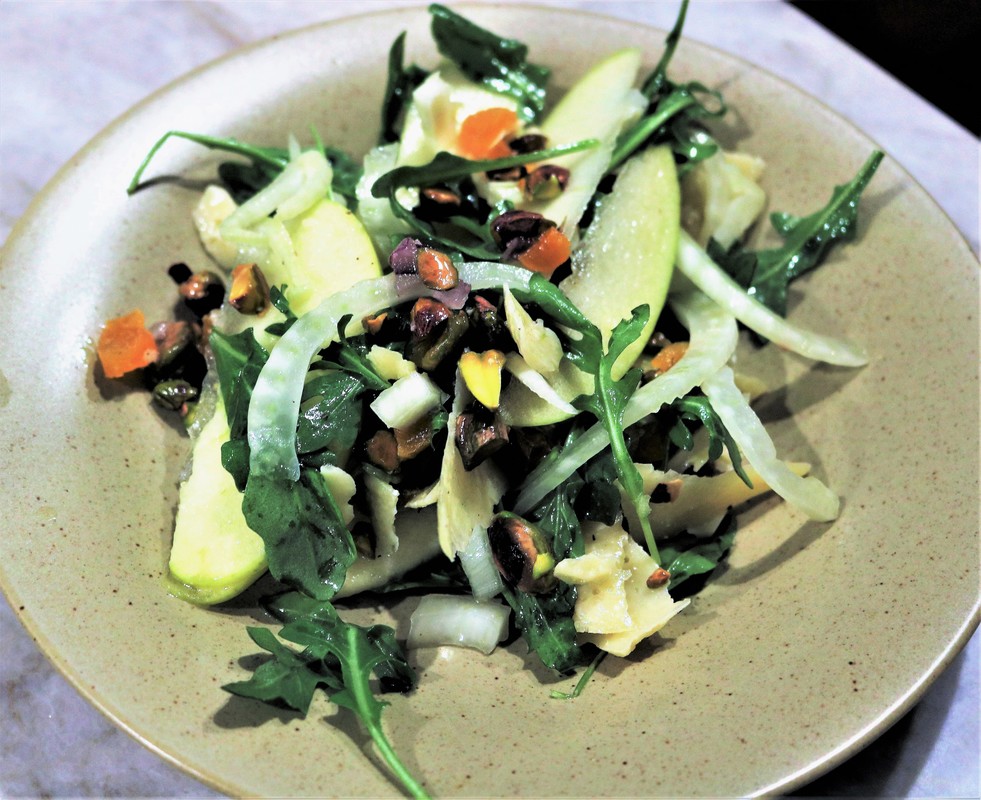
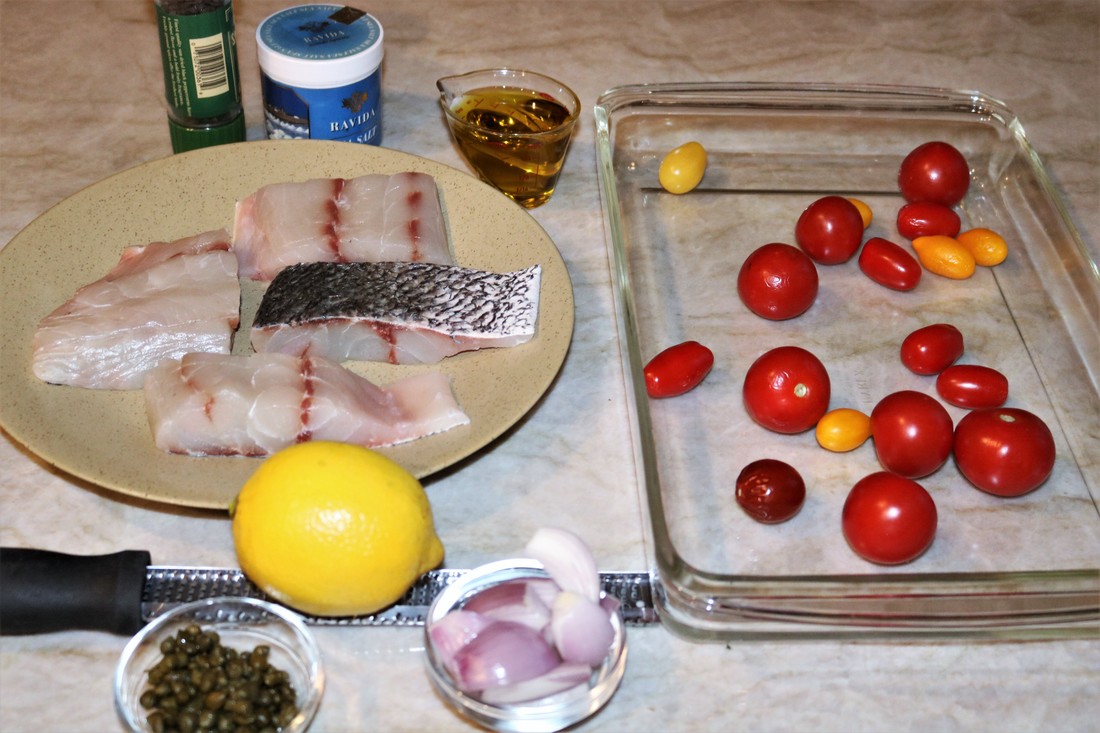
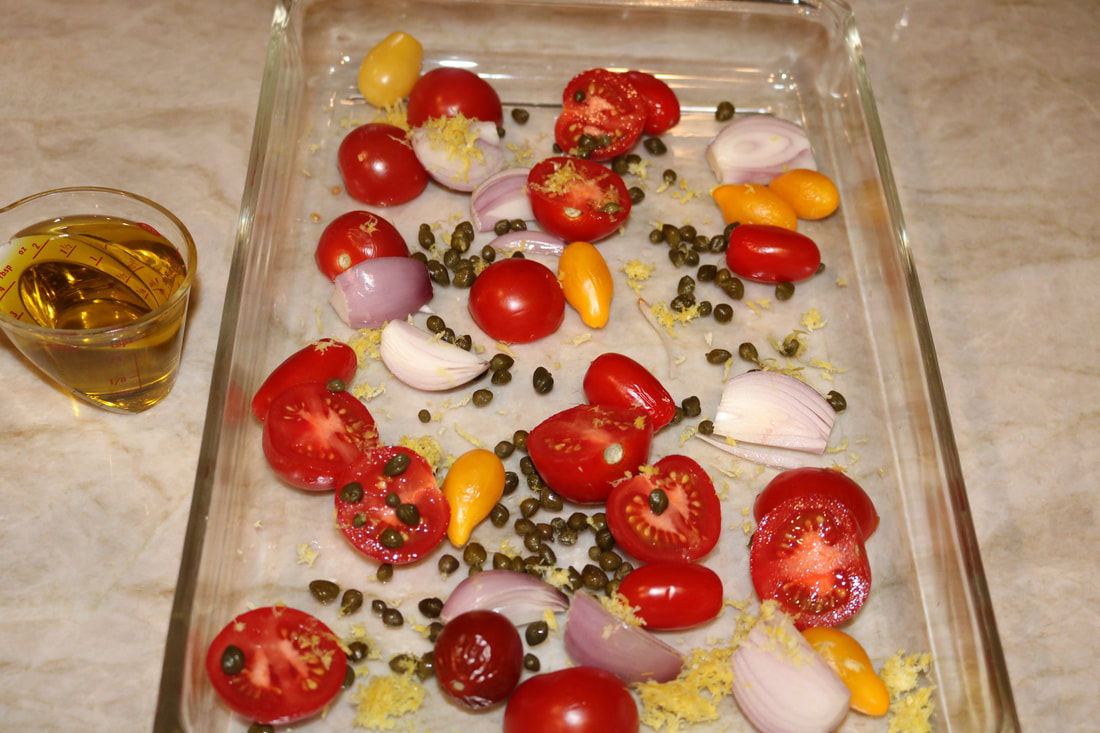
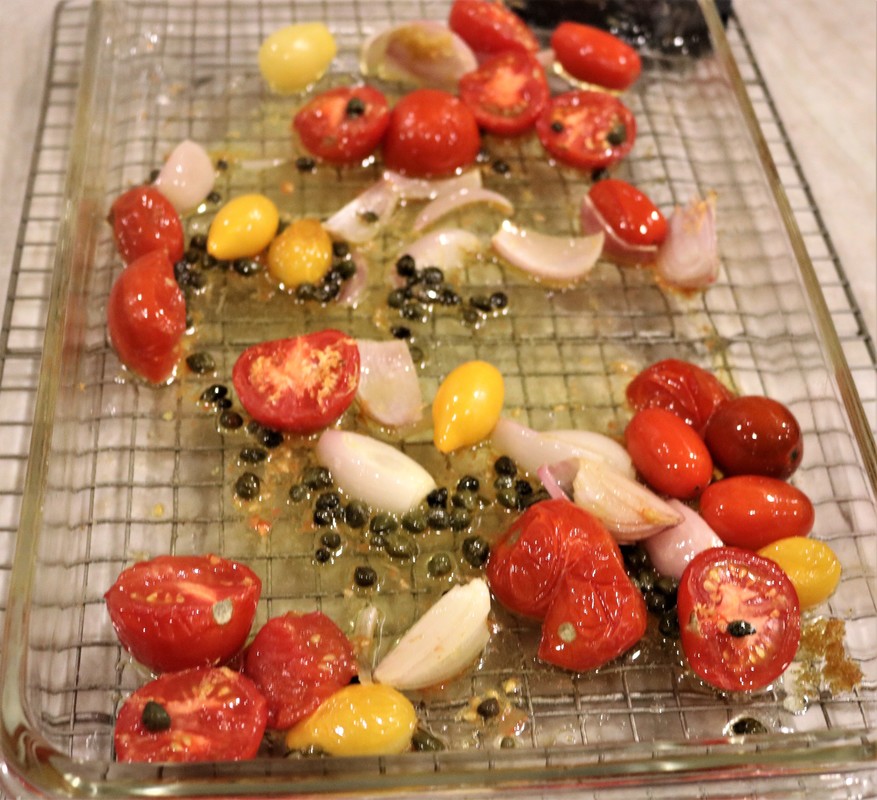
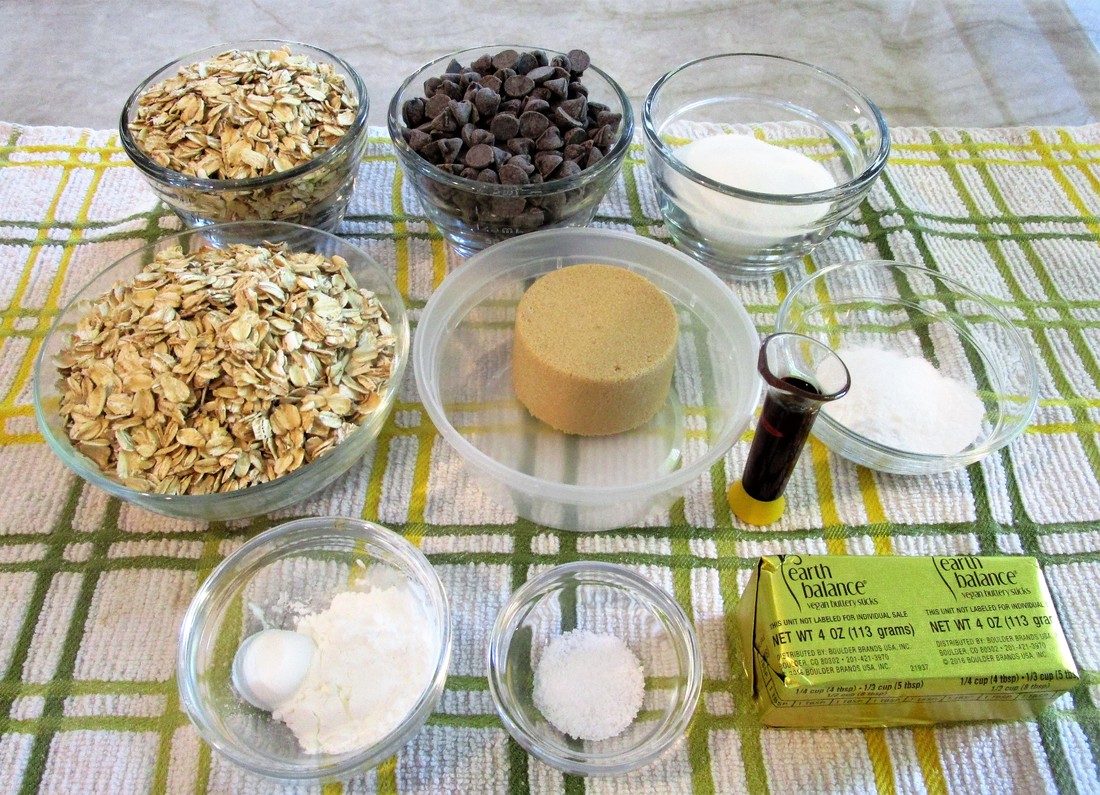
Click on the photos to enlarge them and read the captions.
Click on the photos to enlarge them and read the captions.

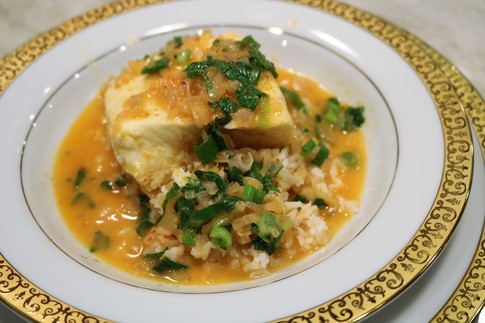
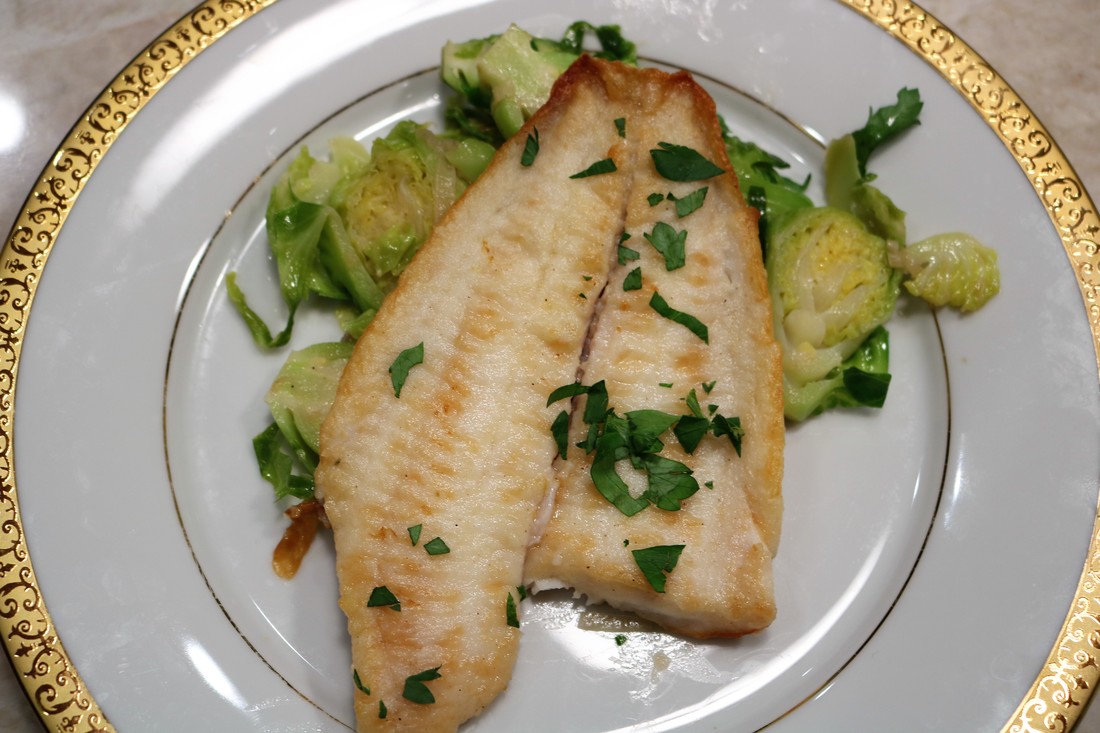
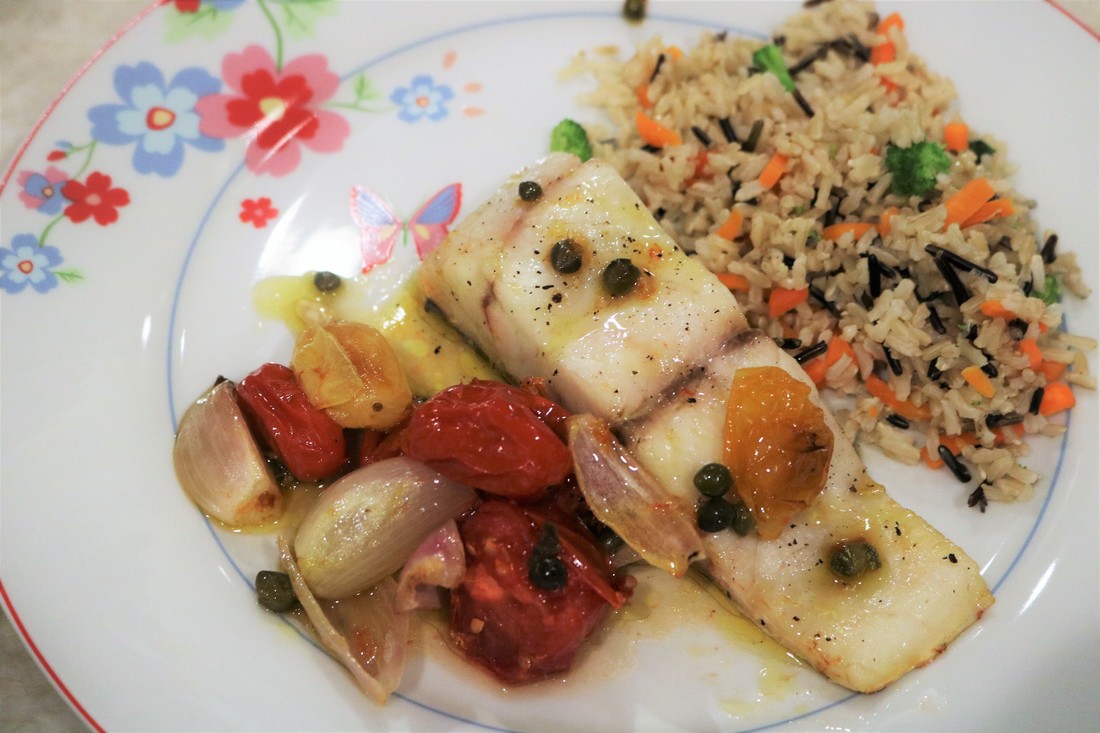
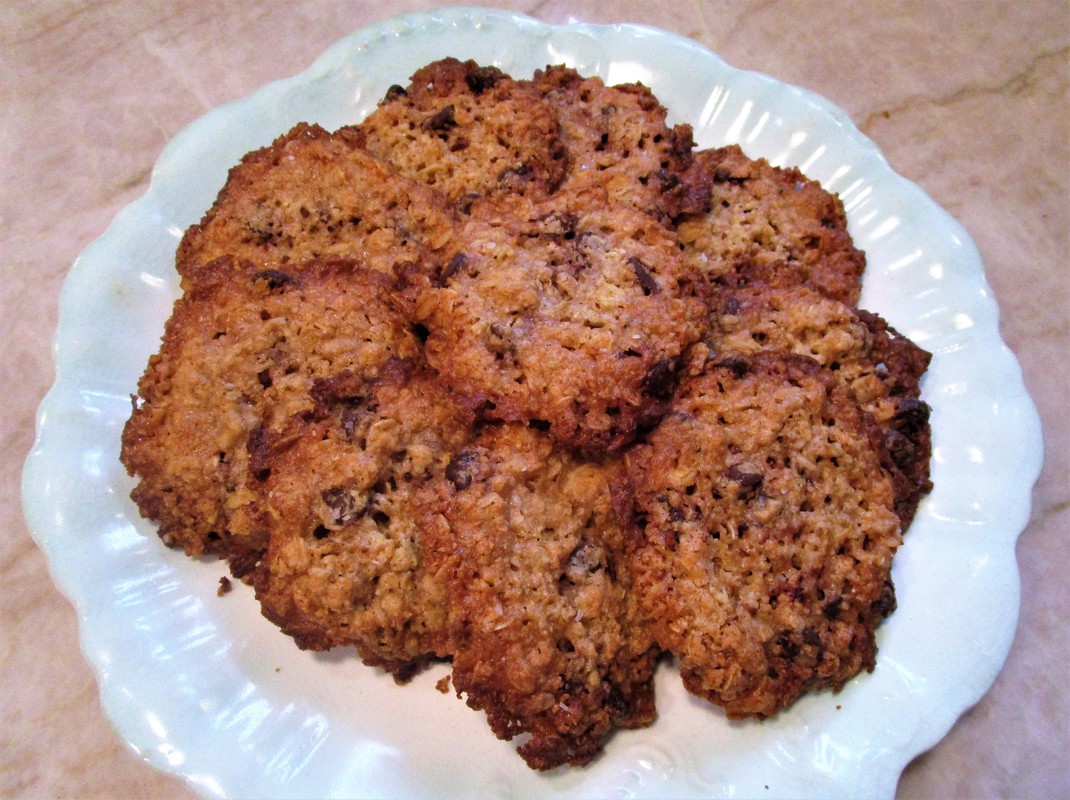
The Verdict: YUM. That is all.
| Print the Recipe- Marinated Broccoli Salad |
Marinated Broccoli Salad
Recipe Source: Foodie with Family
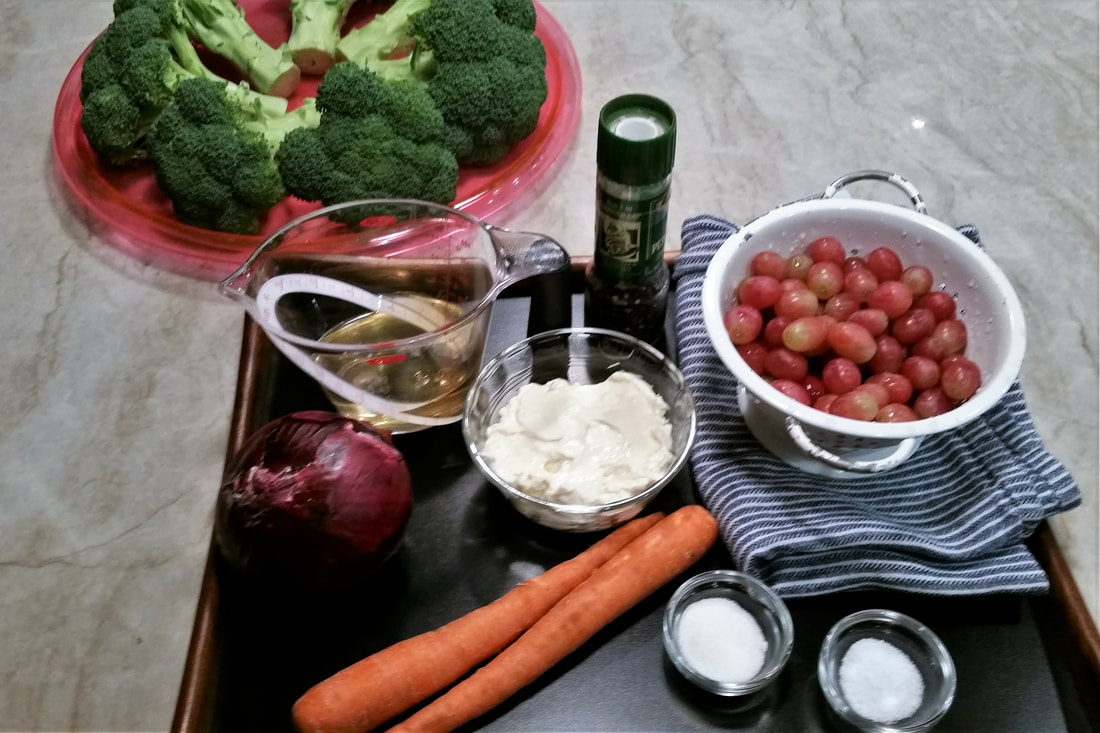
INGREDIENTS:
DIRECTIONS:
Recipe Source: Foodie with Family
INGREDIENTS:
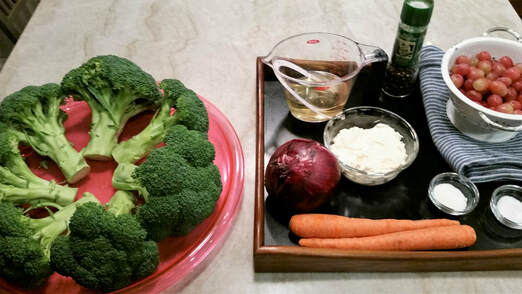
- 1 medium red onion
- 3/4 cup rice vinegar not seasoned
- 2 cups red or black seedless grapes
- 8 crowns broccoli
- 2 medium sized carrots
- 3/4 to 1 cup mayonnaise (start with the smaller amount)
- 1 tablespoon sugar
- 2 teaspoons kosher salt or more to taste, divided
- Black pepper to taste
DIRECTIONS:
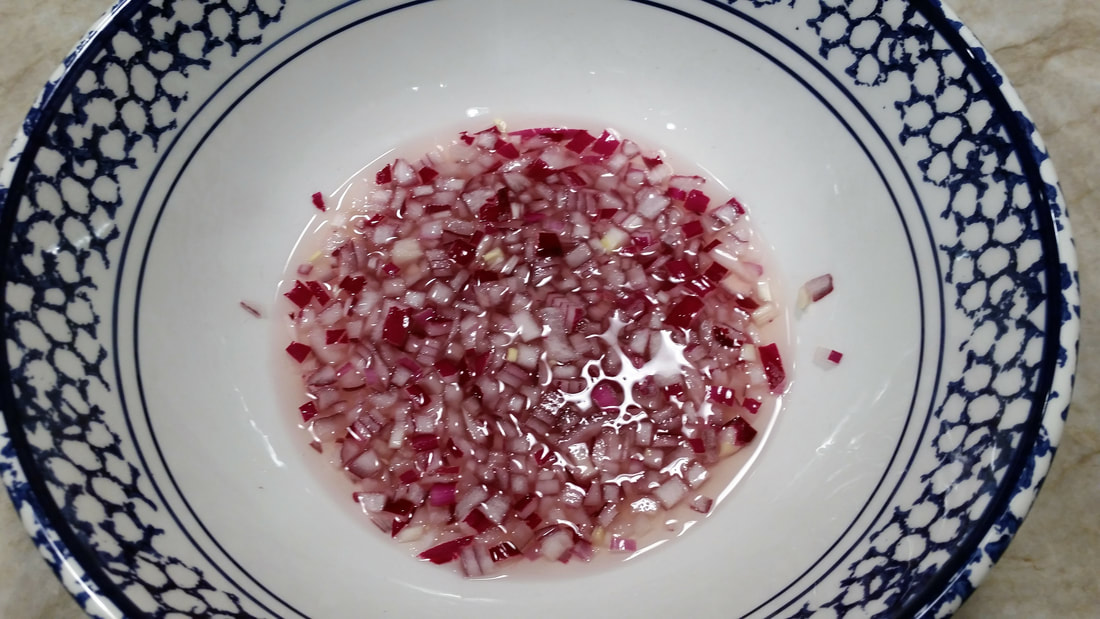
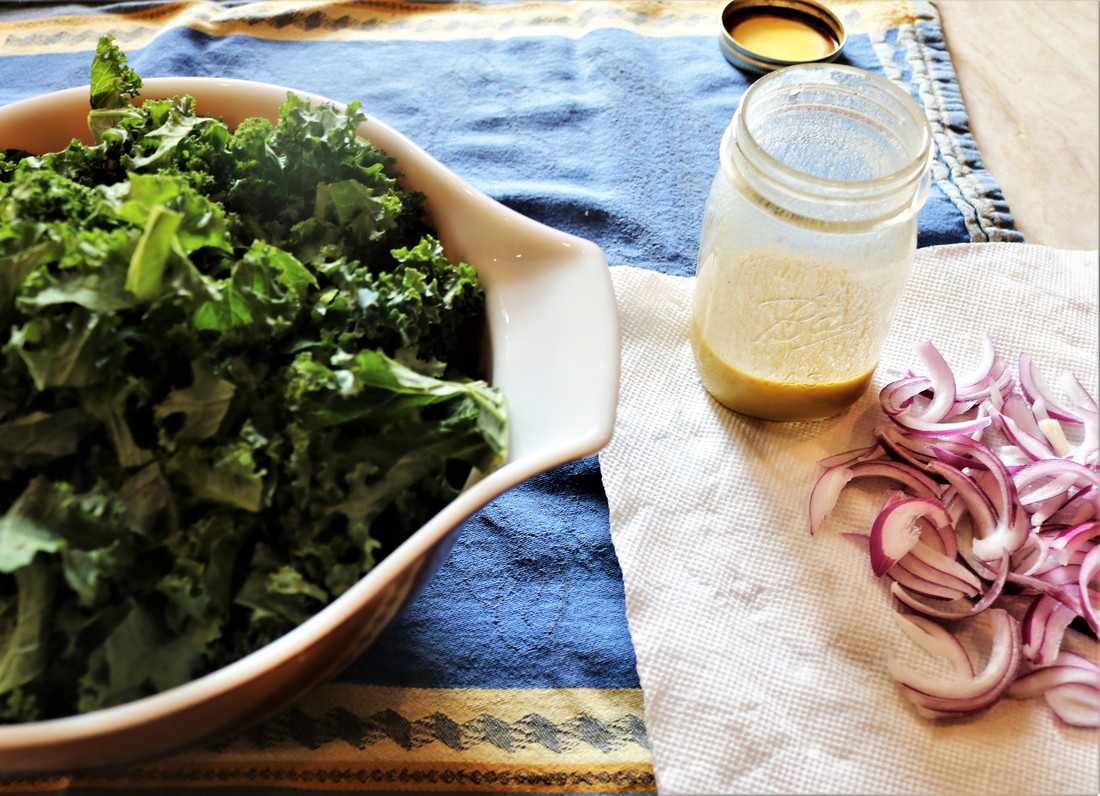
- Cut the red onion into small dice and add them to the bottom of a large mixing bowl. Sprinkle with 1 teaspoon of the kosher salt and pour the rice vinegar over the onions. Stir well and let them stand while you prepare the rest of the ingredients.
- Cut the grapes in half; if they’re very large, cut them into quarters. Add them to the mixing bowl on top of the onions but do not stir yet.
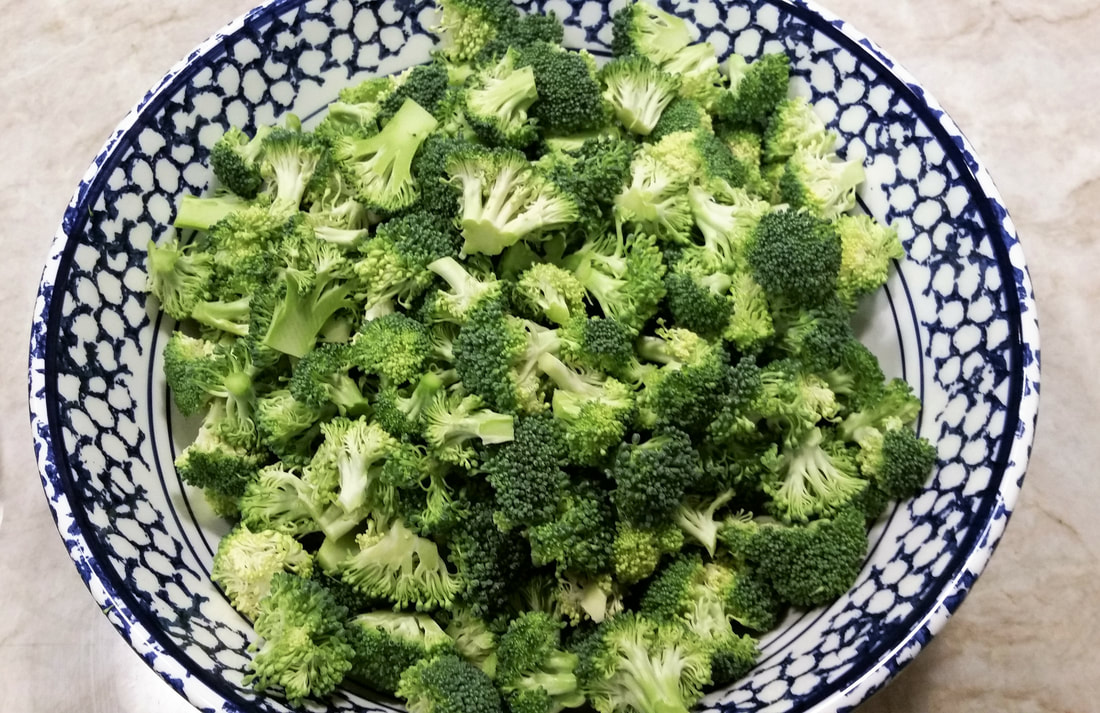
- Cut the broccoli into bite sized florets – approximately the same size as the grapes. (Reserve the stems for another use, such as soup.) Add the broccoli into the bowl on top of the grapes, but do not stir yet.
- Grate the carrots and add to the bowl.
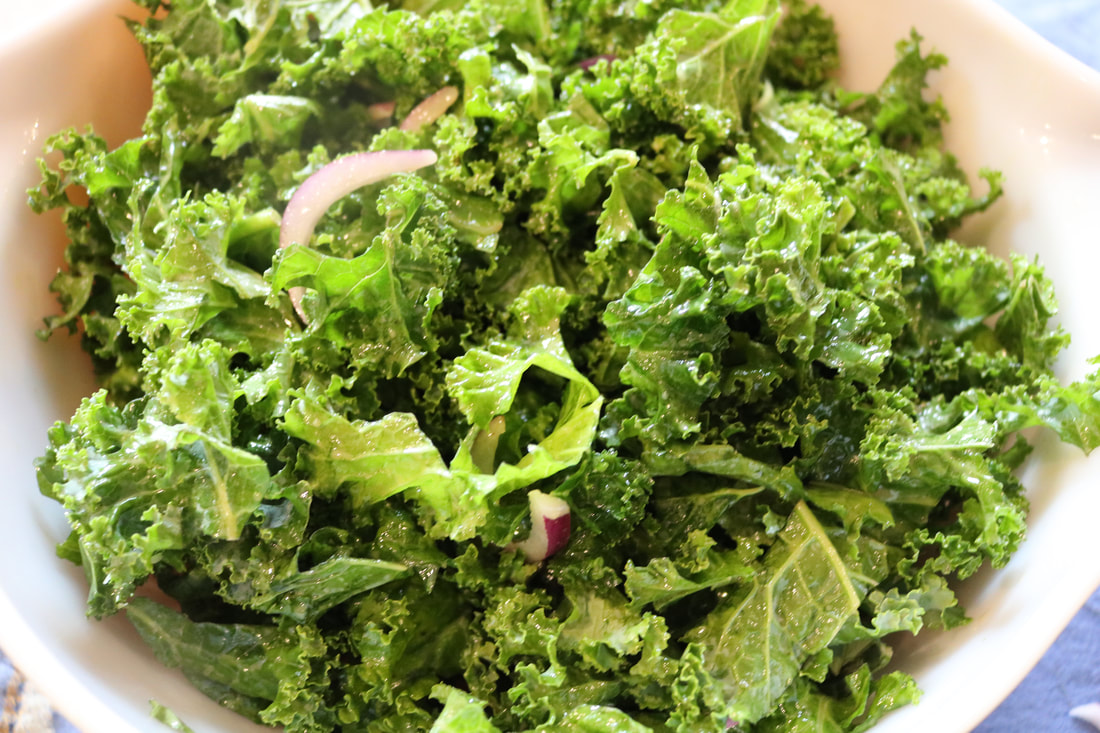
- Add the remaining ingredients and toss until everything is evenly combined and a thin dressing has formed from the rice vinegar and mayonnaise. If you want it creamier, add a little bit of mayonnaise at a time.
- Transfer to a tightly lidded container and refrigerate for at least an hour before serving but preferably overnight. Mix thoroughly before serving to re-distribute the dressing.
- Leftovers stored in a tightly lidded container in the refrigerator will last for at least 7 days.
What's your favorite "it keeps all week" recipe? Tell us in the Comments.


 RSS Feed