(Some of us like to keep grilling and ‘cueing well into the autumn/winter/spring no matter what the weather so keep this post bookmarked for ready access.)
Ages ago I promised you a report on the smoked ribs we made for our 4th of July dinner party. The reason for the long delay is embarrassing: we forgot to take photos of the final steps and end product. Gah! What were we thinking?!
Who the heck knows, but we hope you’ll forgive us and take our lessons learned and photos snapped for what they’re worth. We’ve done this rib-smoking extravaganza several times and can promise that it works and, although time-consuming, is worth it.
There’s a lot of information to share, so let’s get to it. Click Read More below to continue with how-to’s, pictures, recipes and a BBQ Playlist that’s definitely smokin’ hot!
|
Let’s get that playlist going before anything else happens. Barbecue is a state of mind, your happy place, and a state of grace after all. Hit Play and enjoy.
If you don't already have a Spotify account you may be prompted to create one - it's free. |
|
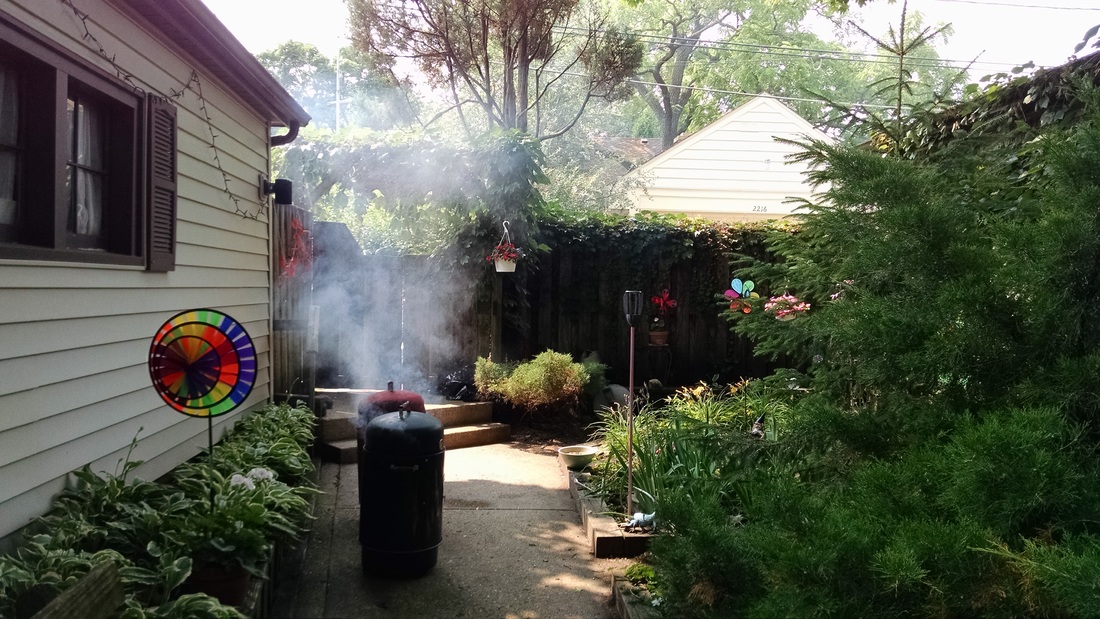
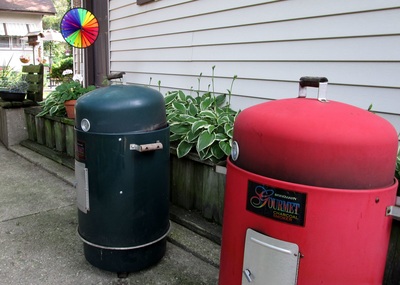
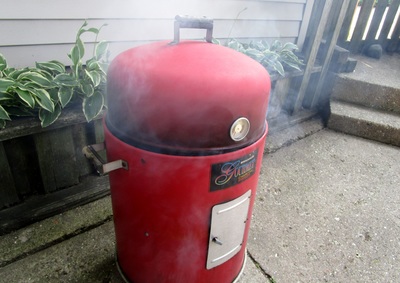
- Smoker – We use a bullet or water smoker. It has 3 parts: firebox (where the charcoal goes and wood chips, if using), water chamber, and cook chamber with 2 grates and a tight domed lid.
Steve Raichlen is a modern god of barbecue with excellent information to share on this and all things BBQ-related.
-
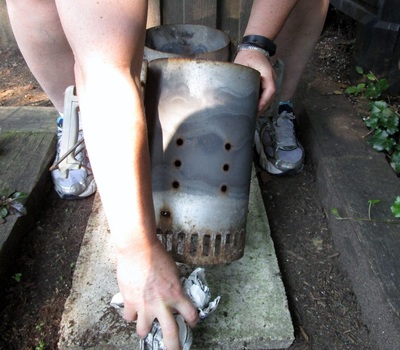
Charcoal Chimney
-
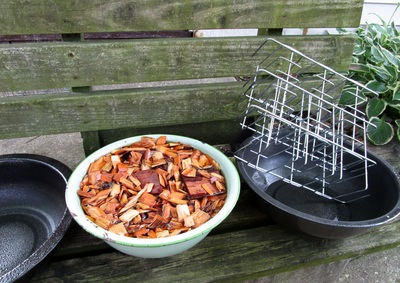
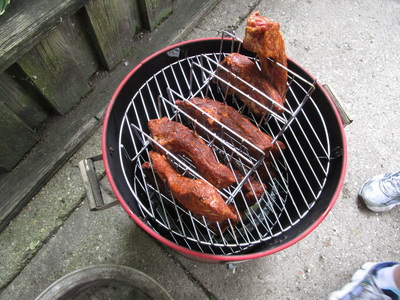
Rib Racks
-
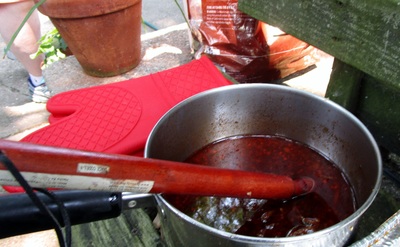
Mop
- Other: Roaster pans, silicon oven or BBQ mitts, plenty of charcoal, wood chips (add some larger chunks too if available)
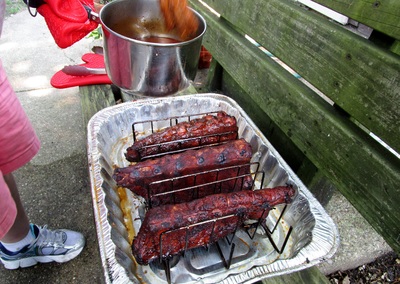
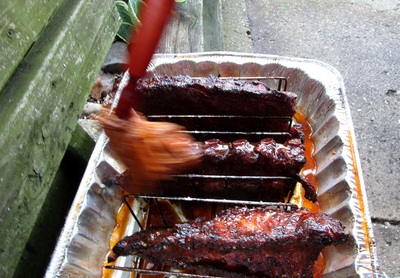
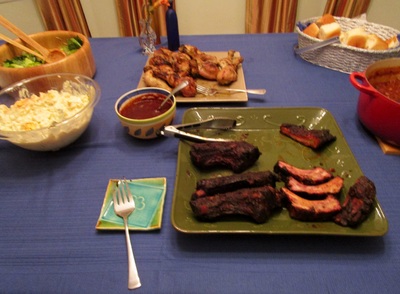
Click on the photos to enlarge and read the captions.
Pork or Beef – Either is fine. We did both. Most smokers have room to cook several different types of meat at once. Put the leaner cuts on the lower grate so they will be basted with drippings from the meat on the upper rack.
3 phases:
- Apply the Rub (Before). The night before you plan to smoke, blend the spices, salt and other dry ingredients as per one of the many recipes out there. My recipe appears below. Press the dry rub mixture into the meat, ‘massaging’ it thoroughly. Don’t be skimpy with the seasoning! Cover and chill in the fridge.
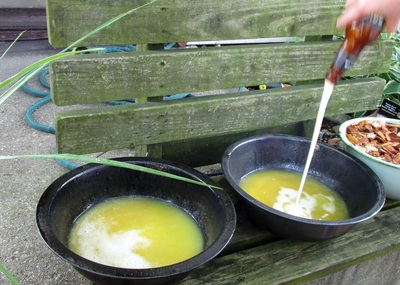
- Baste frequently with the Mop (During). Starting about 1 hour into the smoking process you’ll want to baste the meat with the mop mixture. This primarily keeps the meat moist but a little extra flavor may be imparted too. My recipe appears below; you’ll need 2-3 batches as the day goes on.
- Sauce lightly towards the end of the cooking process + serve (After) as a go-with. There are many great BBQ sauce recipes out there; mine appears below.
All of my recipes come from the thorough, reliable, and highly recommended cookbook from Cheryl & Bill Jamison titled The Big Book of Outdoor Cooking & Entertaining. Details to follow below.
Fire it Up & Let’s Get to Smokin’:
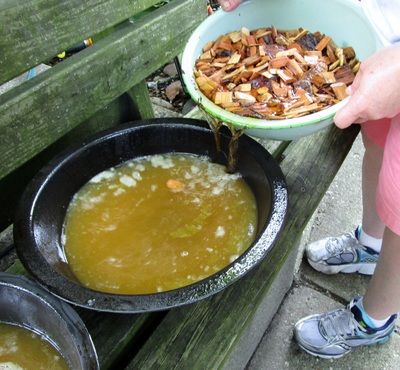
- Soak the wood chips – at least an hour in advance or you can soak them overnight.
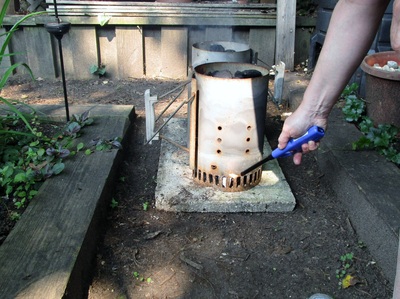
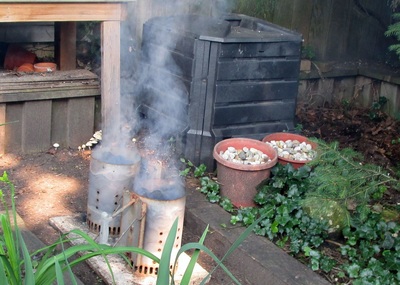
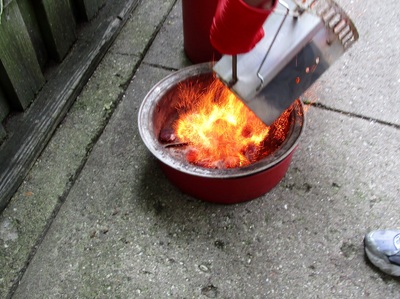
- Fill and light your charcoal chimney(s).
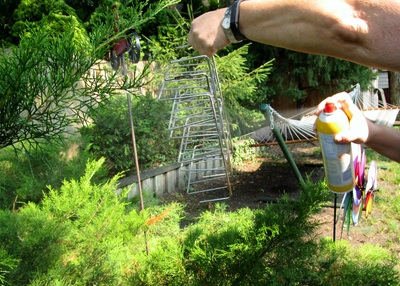
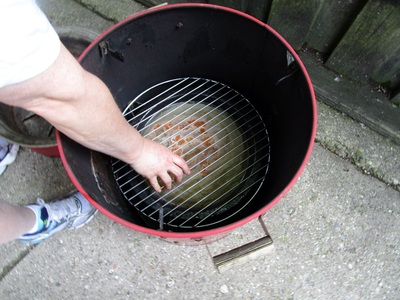
- Pre-treat the water bowl, grates, and rib racks with non-stick spray like PAM.
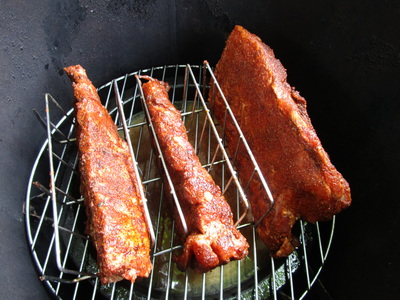
- Place the pre-rubbed ribs into the rib racks.
- Fill your water bowl with any mix of liquids that you like: water, juice, beer, even a little bit of the soaking water from the wood chips.
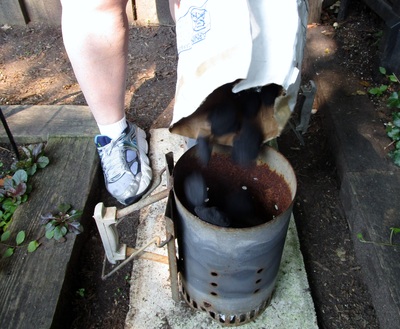
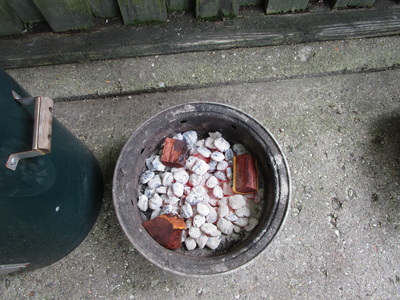
- Once the charcoal is ready (briquettes are fully gray and smoking) pour into the firebox. Use a stick or long tool to evenly distribute the coals within the pan.
- Place the water bowl on the ledges within the smoker’s central chamber. Carefully lift and place the central chamber on top of the firebox.
- Place the lower grate inside the chamber, above the water bowl. Arrange your rib racks on the grate.
- Place the upper grate inside the chamber and add additional rib racks or other food to be smoked.
- Cover the smoker tightly with the lid.
- You’ll need to replenish the charcoal and wood chips once every 90 minutes or so.
- Also check to make sure there are at least 2 inches of liquid in the water pan; replenish as needed. You’ll need to carefully lift the covered barrel off of the firebox in order to add new coals. There’s a little door on the front of the smoker that – theoretically – allows you to add coals and/or liquid without lifting off the top part, but I think it’s easier to move the large unit on and off the firebox. YMMV.
- Baste the meat using the mop mixture about once an hour. Be generous. Make more mop as needed.
- Total cooking time will depend on which meat you’re cooking, intensity of heat, etc. For ribs it takes @ 5-6 hours. Check your recipe and/or BBQ reference guides to determine your cooking time and be sure to use a digital thermometer to ensure doneness.
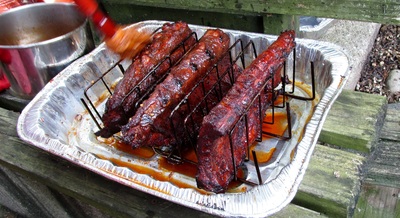
- Brush a small amount of BBQ sauce on your ribs during the final 45-60 minutes. Not too much! The sugars in the sauce will burn. Plus you will want to taste the smoky, meaty goodness on its own when you sink your teeth in. Serve the sauce on the side.
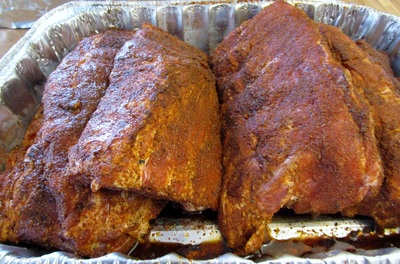
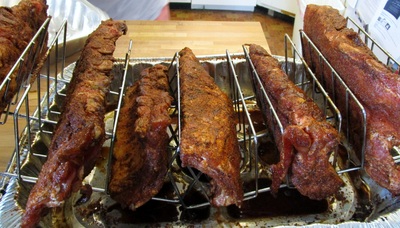
- When the meat is done, remove the racks from the smoker (I put them into large aluminum roasting pans), let the meat rest for a few minutes, and then slice and serve the ribs as desired.
- Let the coals die out completely before disposing of them properly. Be sure to follow your smoker’s instructions for careful clean-up.
As noted, there are 3 main elements -- the rub, the mop, and the sauce – and many different ways to prepare each of them. My advice is to eat a whole lot of barbecue and figure out what you like (vinegary Carolina style vs the sweeter, tomato-forward Kansas City style, for example). Then read a few recipes in that general category and start experimenting.
I mean it! This is a culinary category ripe for improvisation – a little dash of this, a big gloop of that, you get it. So here are my go-to recipes, all from The Big Book of Outdoor Cooking & Entertaining, but there’s always room for a little give and take.
| Printable Recipe- BBQ Must-Haves- Rib Rub Mop and Sauce |


 RSS Feed