
Ours is a household where both like to cook. Usually there’s not too much overlap about WHAT we like to cook and WHEN we want to cook it. (Although the kitchen is not tiny, Ilise and I have a knack for wanting to be in the exact same spot at the same time. Every time. So now we pretty much just offer to be the other’s prep chef and then clear the hell out of the kitchen, making space for the magic to happen.)
I enjoy cooking savory items and have a fondness for soups and sauces that benefit from improvisation. Ilise falls in the dessert camp and is an excellent baker; she likes the precision of it and adheres to the letter of the law, recipe-wise, most of the time.
Which is why I was pleasantly surprised to see her become obsessed with recipe-fiddling over the span of about six months in pursuit of the perfect batch of bourbon caramels. The obsession didn’t surprise me, I’ve seen that often enough. But the willingness, no, more like eagerness to go back to the stove time and again, candy thermometer in hand -- after tweaking either a) balance of ingredients; b) sequence of events (specifically when to add the bourbon); c) cooking time; or d) all of the above -- was almost scientific in nature, with each phase thoroughly documented. We’re thinking of applying for an NSF or NIH grant for her next kitchen project.


It all began innocently enough last fall with a Supper Club dessert assignment on the theme, “John Barleycorn Must Die/ King Harvest Will Surely Come.” Ilise made a batch of Bourbon Blondies with Pecans & Chocolate Chunks decked out to look like the classic Traffic LP of the same name. (That’s a story – and recipe – for another post, coming soon.)
And what goes better with a bourbon-flavored dessert than another bourbon dessert! So Ilise whipped up a batch of Bourbon Caramel Apple Popcorn as a go-with. (Also to be featured in a future post.) It was such a big hit that we brought it back for the Annual Holiday Open House menu, and most importantly … it triggered Ilise’s desire to master the perfect candy-quality bourbon caramel.
It took four tries before Mad Food Scientist Ilise was satisfied. Me, I was satisfied every time, all batches were delicious. It’s bourbon caramel, what’s not to love? The big variations were these:
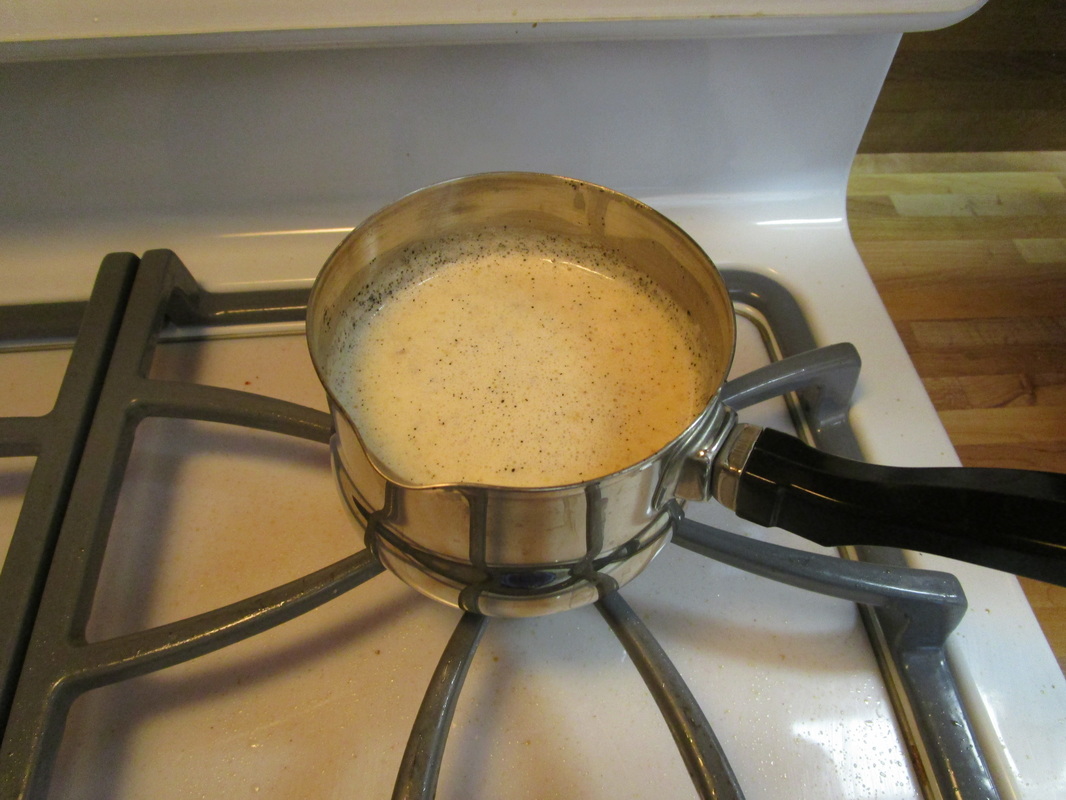
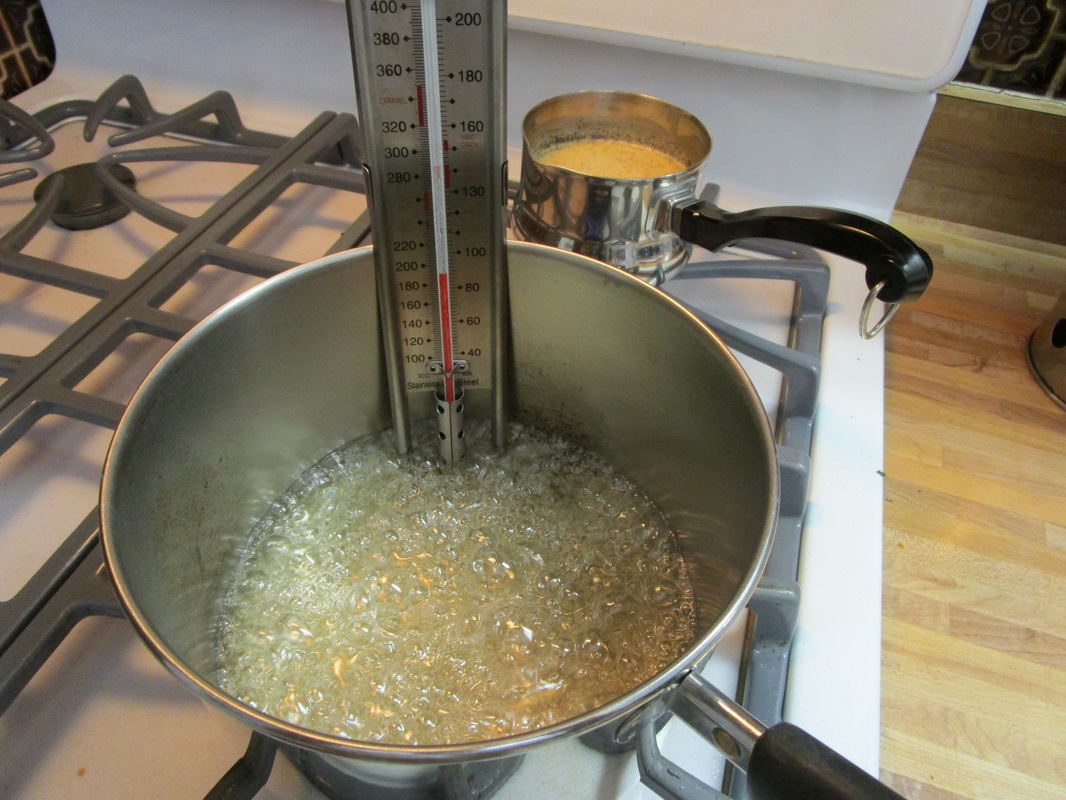
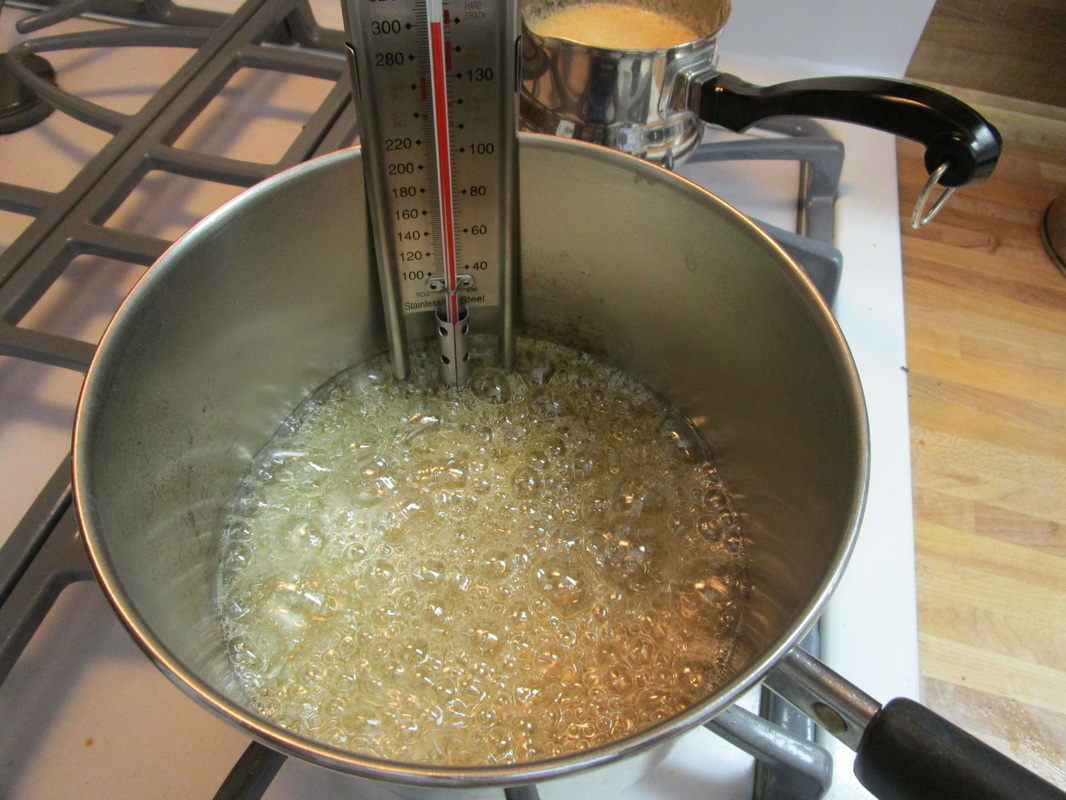
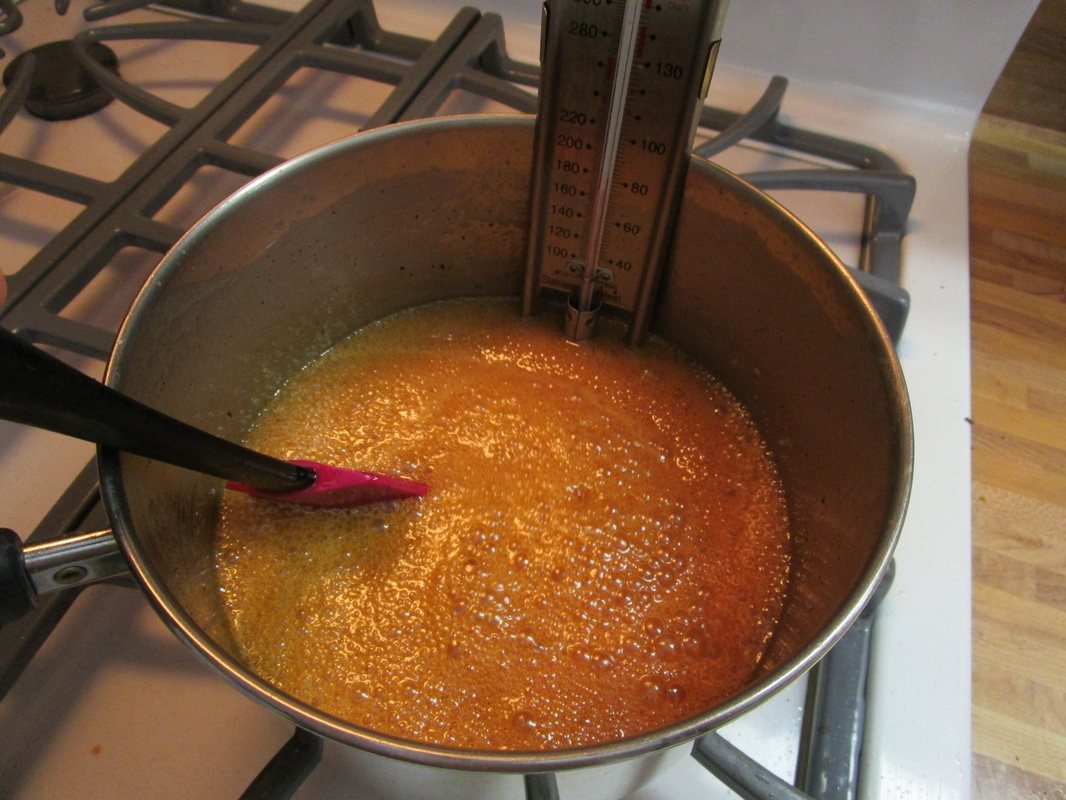
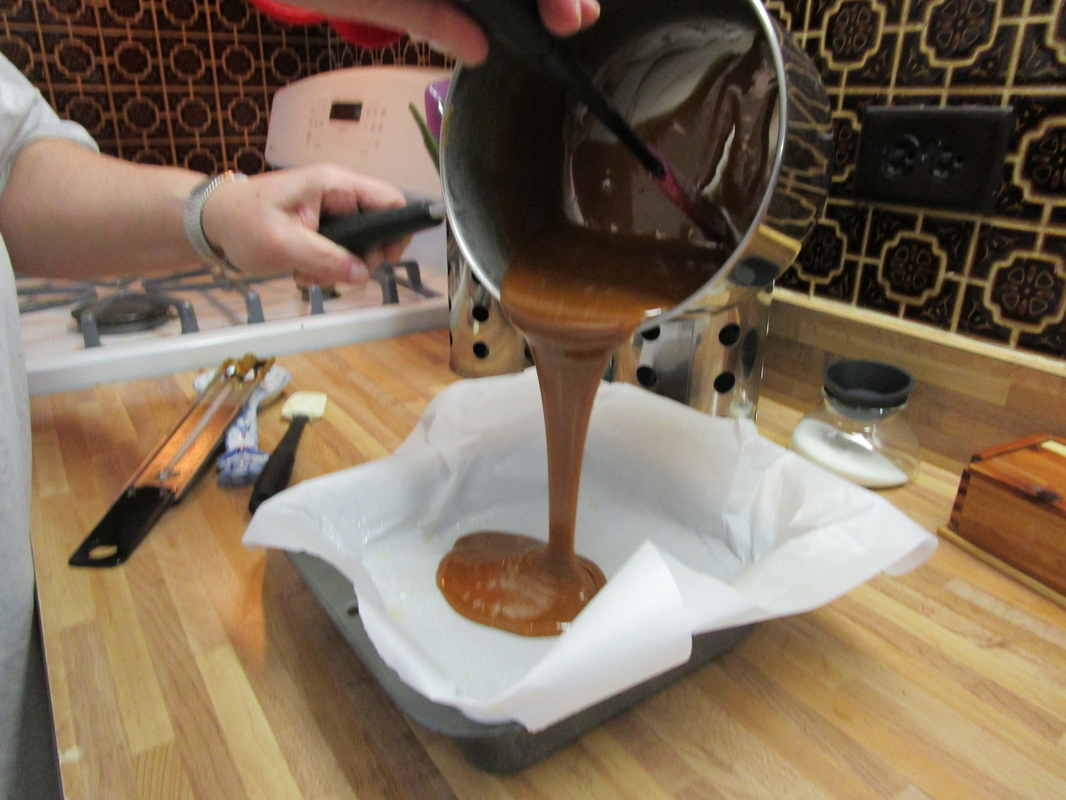
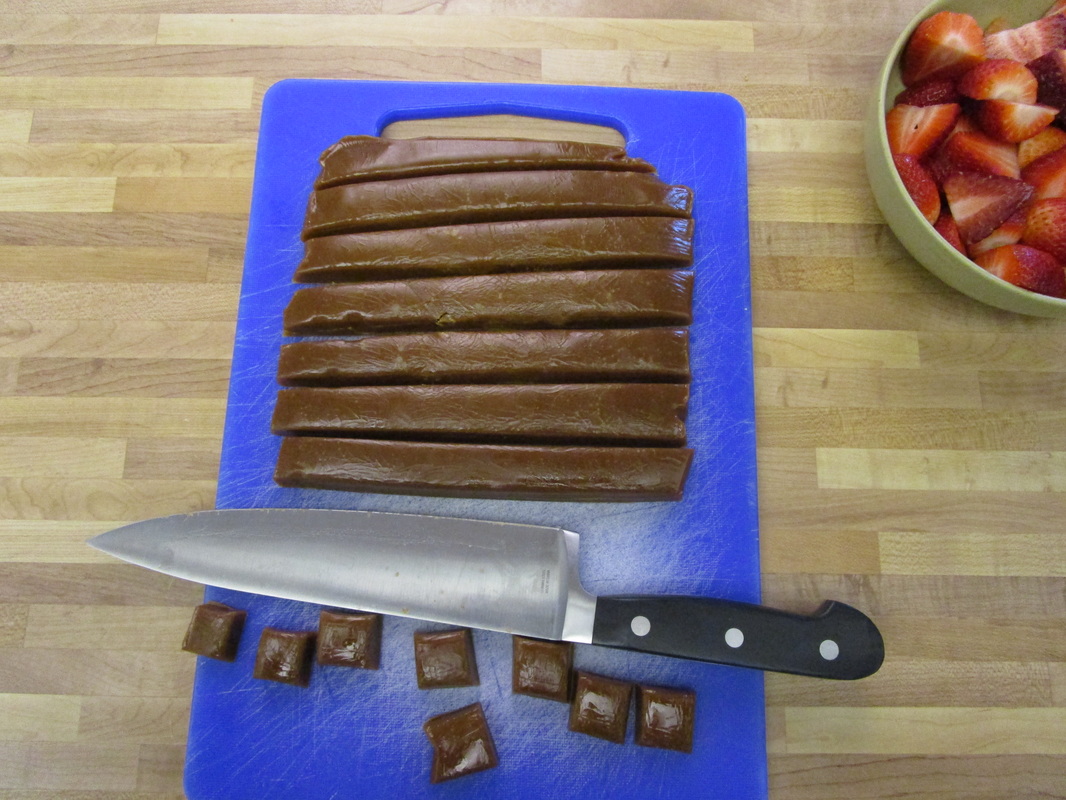
The step by step process is displayed in the gallery below. Click on the pictures to embiggen and read the captions.
It took four tries before Mad Food Scientist Ilise was satisfied. Me, I was satisfied every time, all batches were delicious. It’s bourbon caramel, what’s not to love? The big variations were these:
- When the bourbon was added: included in the cream mixture to infuse the flavor; stirred in at the end before pouring caramel into the pan; or both – ding ding ding! we have a winner!
- Hardness after cooling: Two batches hardened to crack-your-teeth levels. But there’s a fix that can be applied – see the recipe below for details. One batch was too soft - the one that added a good amount of the bourbon at the end.
- Time spent stirring. Ilise reports that this how-to video from America’s Test Kitchen is a great guide except that each step took her quite a bit more time than they indicated – probably due to the choice of pan and the quirks of our stove.
The step by step process is displayed in the gallery below. Click on the pictures to embiggen and read the captions.
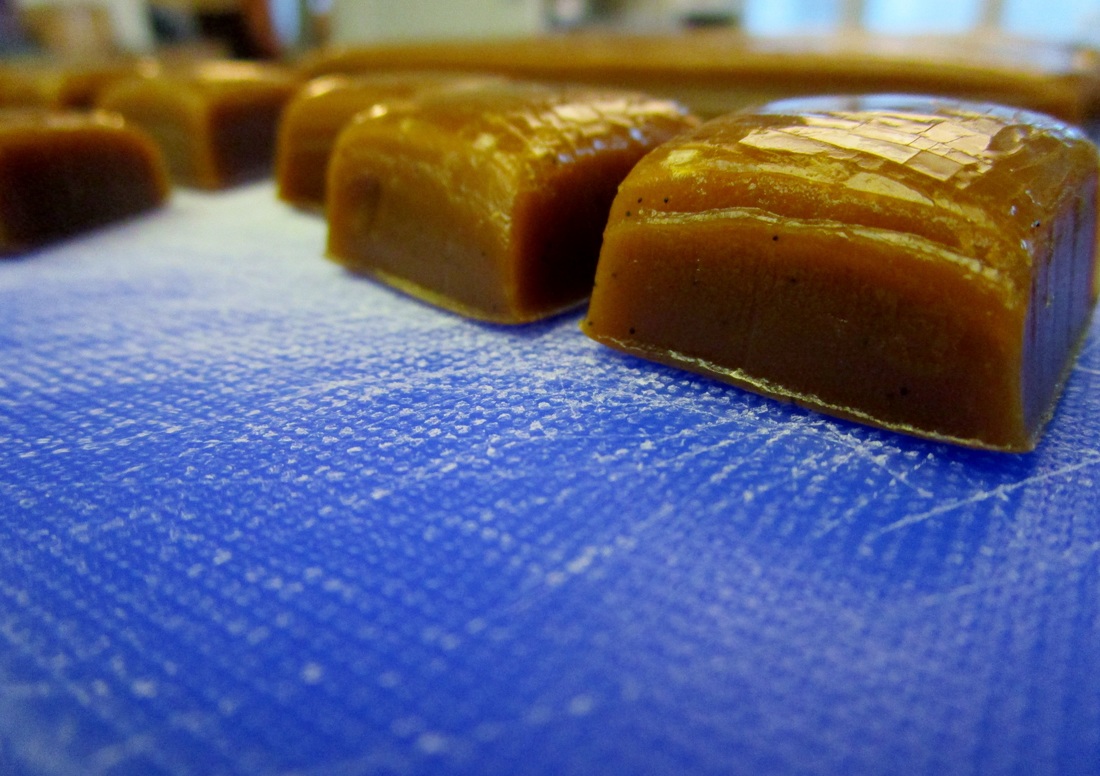
The last batch was perfect in every way, and that’s the recipe you’ll find below which makes only a few tweaks to the recipe from America’s Test Kitchen. It’s a lot of work, no lie, and you’ve got to pay attention every step of the way. But according to Ilise it’s worth the effort both in the tasting and seeing the enjoyment that the homemade treats bring to friends and family.


Bourbon Caramels
adapted by Ilise Goldberg from Americas Test Kitchen DIY Salted Caramels
Ingredients:
Directions:
KITCHEN FIX: If the caramel texture is too hard after cooling, you get a do-over by melting the caramels with about 1 ½ ounces of cream. Then pour into a prepared pan and let cool again.
adapted by Ilise Goldberg from Americas Test Kitchen DIY Salted Caramels
Ingredients:
- 5 tablespoons unsalted butter
- 1 cup heavy cream
- 1 whole vanilla bean
- 1 teaspoon fine salt
- 4 ounces Bourbon, divided (Chef’s note: I used Makers Mark)
- ¼ cup light corn syrup
- ¼ cup water
- 1-1/3 cup sugar
- Fluer de Sel for sprinkling (optional)
Directions:
- Prepare an 8 X 8 pan – use parchment paper to line the pan, including a little overhang to make it easier removing the caramels later. Spray parchment paper with vegetable/ canola/ baking spray. Set aside.
- Place heavy cream, butter, salt, and 3 ounces of bourbon into a small saucepan.
- Slit the vanilla bean from top to bottom, scrape out the paste/seeds inside, and add it to the mixture in the saucepan.
- Bring saucepan to a boil over medium heat. Turn off heat and let it stand for at least 10 minutes to let flavors meld.
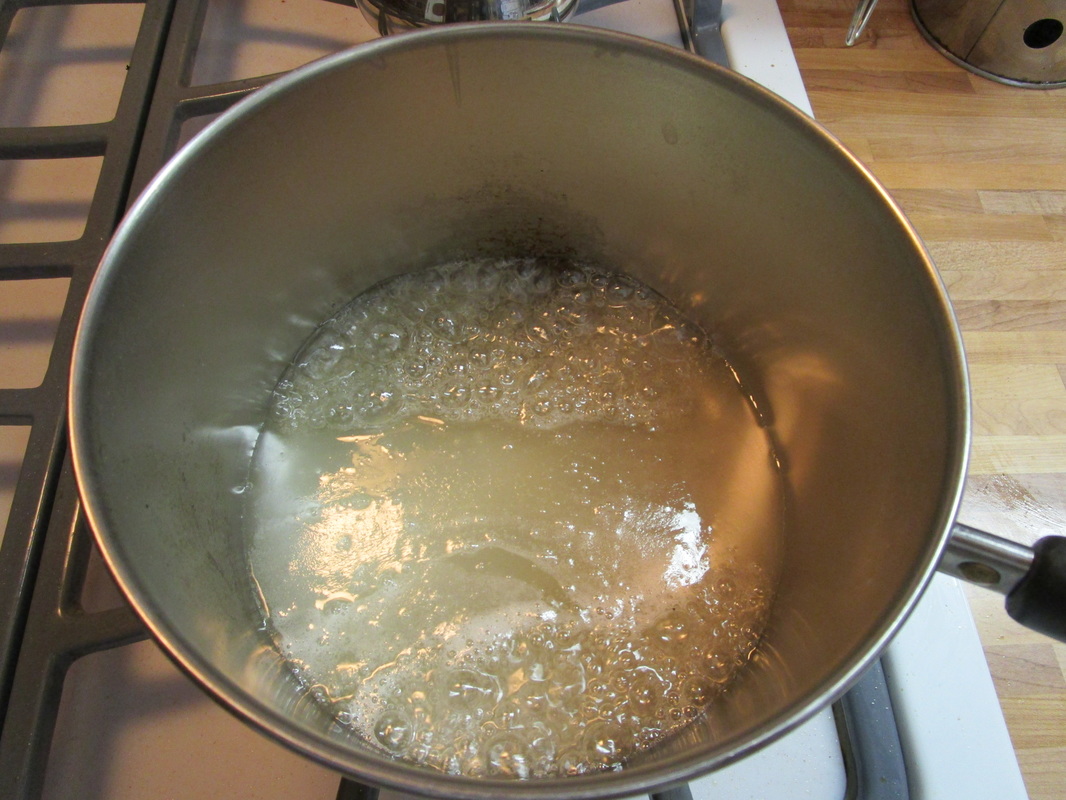
- Place corn syrup, water and sugar in a medium heavy-bottomed saucepan over medium-high heat and dissolve the sugar until it is a golden brown color and the temperature is about 300 degrees. Do not stir. Great suggestion in the Americas Test Kitchen video about pouring the sugar into the middle of the pan to ensure that no crystals stick to the sides.
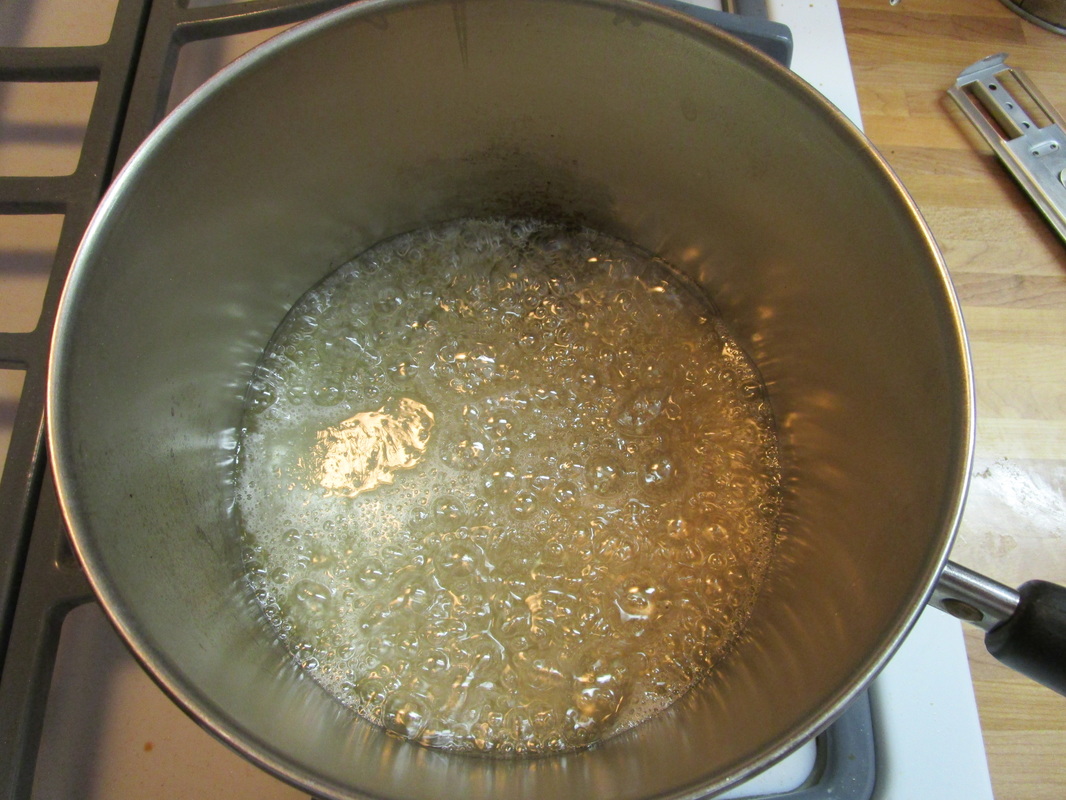
- Lower heat to medium low and continue to cook until color is amber and temperature is between 330-350 degrees. The longer it cooks and the higher the temperature before removing the mixture from the heat, the darker and more complex in flavor the caramel will be. Chef’s note: I took it off around 340-ish.
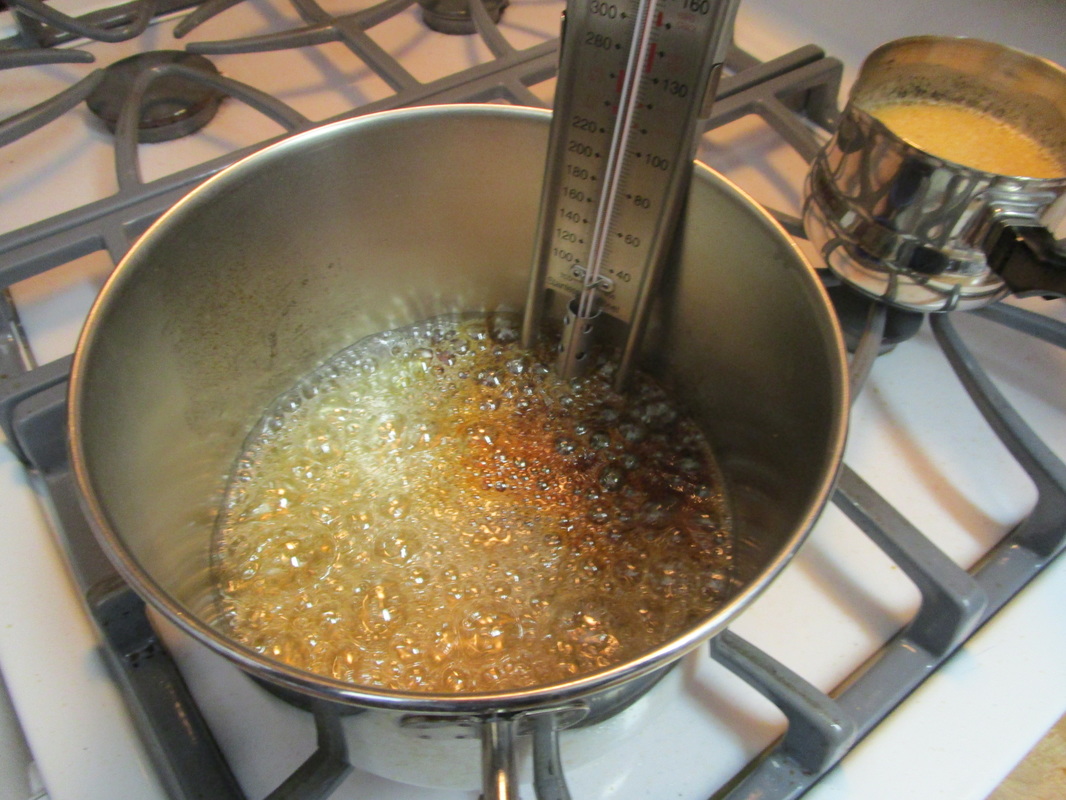
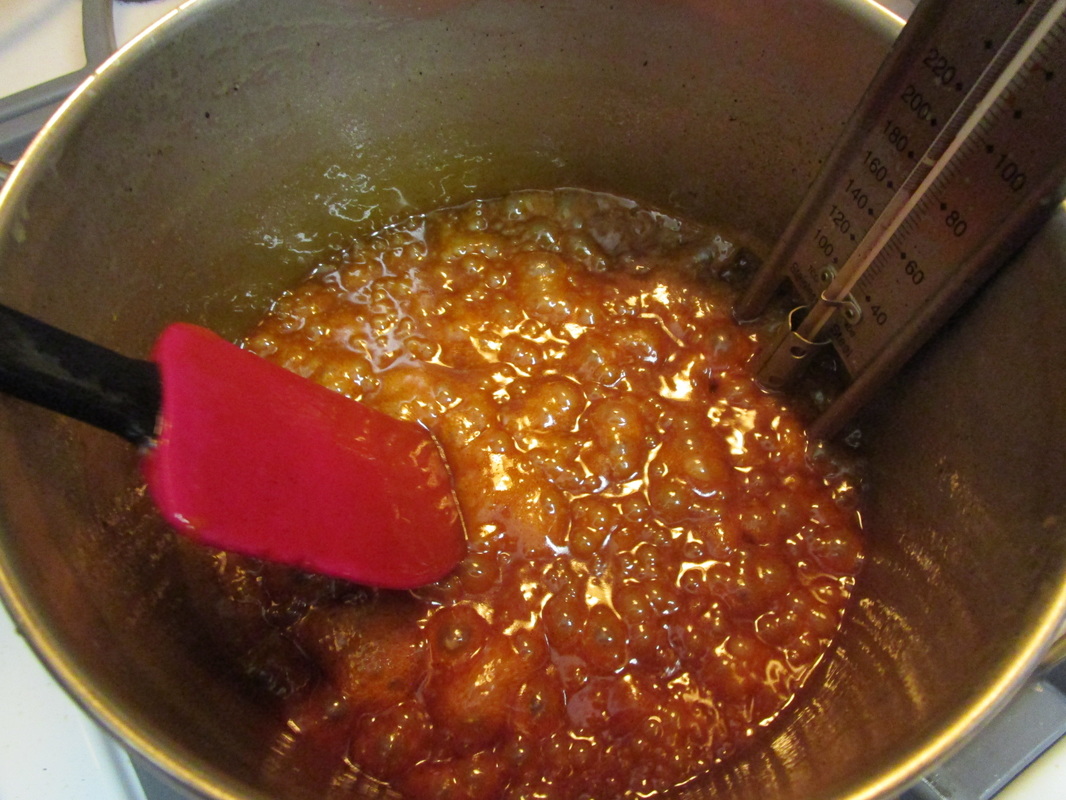
- Remove from heat, and mix in the cream mixture (it will foam).
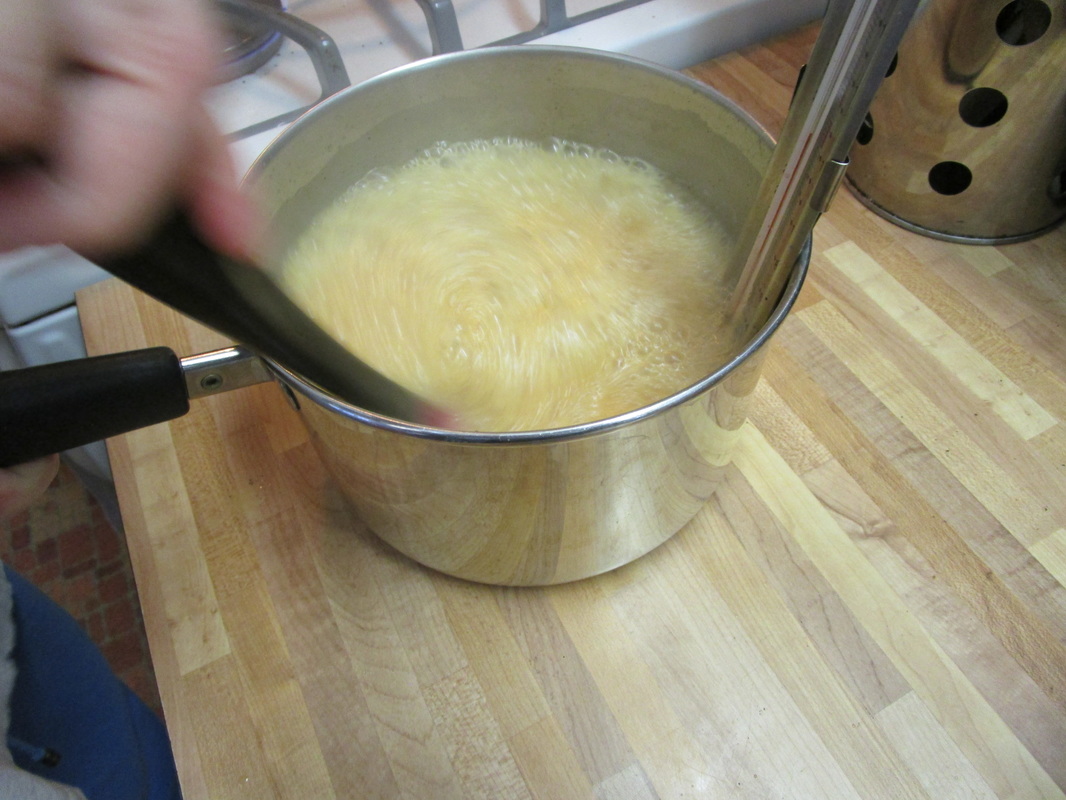
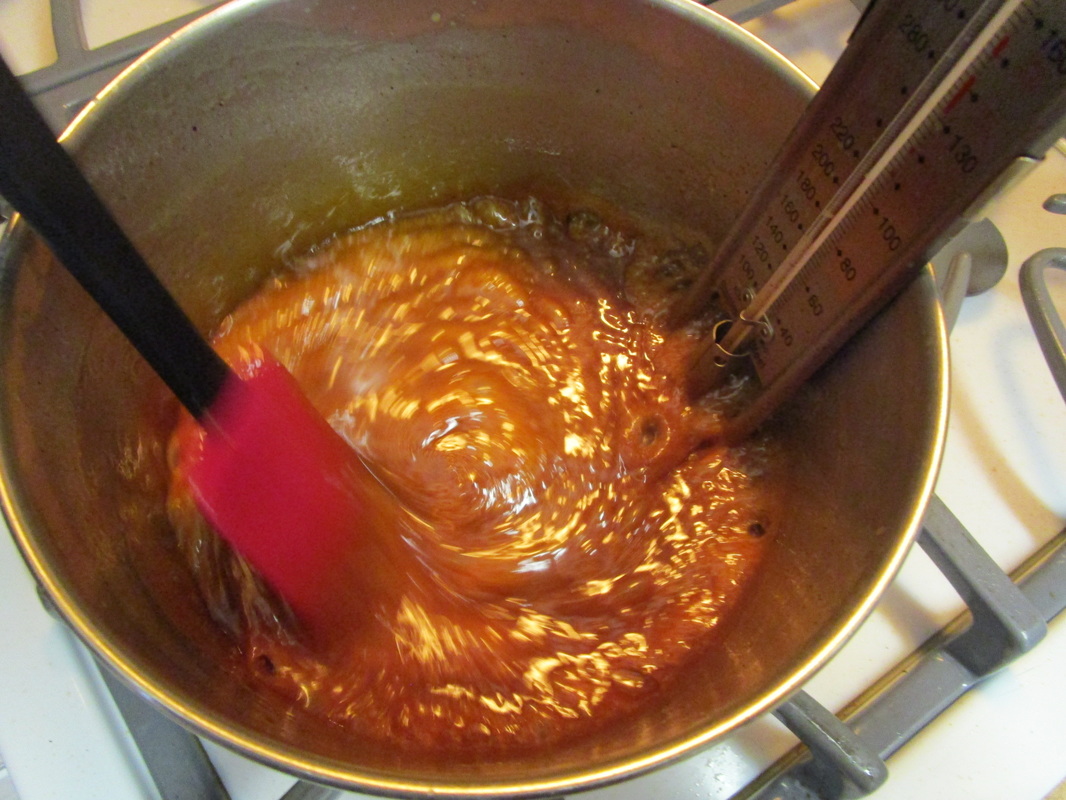
- Return to medium-high heat and cook to 240-242. Stir constantly so it does not burn – Chef’s note: This step took me at least 20 minutes but it probably varies quite a bit by stove and pan, so watch it carefully.
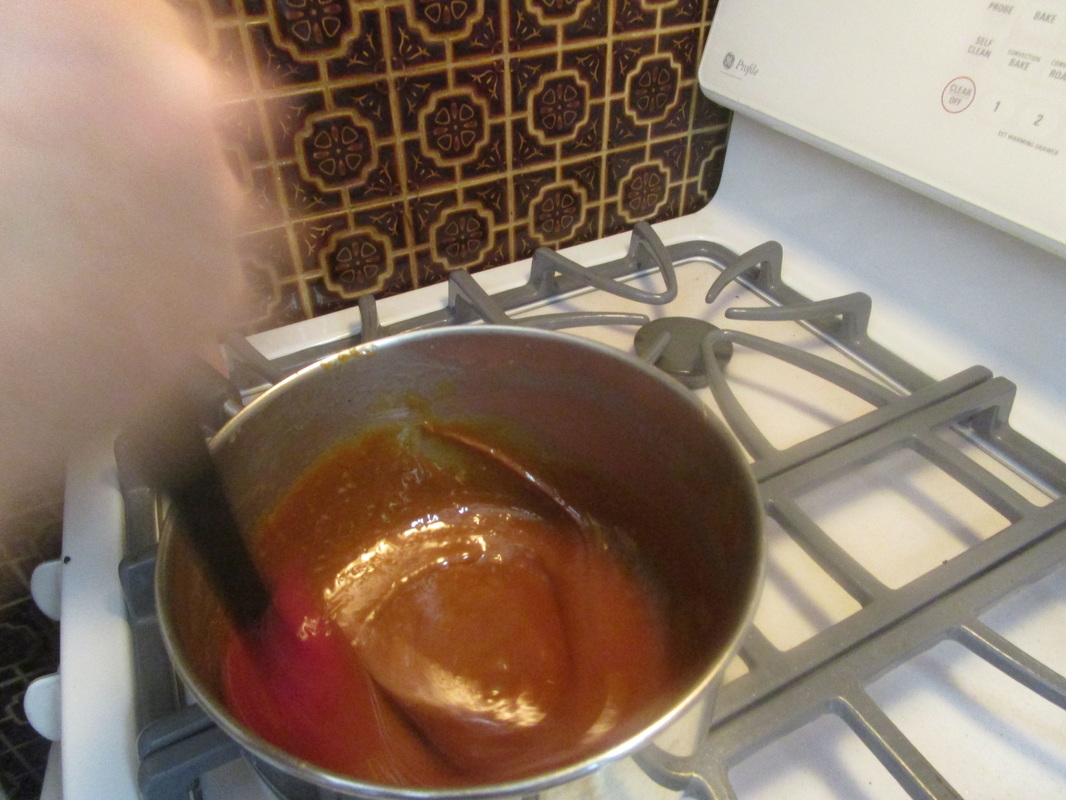
- Take off the heat. Stir in one ounce of bourbon.
- Pour into the prepared 8x8 pan. Smooth the caramel with an offset spatula or back of a spoon.
- Let cool for 10 minutes and add a light sprinkling of Fleur de Sel if desired (optional – but recommended!)
- Let cool another hour at room temperature. If the caramel feels soft you can do the final cooling hour in the refrigerator. Otherwise allow one more hour to cool at room temperature before cutting into pieces.
- Cut into ¾ inch squares (optional – dip in dark chocolate!)
- Wrap each piece individually in wax paper. Store in refrigerator. (The caramels will get soft if left at room temperature.)
KITCHEN FIX: If the caramel texture is too hard after cooling, you get a do-over by melting the caramels with about 1 ½ ounces of cream. Then pour into a prepared pan and let cool again.
 RSS Feed